Shop
Organization

Simplifying Laundry Day


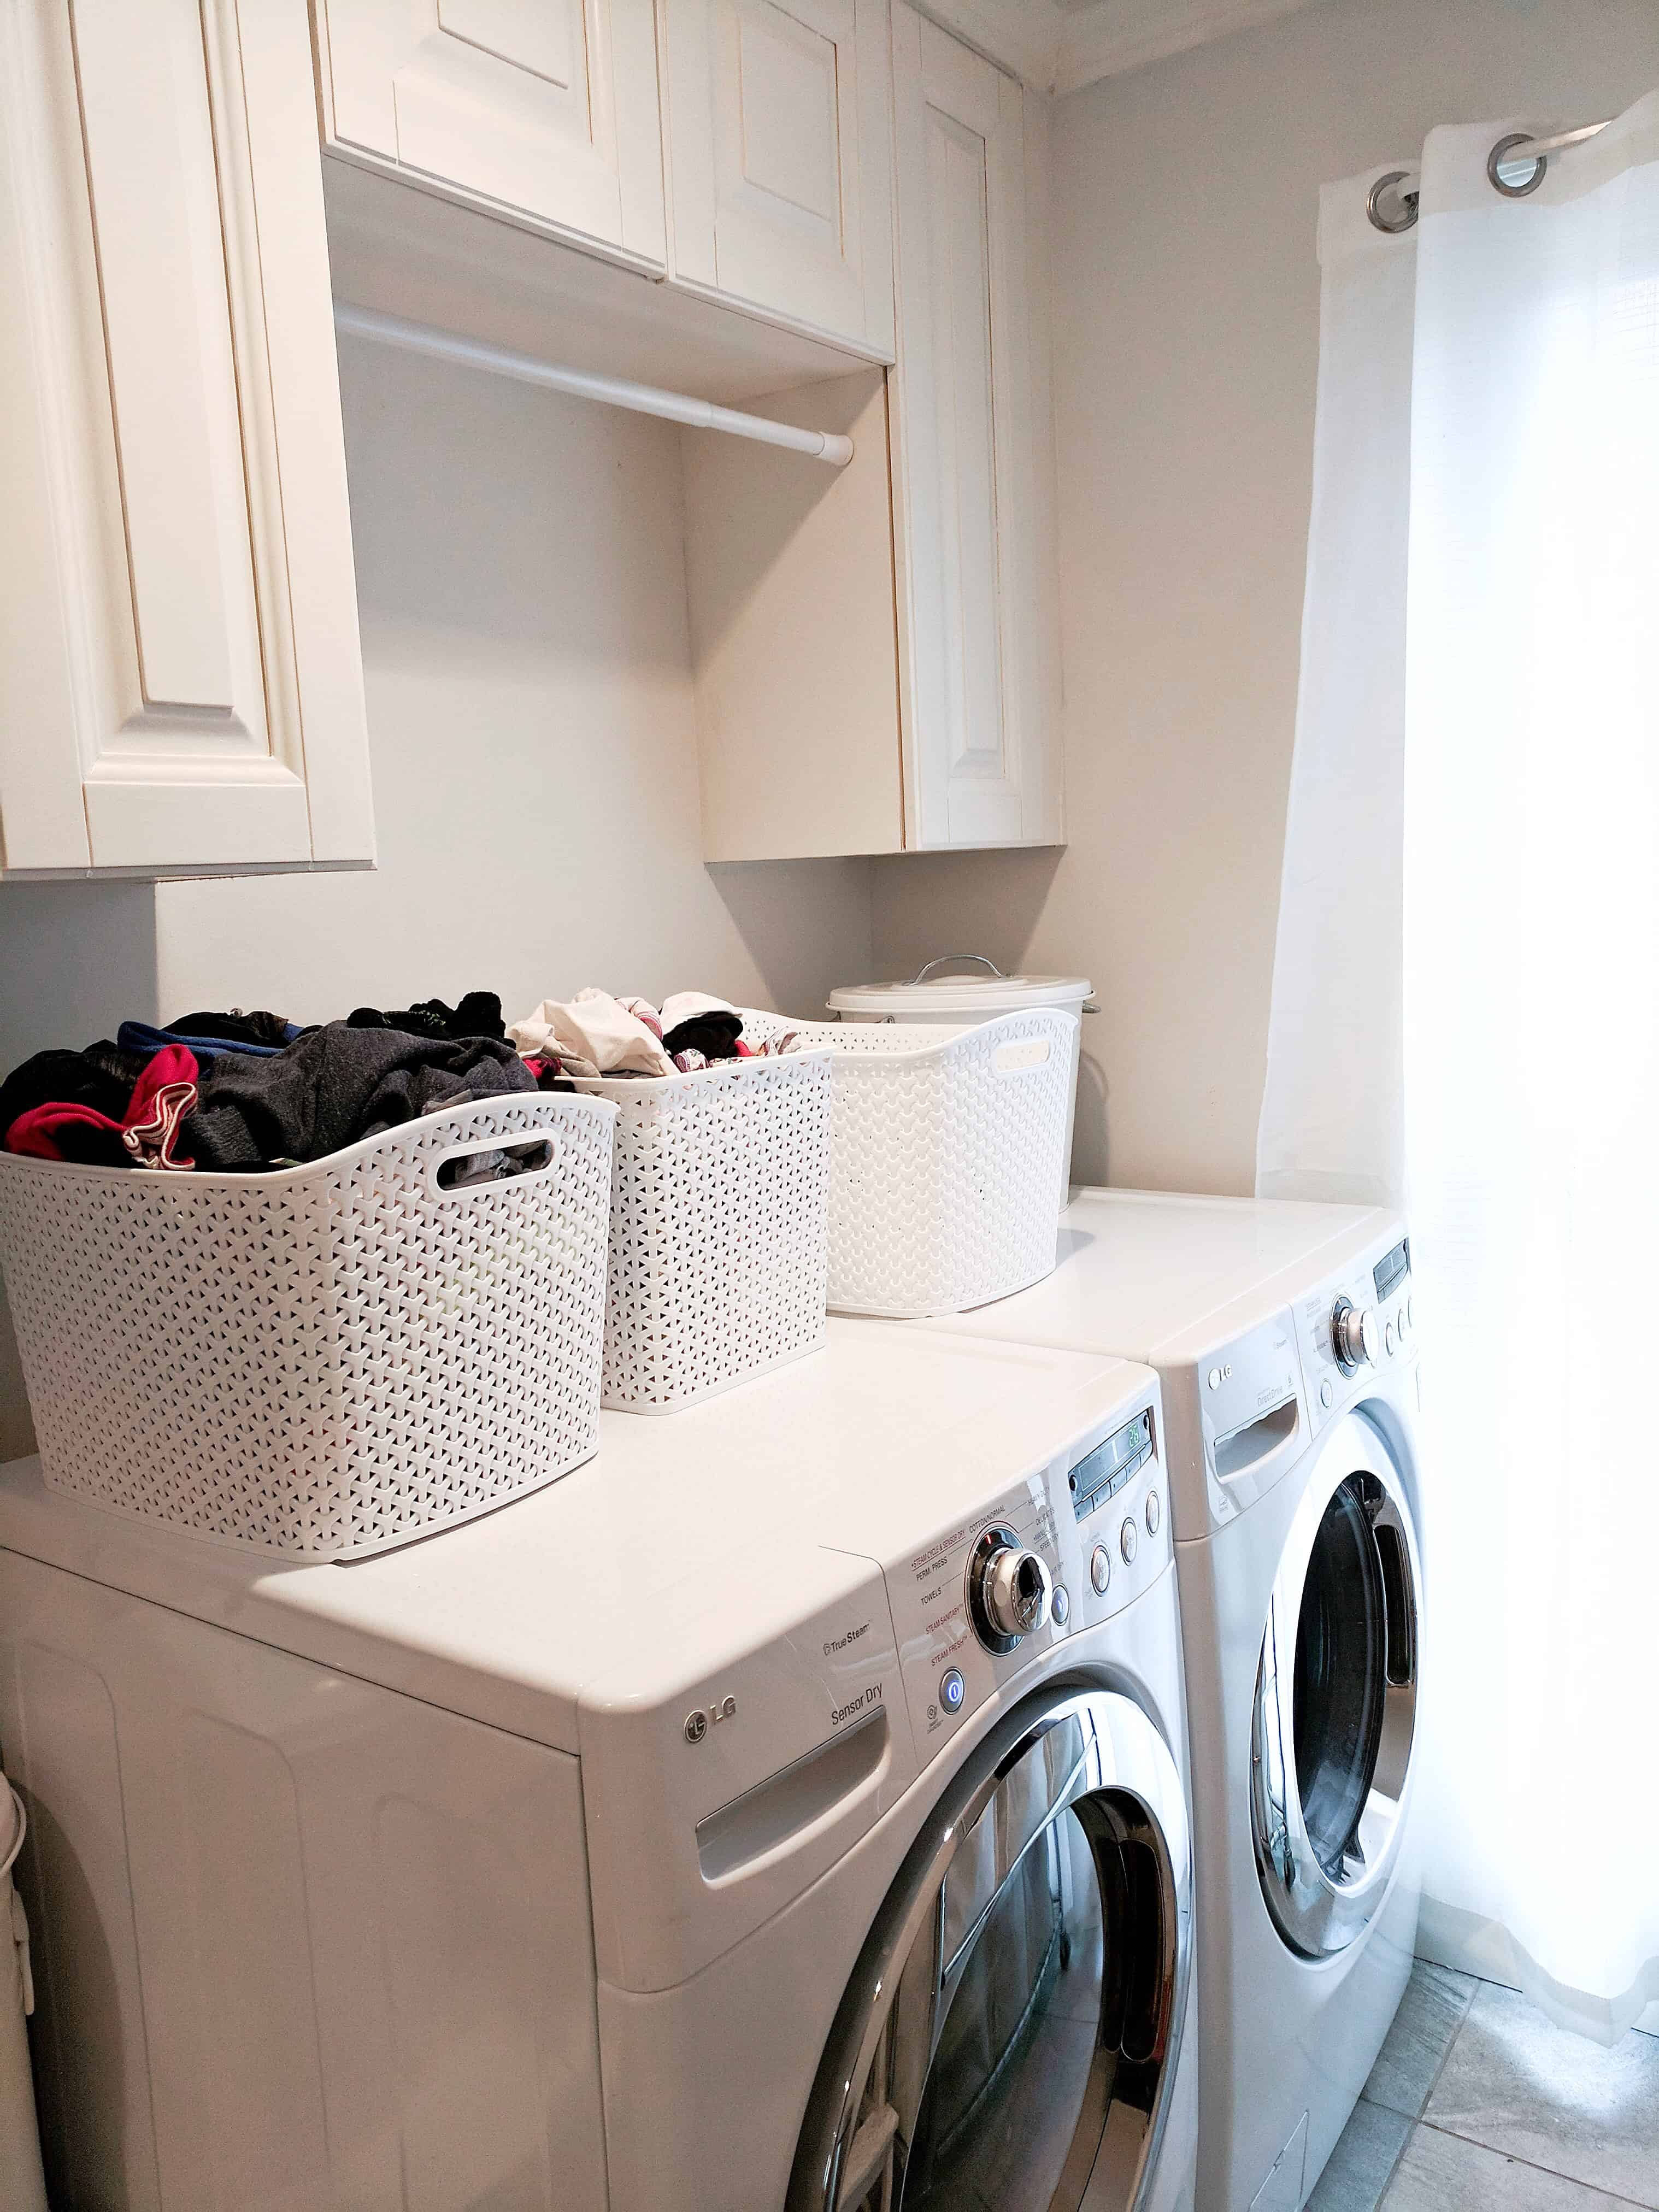
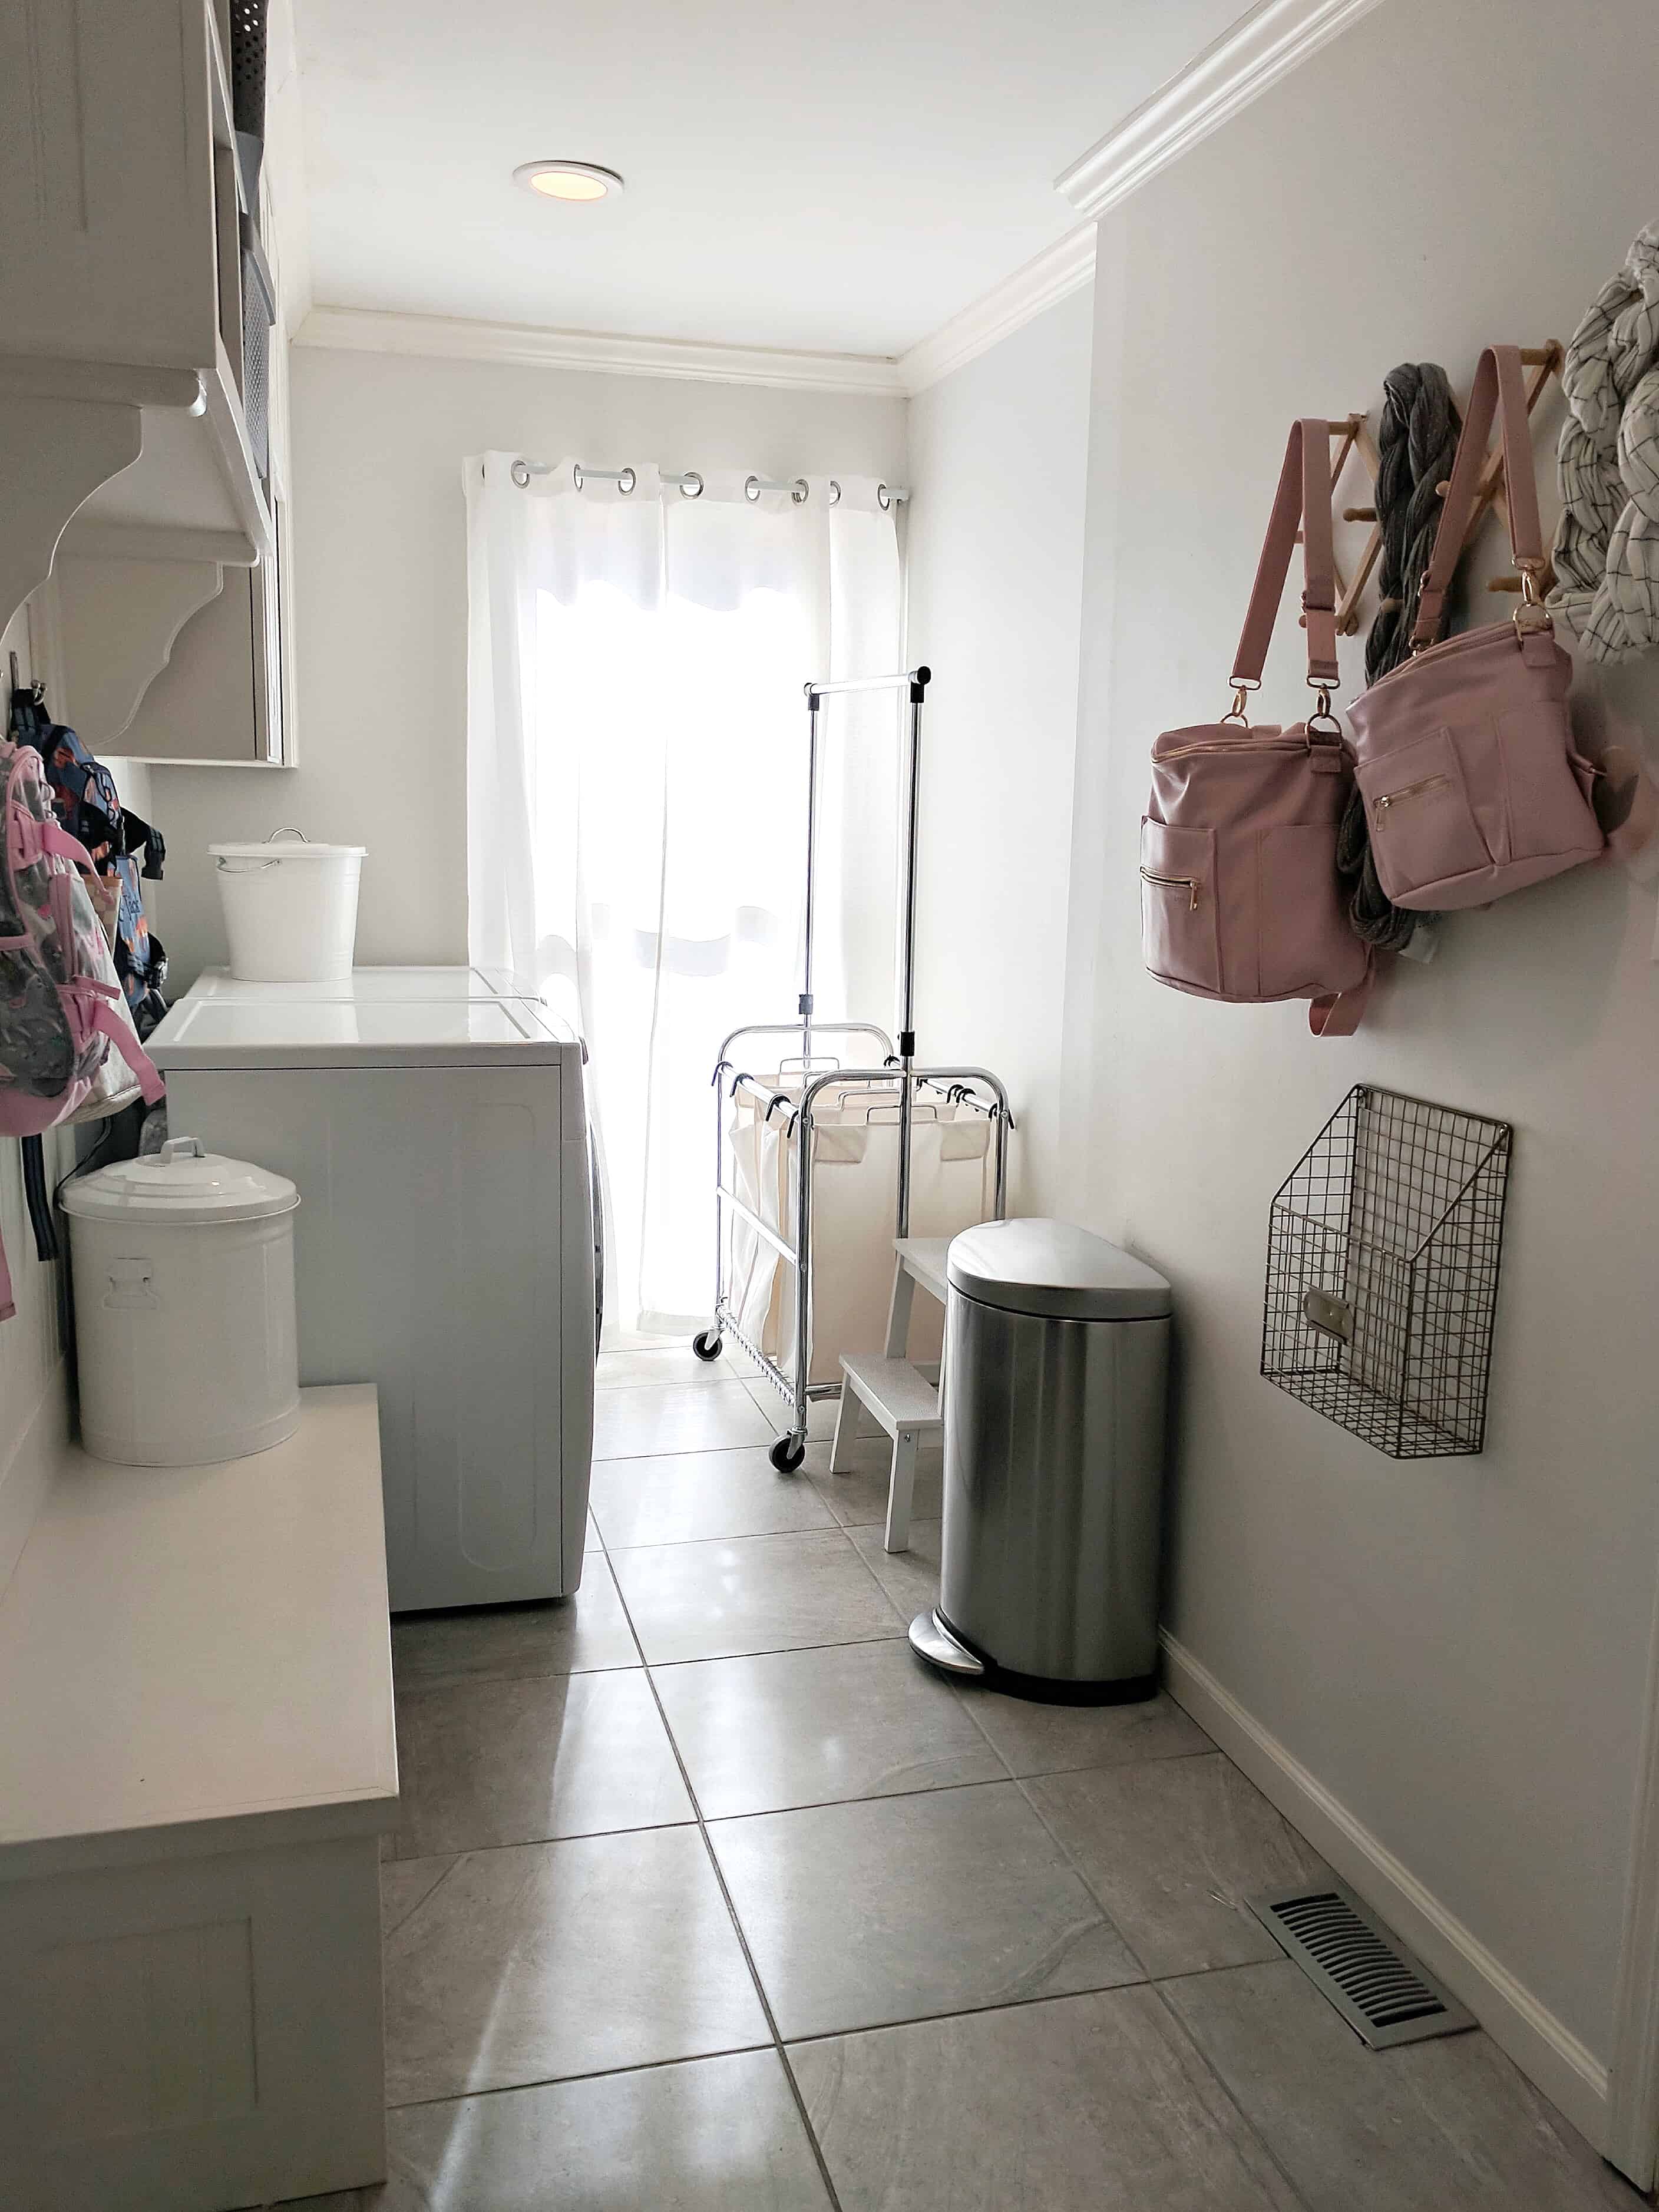
white washer and dryer with white laundry baskets | Simplifying Laundry Day

I went on my Instagram stories a couple of weeks ago asking for advice on how people handle laundry day, and for tips on not letting it be a constant source of stress.  I got so many amazing tips, and probably just as many people asking that I share my favorite pieces of advice.  I didn’t take one persons advice, but rather combined a few things that I loved, and really thought about what part of laundry day at our house was causing such a hold up.  For me I realized that the biggest issue wasn’t as much in getting laundry done, but sorting and putting it away.  That isn’t a step I can do while the kids are sleeping so it seemed to be why we constantly got backed up.  I decided to try a new plan I will tell you about below, and laundry has become so much less stressful in our home!

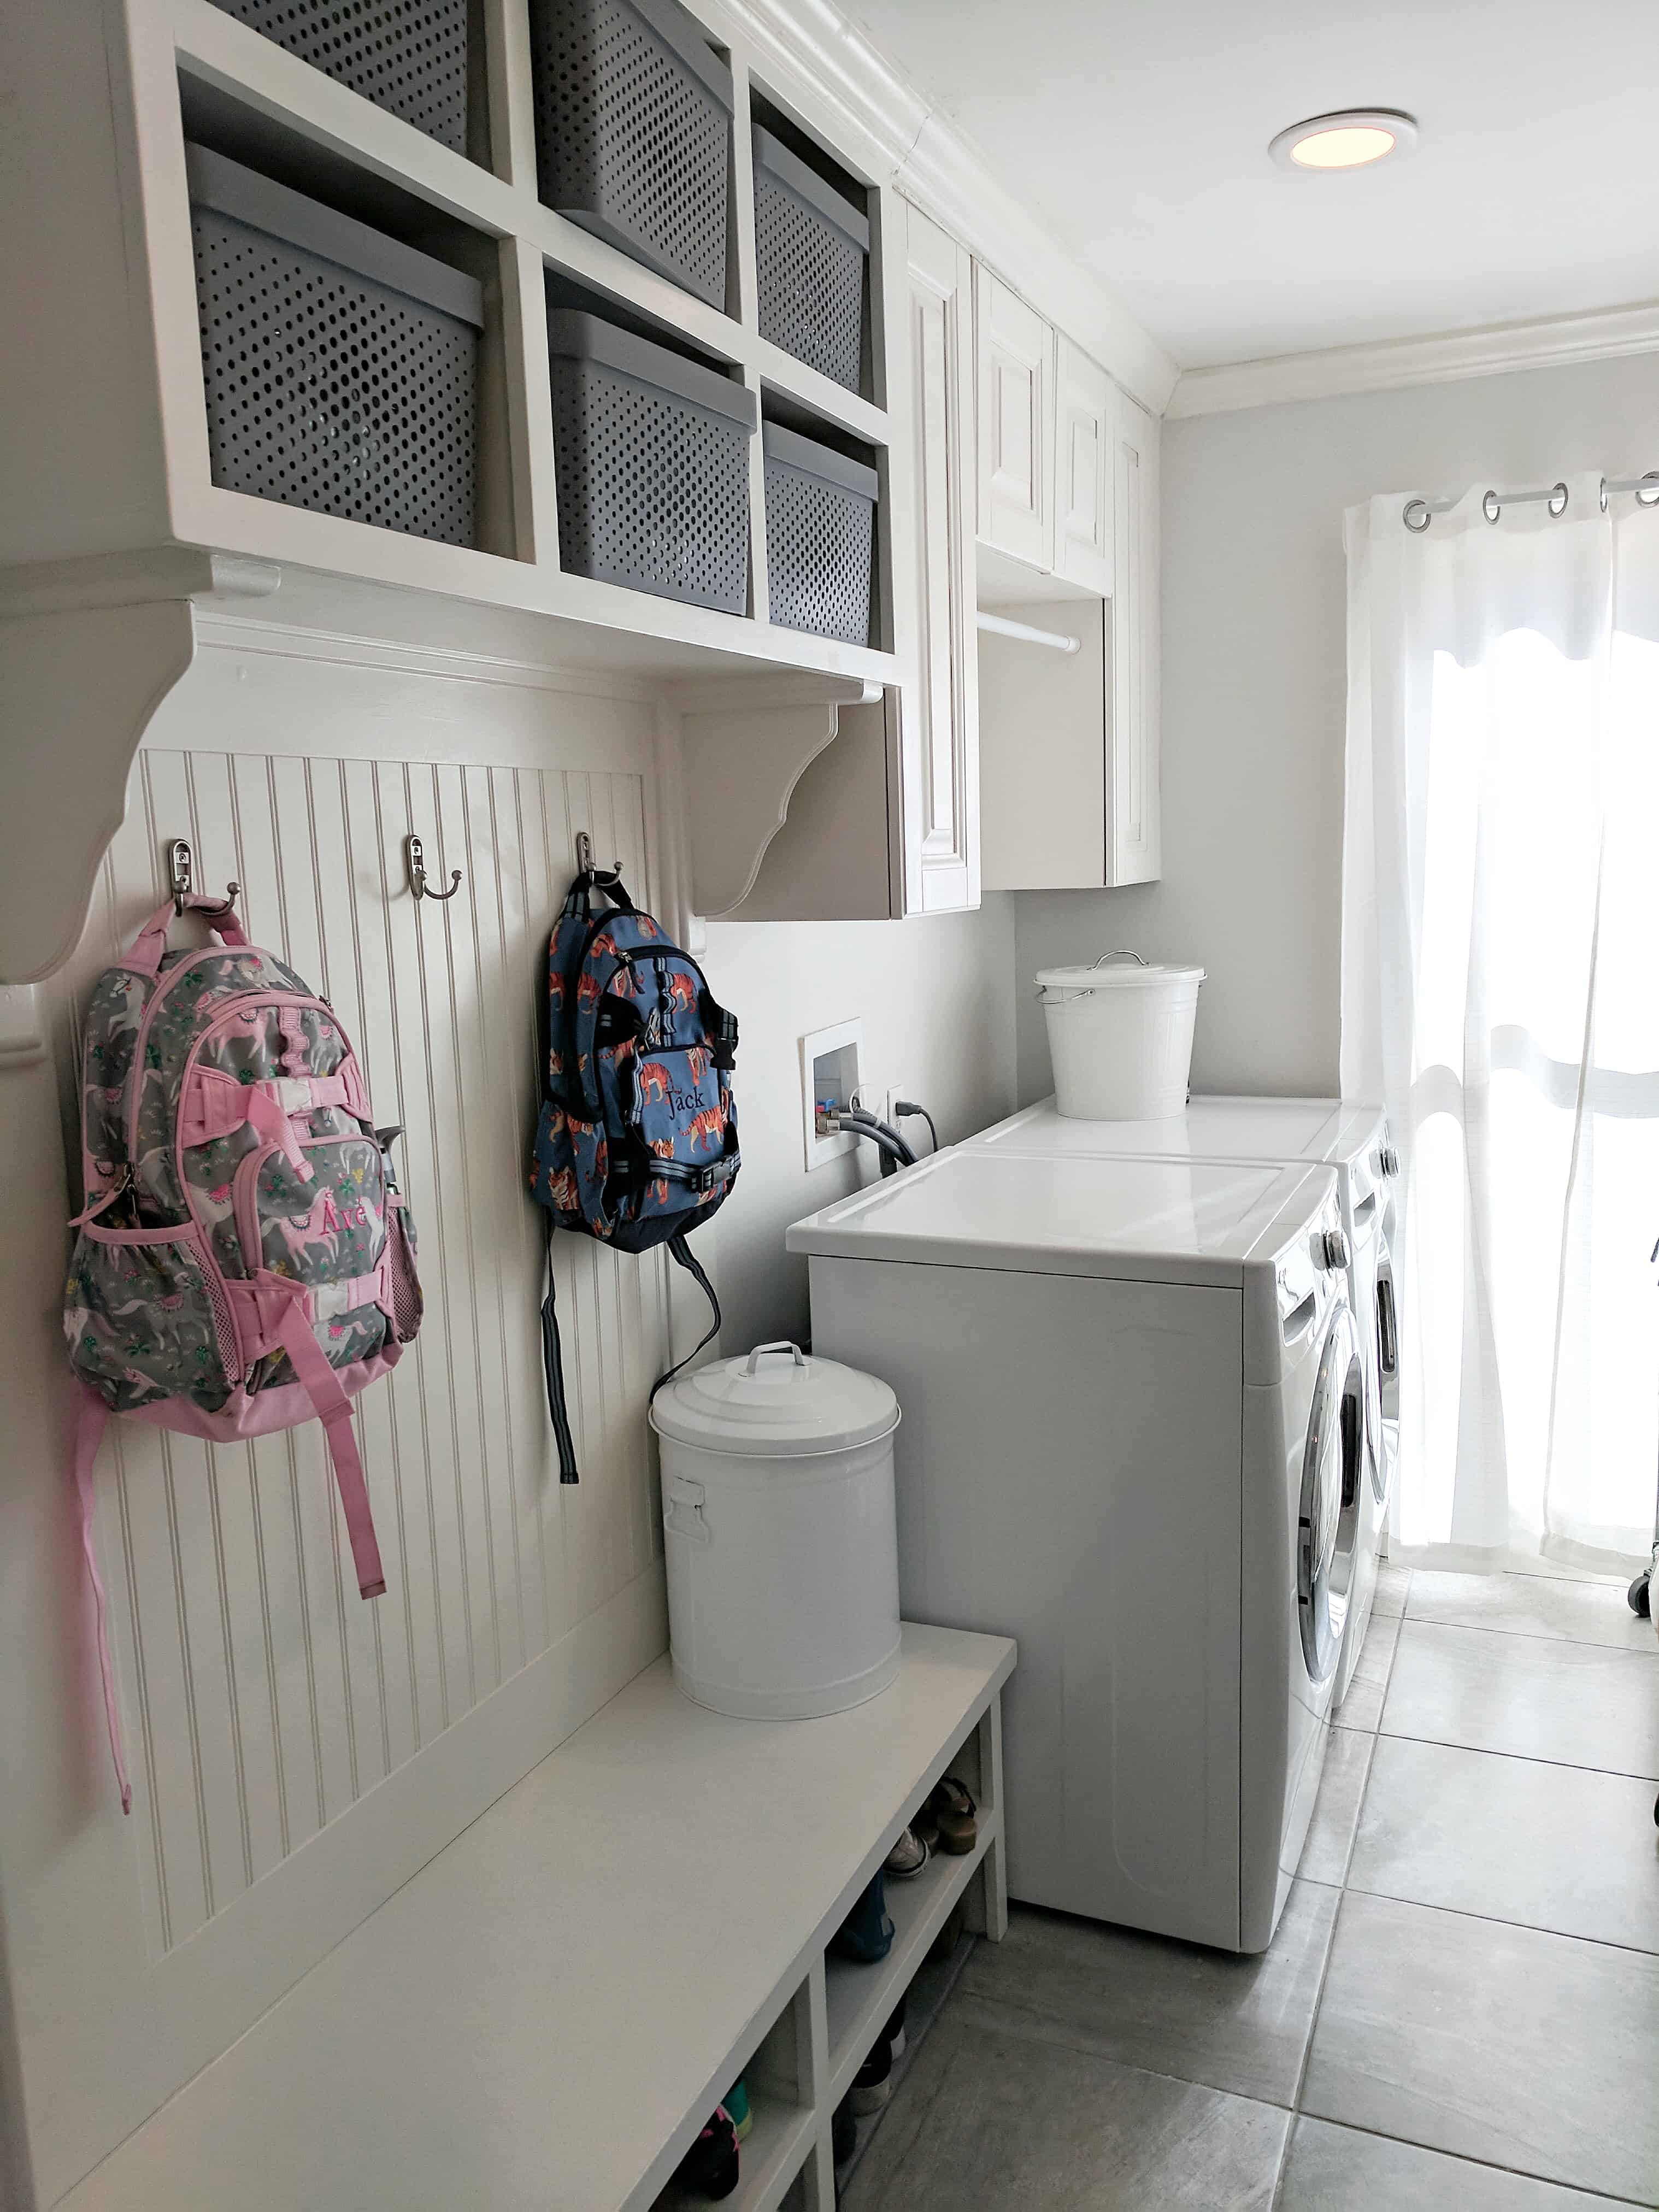
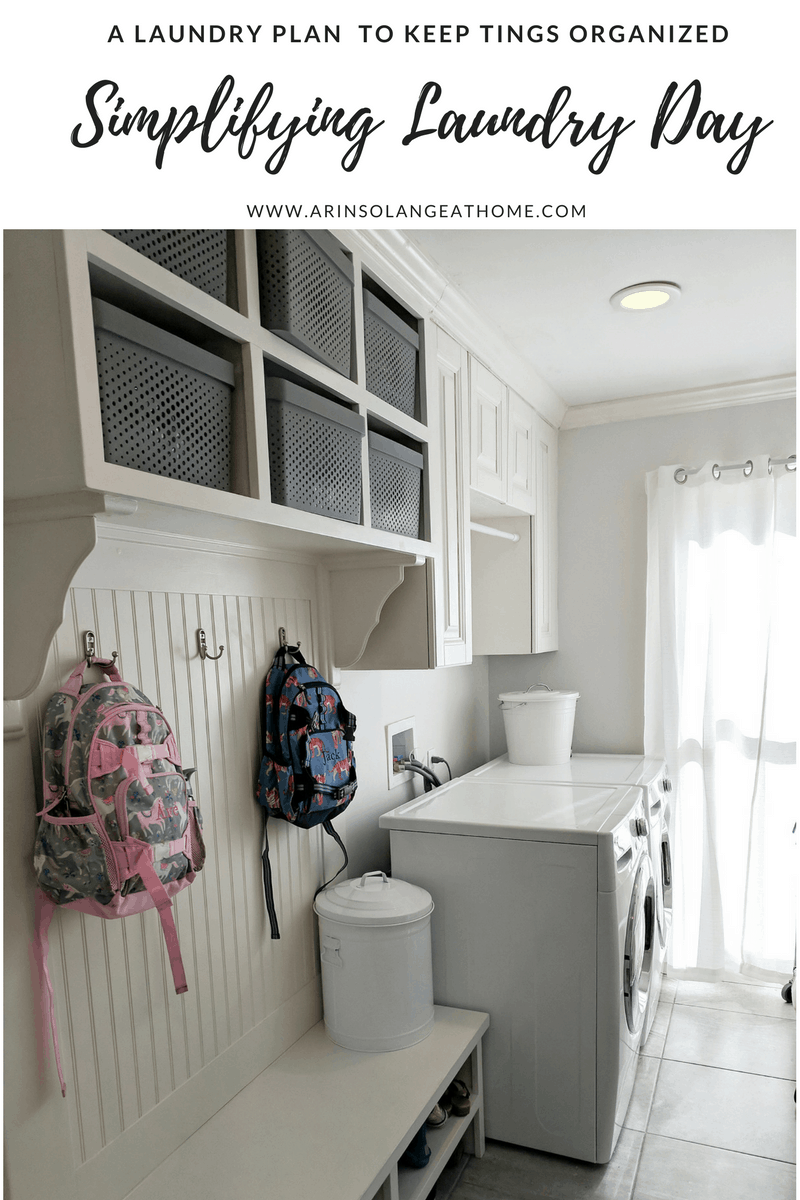
laundry room with pottery barn backpacks and white bins | Simplifying Laundry Day

Simplifying Laundry Day

Each of the kids have a laundry baskets now have a basket in their own room.  This has taught them responsibility in putting their laundry in their own spaces.  Once a week, or if the baskets are full before that, ONE persons laundry is washed, dried and put back in their basket, then immediately put away.  The smaller loads also made the drier go about twice as fast to speed things up.

Towels are done separately as well, and sheets are done in their own loads.  I know this sounds like a simple fix, but its been a complete game changer for our family.

Shop this post:  Laundry sorter // Laundry baskets // Kids Backpacks // Wall hooks //

laundry room with pottery barn backpacks and white bins | Simplifying Laundry Day

To check out another post on some things I do to cut down on stressful parts of our week check out this post, and be sure to pin the image below for later!

laundry room with pottery barn backpacks and white bins | Simplifying Laundry Day

SaveSaveSaveSave

Family

Celebrating Walker’s Firsts with Carters

This post is post is sponsored by Carter’s; however, all thoughts and opinions expressed are my own. 

The first year with a pretty much a sleep deprived emotional high, where you’re constantly celebrating firsts and new milestones.  I will never forget certain firsts with all of my babies, with the moments forever frozen in my memory.  The first mama, and the first time they crawl, and walk are these emotional moments where you feel like you are witnessing a miracle.  The outfits, the setting, location, everything becomes such an important piece to that first year puzzle.  I can think back to Carter’s being such an important special brand with Jack’s first “DA-DA”, and Avé in her Carter’s Cupcake PJ’s the first time she took steps in my parents living room.

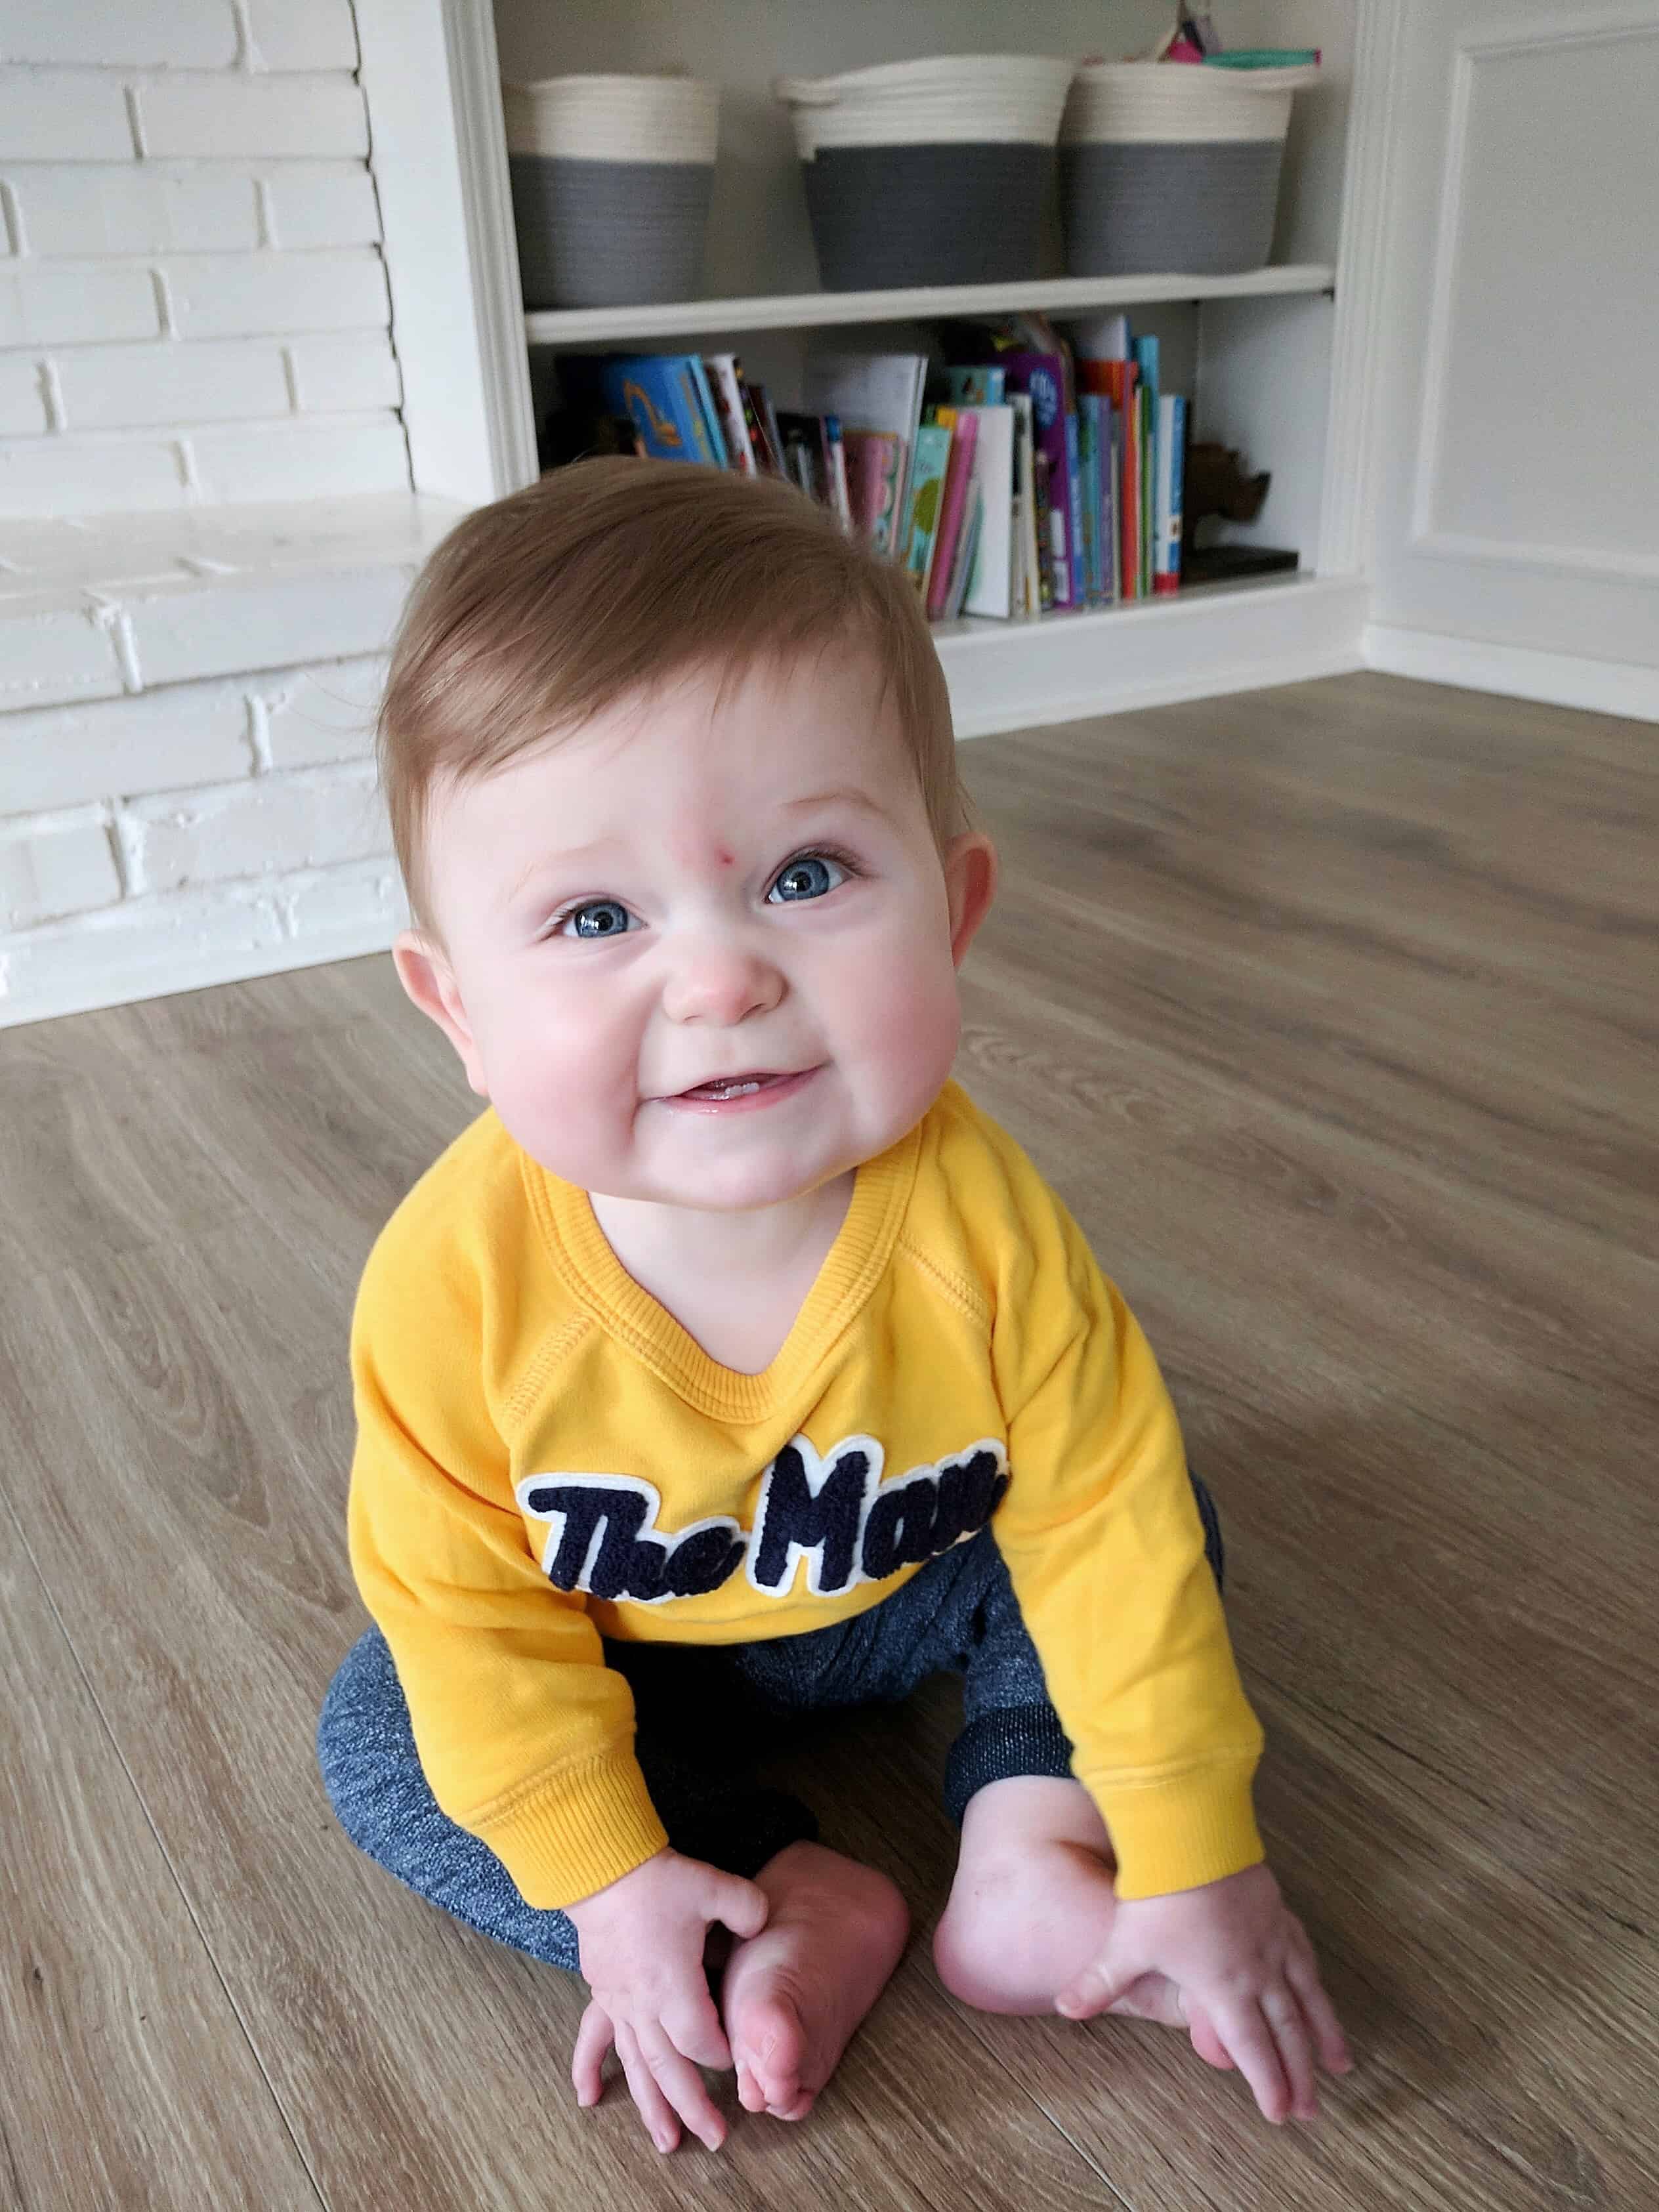
baby boy in yellow sweatshirt on couch

baby boy in yellow sweatshirt on couch

Walker’s Milestones with Carter’s

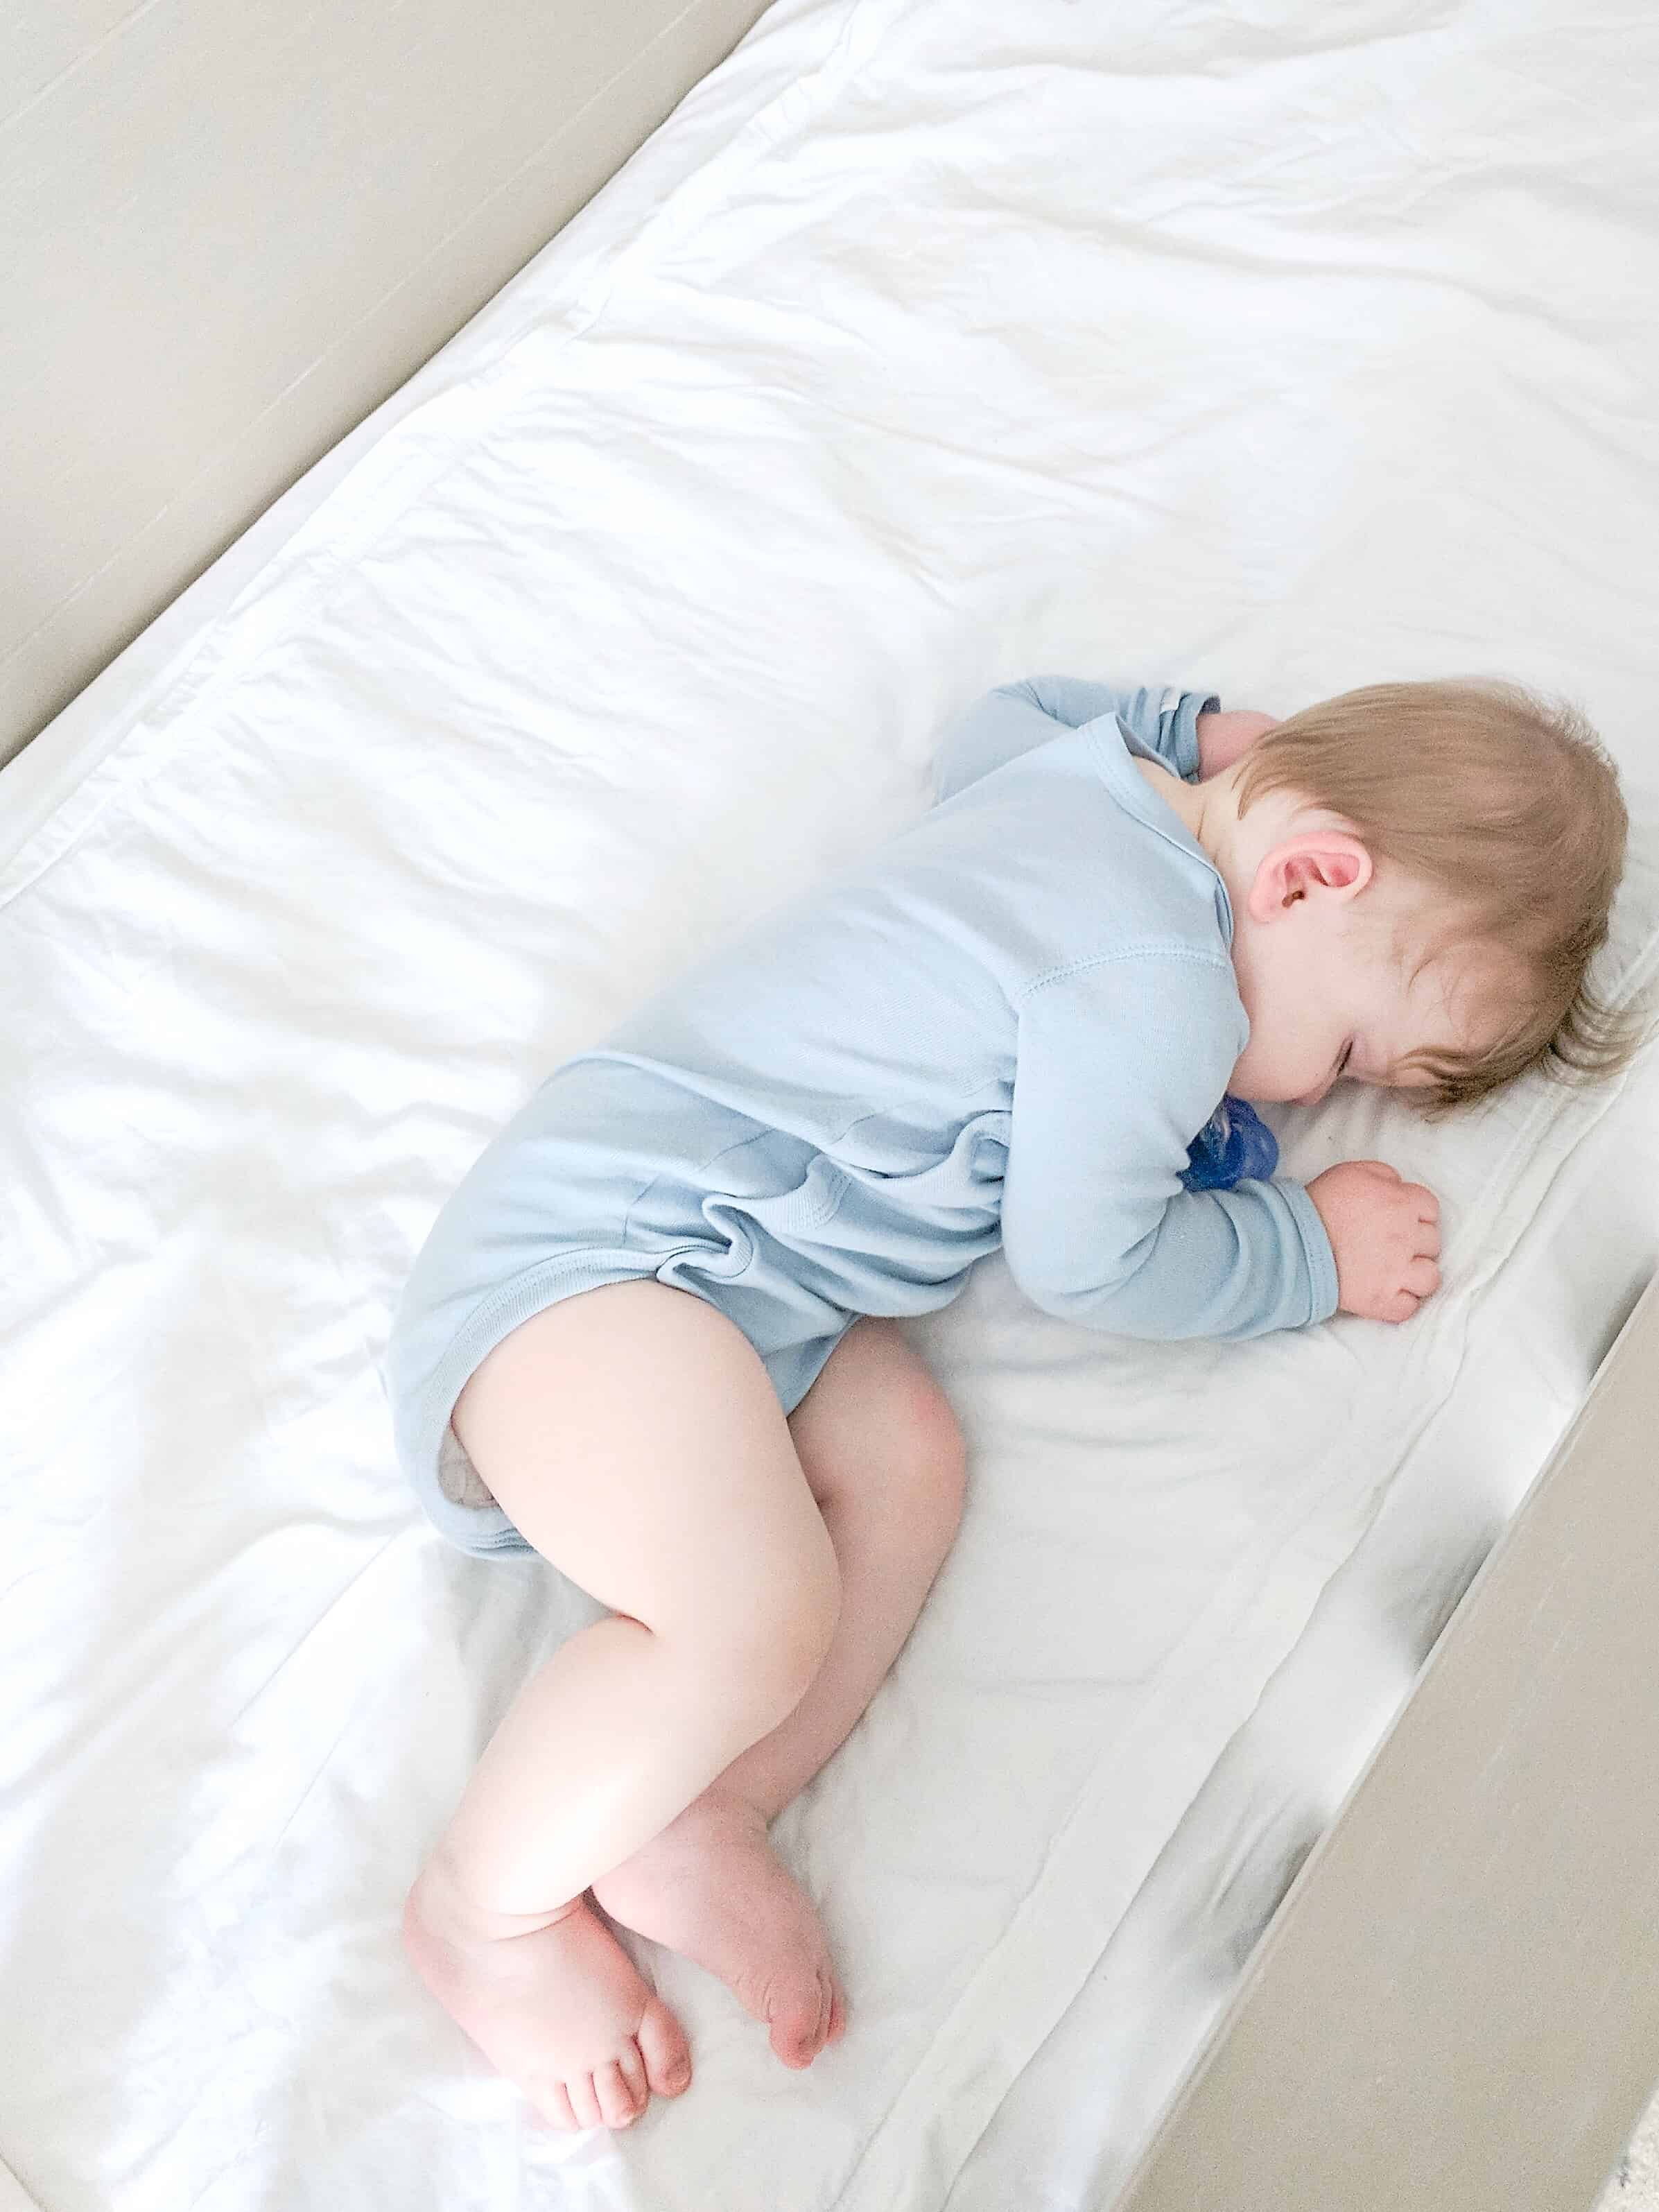
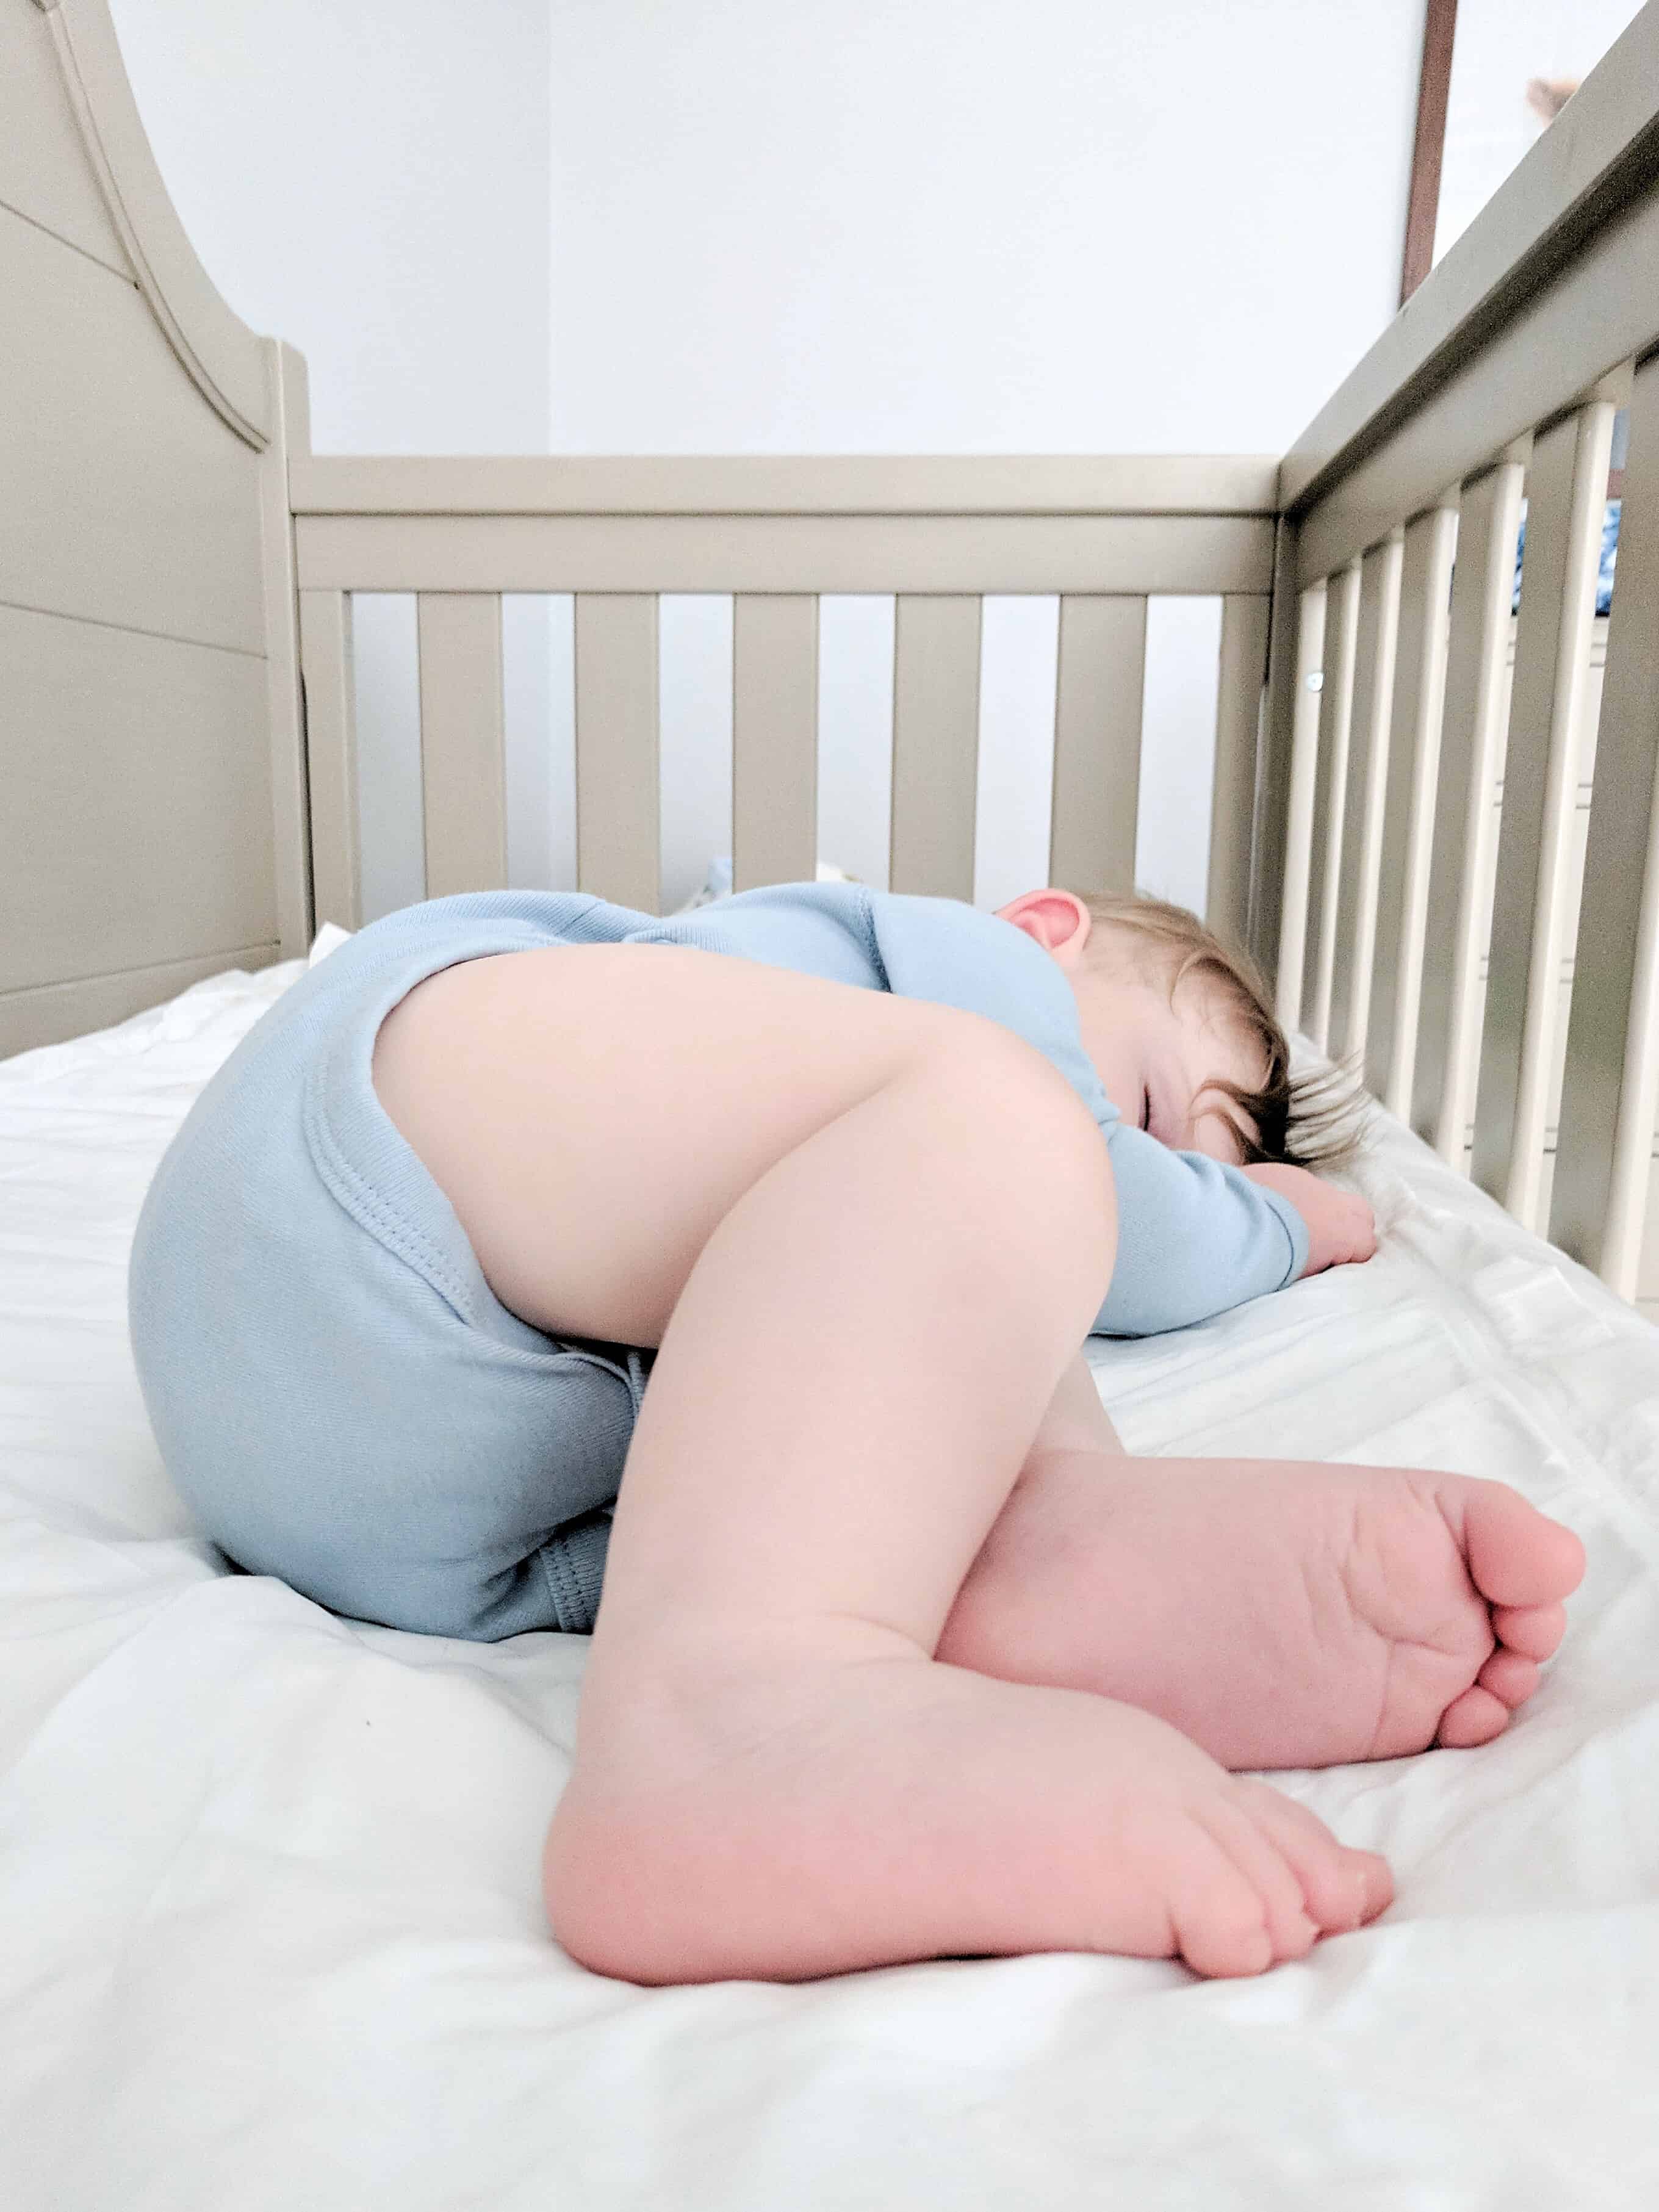
With Walker naps have been such a struggle, and the first time he took a long nap, with no battle and I walked in his room to his well rested smile, was forever one of my favorite moments with him.  His sweet little Carter’s onsie was all he was wearing, and it felt like a miracle suit.  That basic onsie is long past fitting, and Walker is growing like a weed, quickly moving past sizes much quicker than his older siblings did, so I have been so happy to have a Carter’s down the street to build his wardrobe with cute, functional, comfortable pieces for each size he needs.

sleeping baby in blue onsie on white sheets

sleeping baby in blue onsie

sleeping baby feet in blue onsie

Carter’s February baby sale is currently taking place from 2/20 – 3/5, and we are so excited to be able to stock up on all the clothes Walker will need in the coming months at great prices, I can’t beat! They have everything from rompers, to sleepers, onesies and more that are perfect for Spring, and I love that they offer such a great variety of both baby boy and baby girl clothes so I can get some gifts for all my friends expecting this spring!

Be sure to use This Coupon code to get 20% when you shop Carter’s February Baby Sale, and stock up on all your baby basics, and other spring time baby wardrobe necessities!

Shop the items in this post: The Man Sweatshirt // Blue Onsie //Navy Pants // Jeans // Blue Striped Sweatshirt

baby boy in yellow sweatshirt on couch

baby boy in yellow sweatshirt on couch

Baby boy in blue striped sweatshirt


SaveSaveSaveSave

DIY

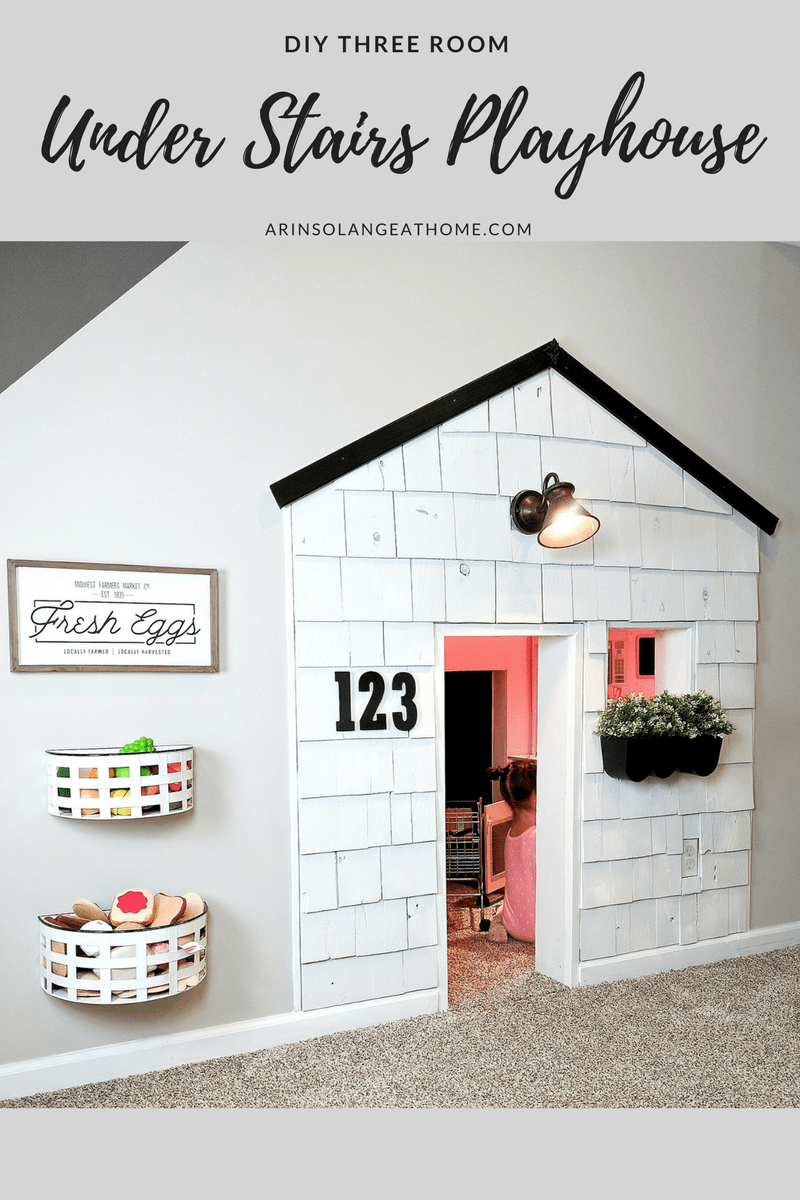
Under Stairs Playhouse


FINALLY, I am getting around to blogging the update to our basement under stairs built in playhouse that got a major facelift over the past couple of months, as well as some other small updates we added to our basement.  To see the original update to the basement you can check out this post, and check out our house at move in for the ORIGINAL blue basement we moved in to.

This post contains affiliate links. read more here.
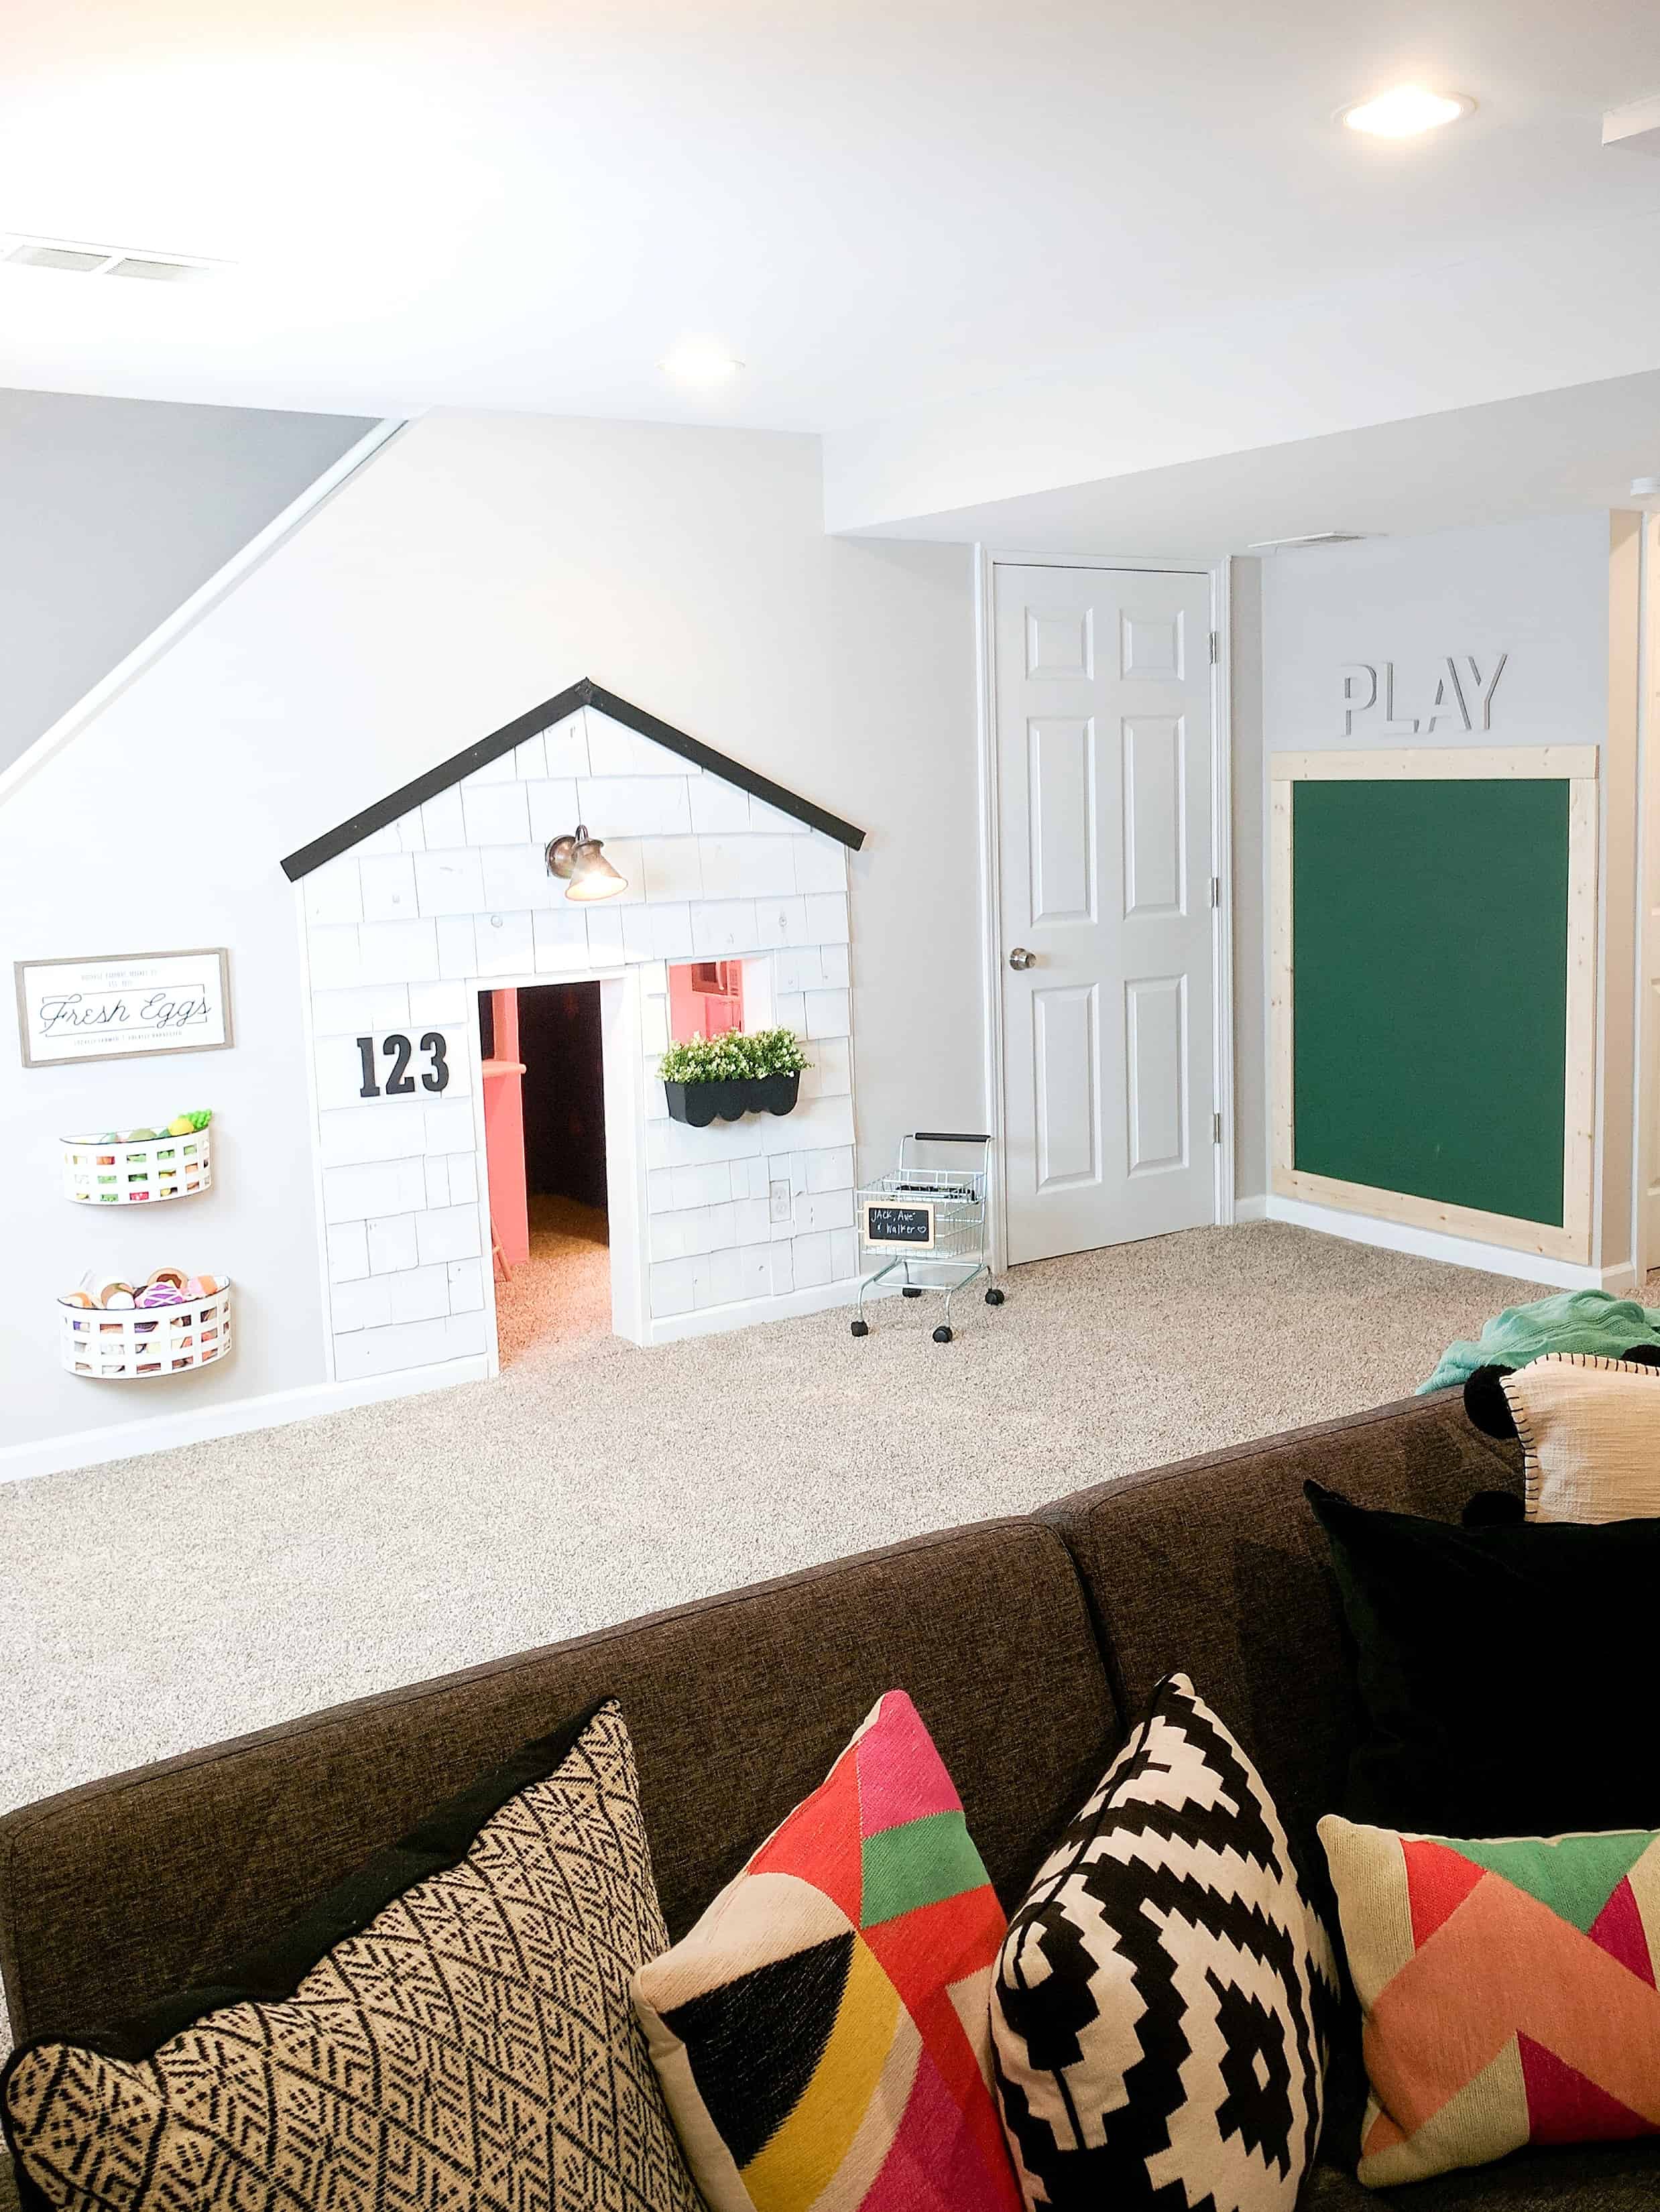
playroom with built in under stairs playhouse house and chalkboard wall

Under Stairs Built in Playhouse

When we moved in to our house there was already an existing under stairs playhouse, so I can not give you the step by step building process.  But goodness knows I have dug around in every corner, so I am going to give you my best details as the proud recipients of this fixer upper!

Making it Deeper than the Stairwell

One thing that is SO IMPORTANT to know, is that there is a “box” built into the unfinished storage room of our basement behind the playhouse to make it deeper.  This allowed it to not be confined by the depth of the stairwell.  Basically knock out the drywall in the form of a doorway, then they go trough that into the built out box in the storage room.  

See the video on this post to see what I mean by this BOX. 
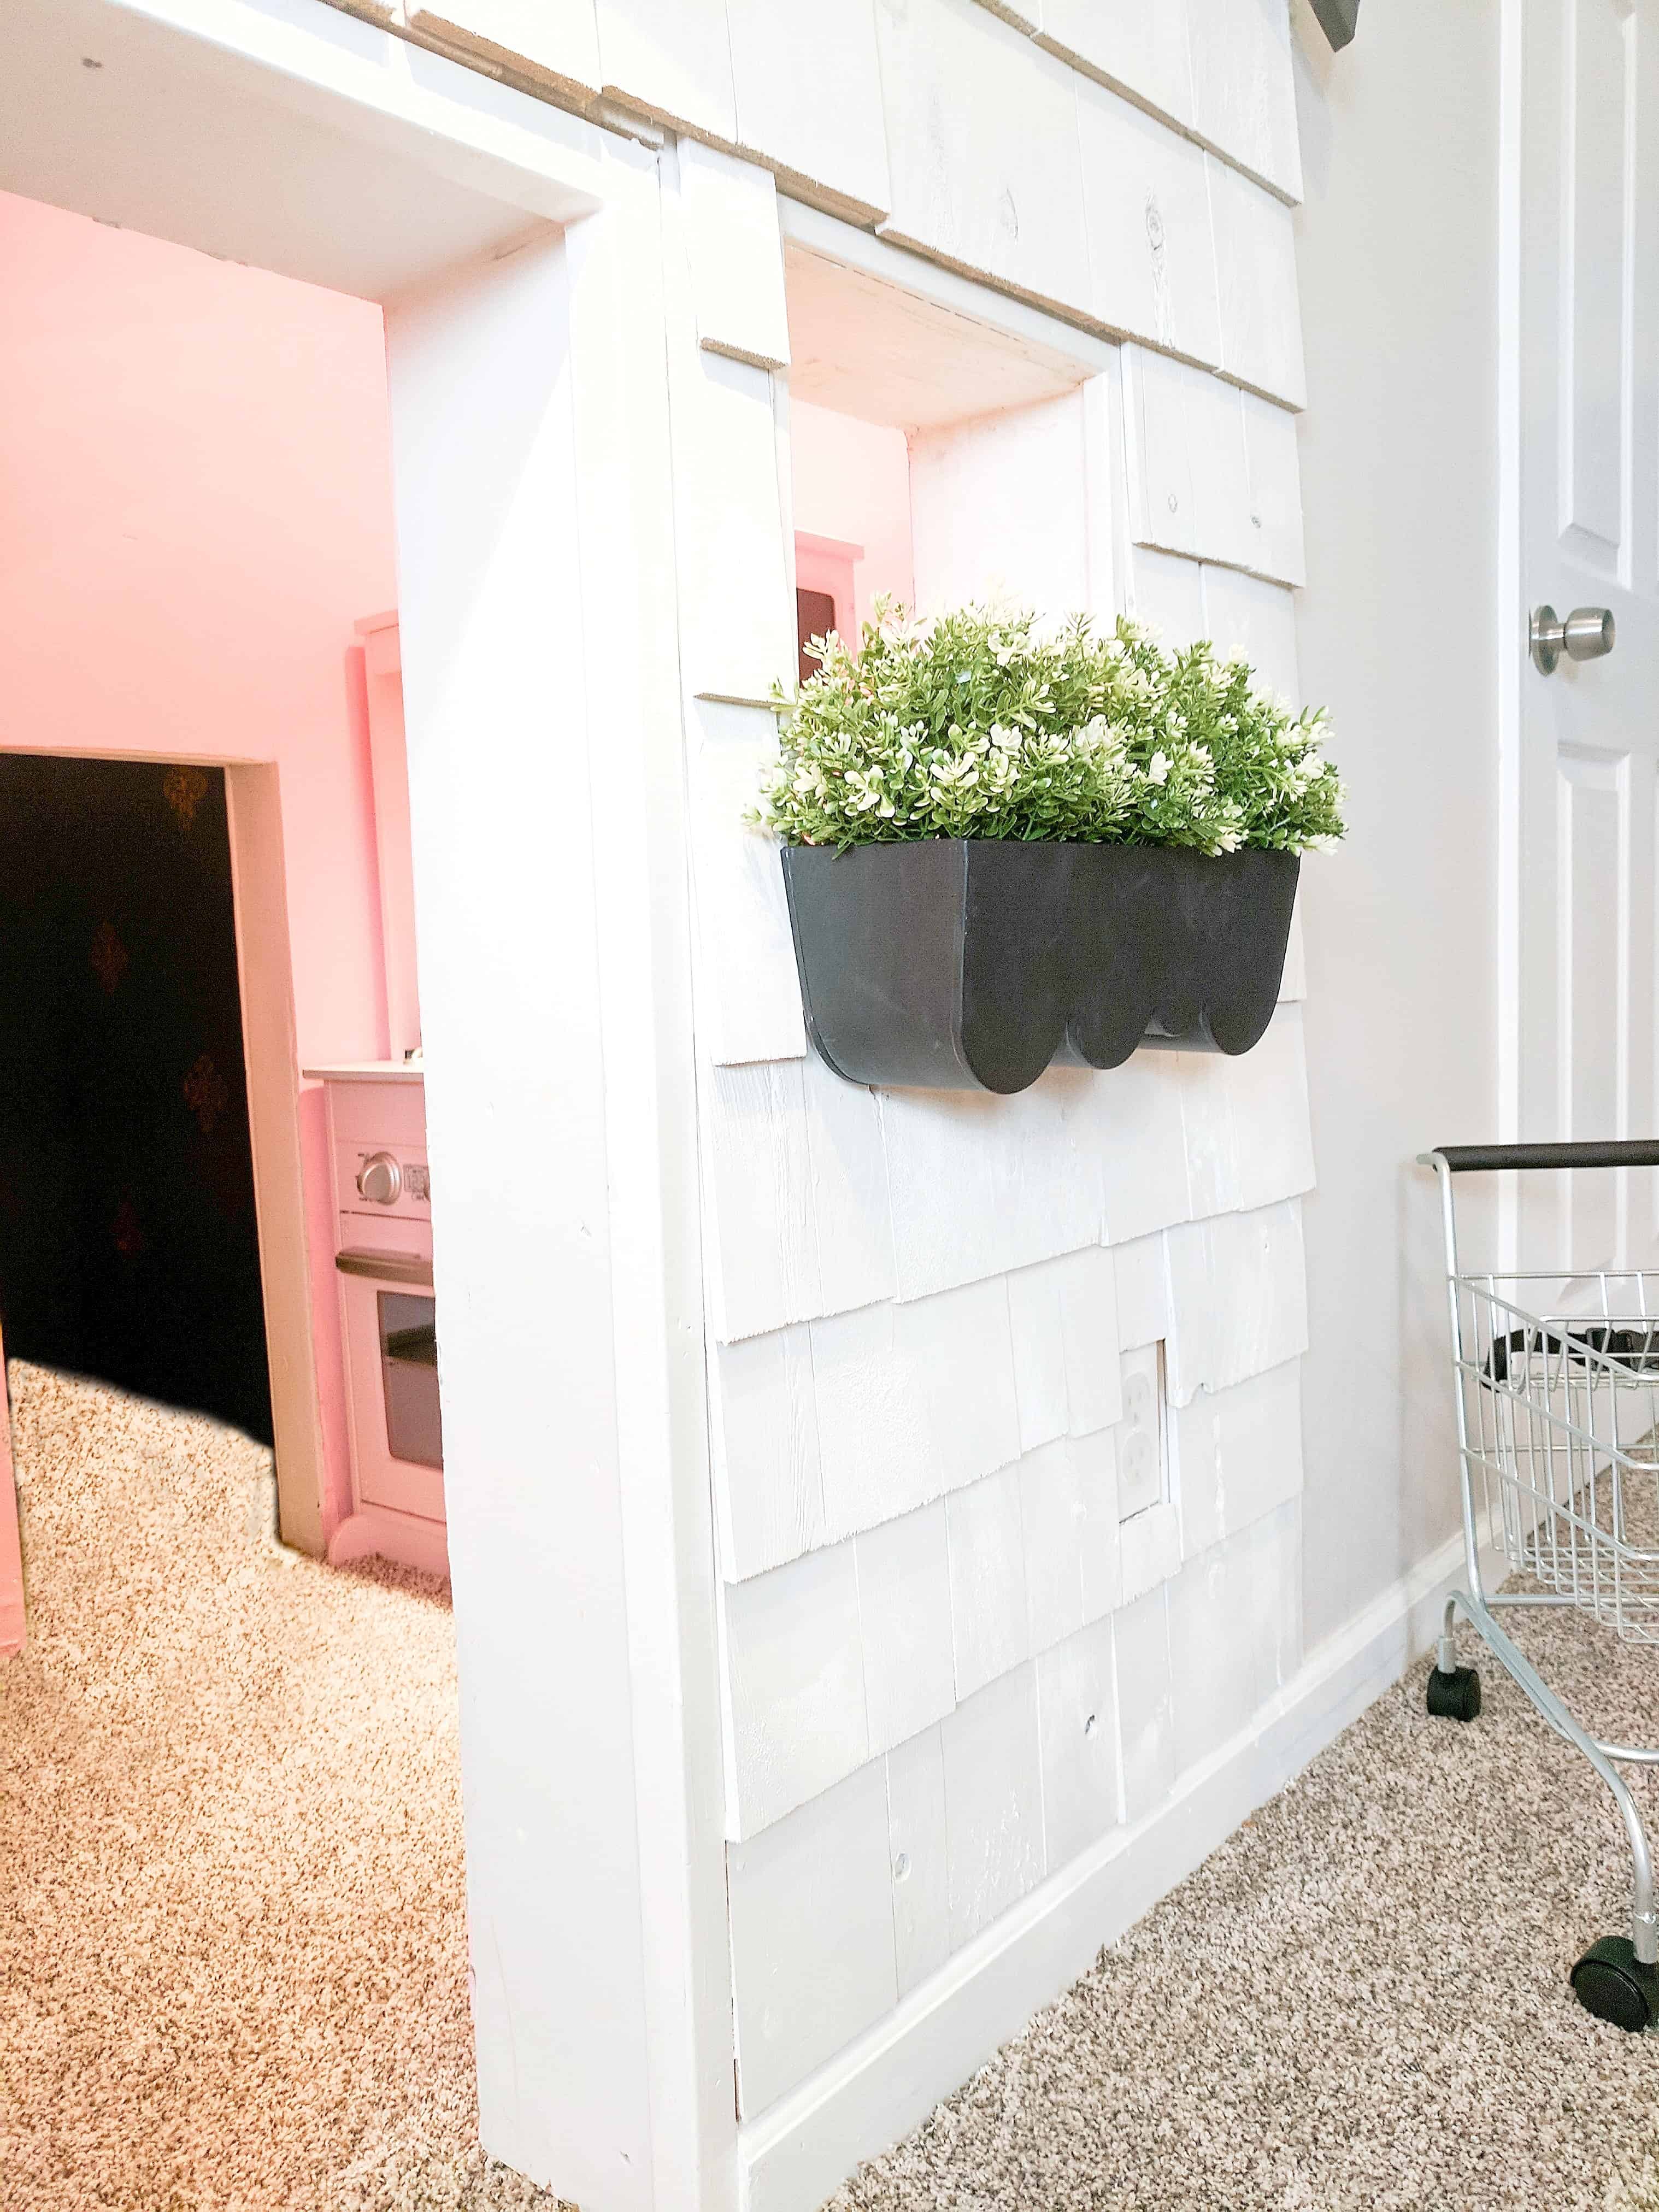
white shingle under stairs playhouse with pink walls

Adding Cedar Shake Shingles

This was actually a super simple update, but a HUGE upgrade to the outside of the house.  I am super modern typically, but I felt like changing the shape and such was more hassle than it was worth, so I went with a fully cosmetic update.

Adding these shingles was SIMPLE, but also very time consuming.

You will start at the bottom of the playhouse and nail the shingles in one at a time. I started at the middle on each row trying to vary the widths of the pieces.  When I got to the ends I used a small hand saw and cut a shingle to make them fit.  (as a hint – use the thinner boards on the edges for easier sawing).  Starting at the bottom of the house I nailed the shingles in one row at a time.  

Overlap each row by however much you prefer, and continue to the top.  There were a few small areas that were trickier for me – the outlet, and the diagonal. One thing to do before you fully encase the outlet if you have one, is to cover it in painters tape so it is ready for painting! Just get creative on the small areas.  Remember that cedar shingles allow a lot of room for error because they are not perfect!

  You will go through LOTS of nails, so have them handy.  One the process was complete I decided I wanted it to be white. Do not attempt to paint this by hand.  I painted it with a paint sprayer (grab it here on Amazon)  and am so glad I did, because it was a quick process that filled the gaps and gave it a polished finish.

Lighting

We did not add any of the lighting to this playhouse ourselves.  But the playhouse has a can light inside, as well as Christmas lights hung throughout, and a light on the front of the outside. They all are run by one light switch inside the “door” at perfect height for the kids. 

Overall Layout

So for those of you that don’t want to watch the video on this post (let it pop up if you’re a mobile viewer!), let me give you a walk through of sorts. You come in the front opening to room 1.  To the left is a “doorway” to a small room that is not tall at all that continues to the bottom of the stairs.  Honestly – if you are looking for an area to skip, this is the one!

Straight ahead is a small ‘bar top’ with a window into the back room.  To the side of that is a doorway to the back room that is in the “box” I talked about at the start of this post.  that is a good sized room that my kids love. 

I use the front room for the play kitchen, because the kids love to pass food through the window opening, then the backroom is left open.  


room with white shingle playhouse shopping cart and bins on wall in our basement with our under stairs built in playhouse

Framed Chalkboard Wall

The other major update I made to the basement was in adding a chalkboard wall.  

This was a super simple addition.  I painted the wall I was planning to Frame with  green chalkboard paint.  I then added 2 inch boards around its that I nailed into the wall.  Mind blowing right? haha

This was VERY simple, and I planned for it to have a rustic look, and love the end product.  

Over the top I painted the letters to spell ‘PLAY’ with the paint I used on the walls for a subtle fun addition to the walls.
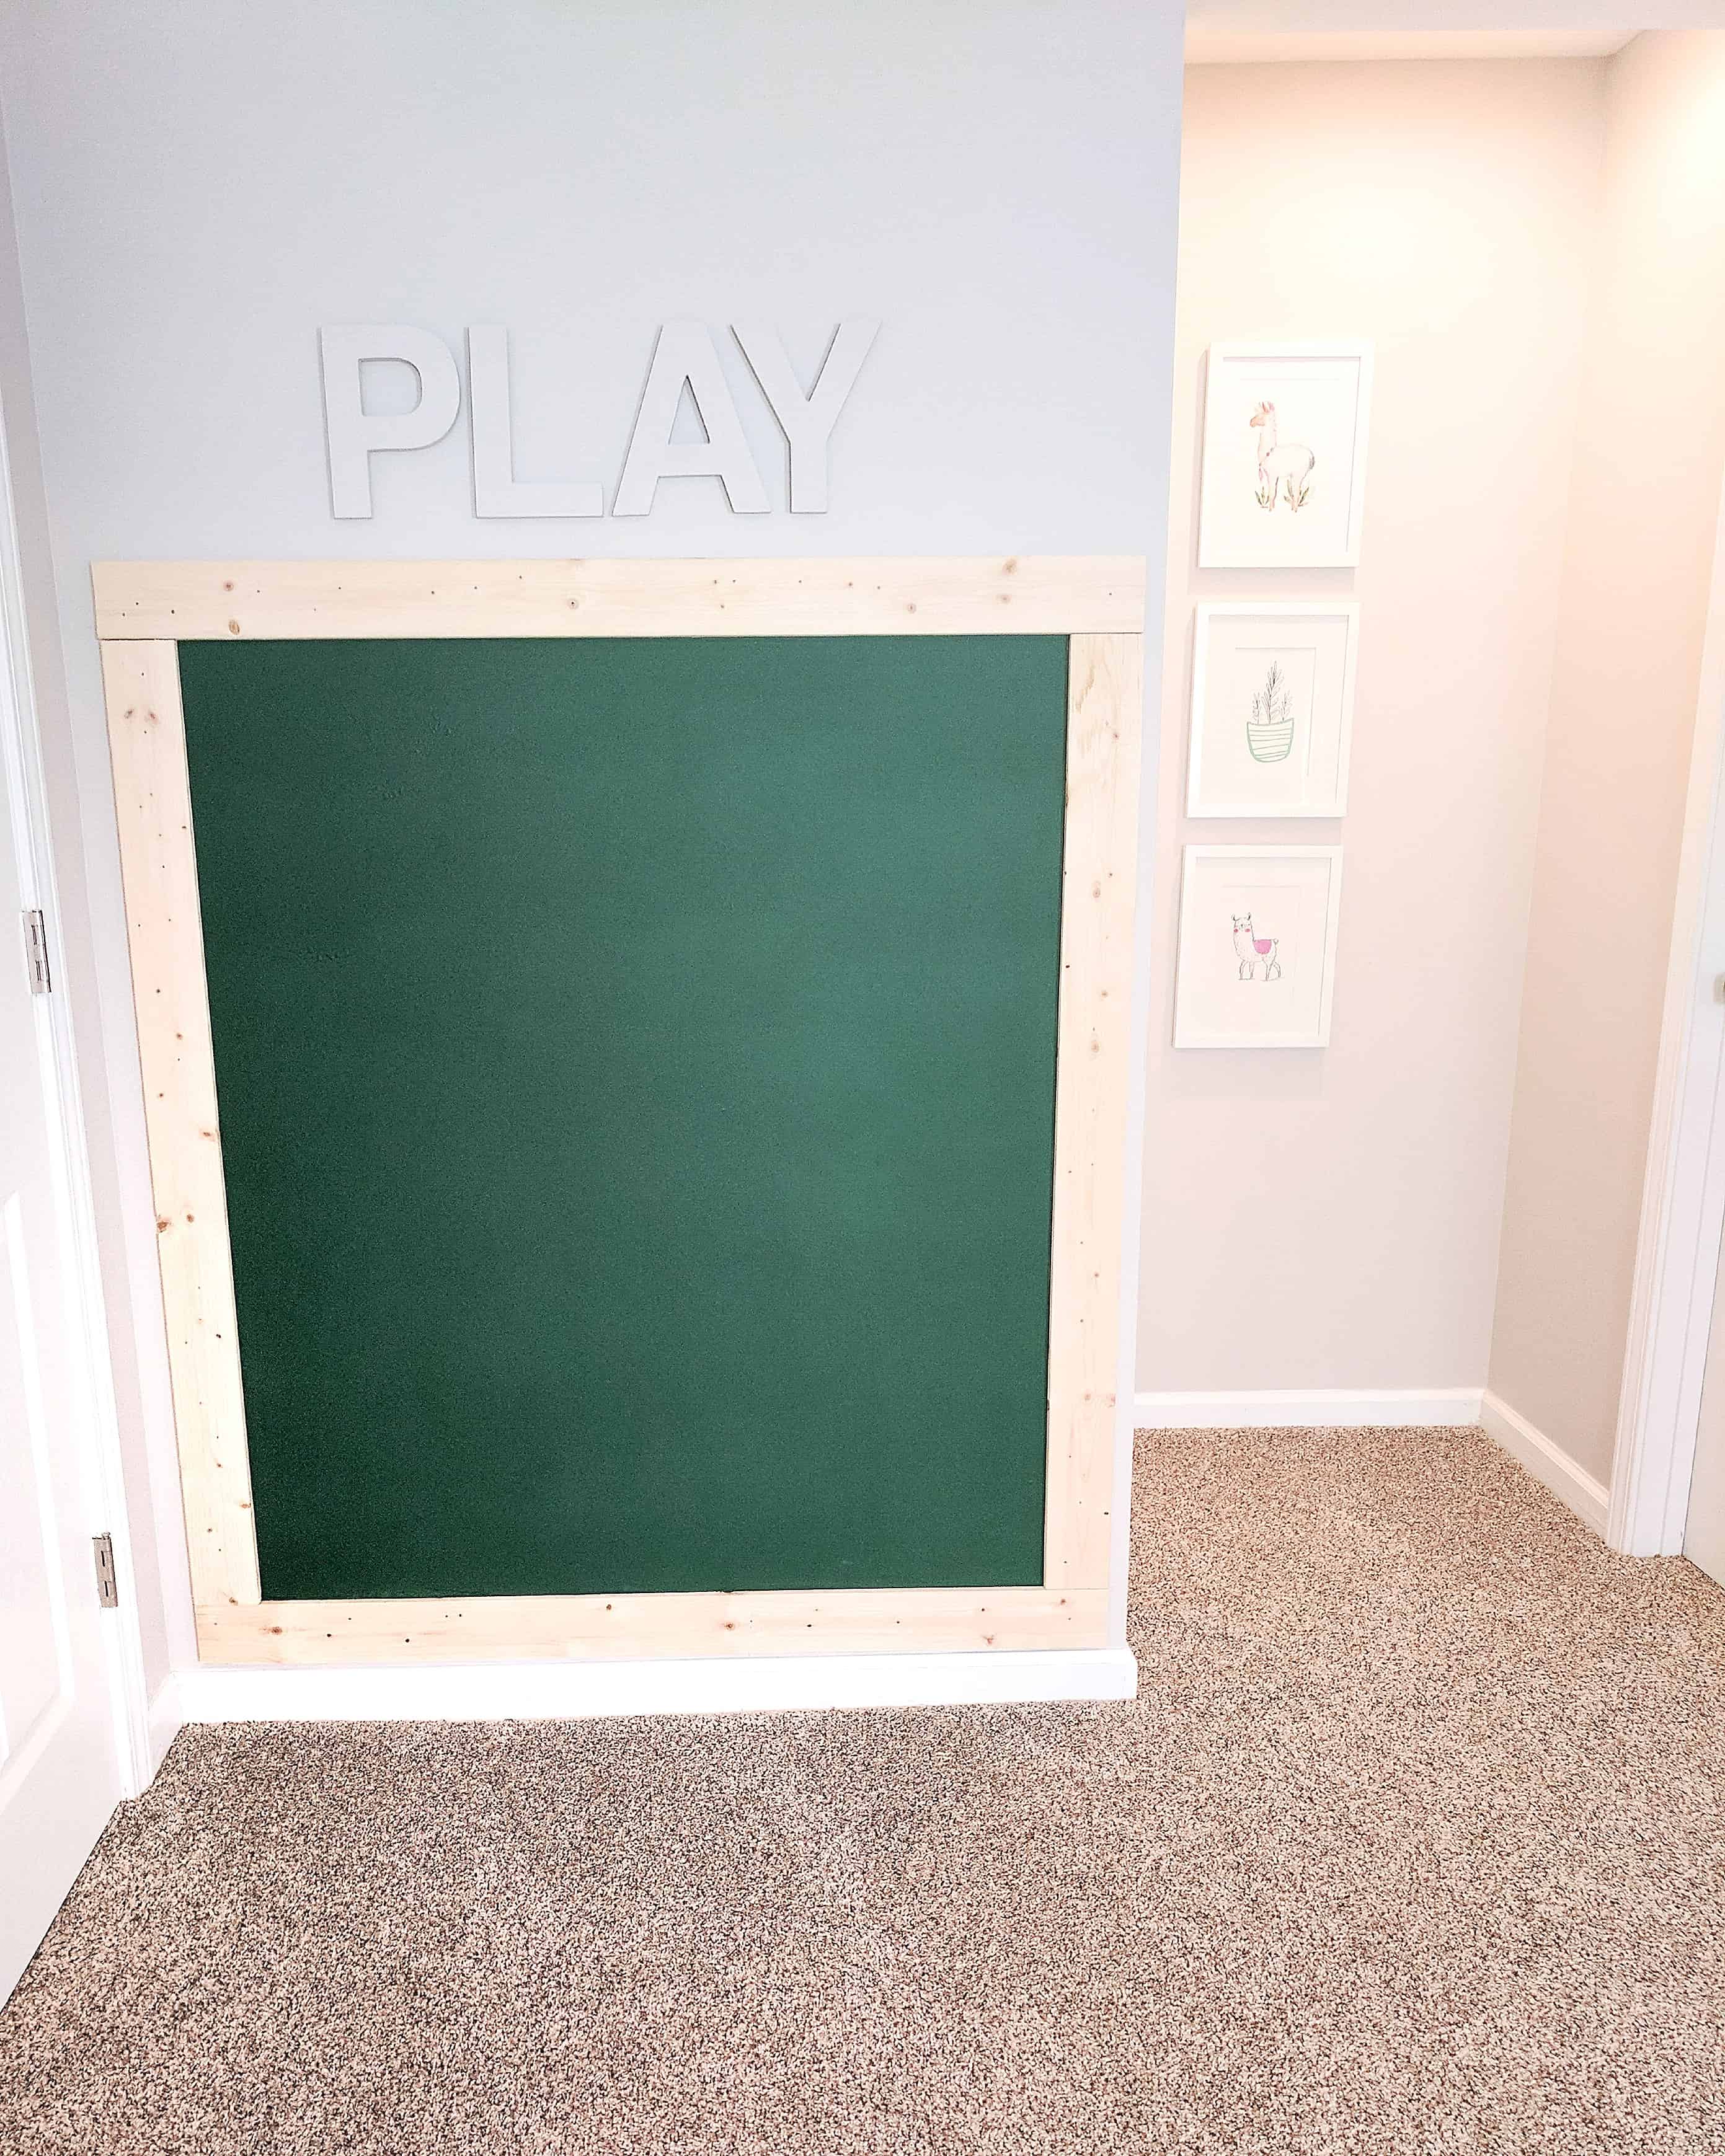
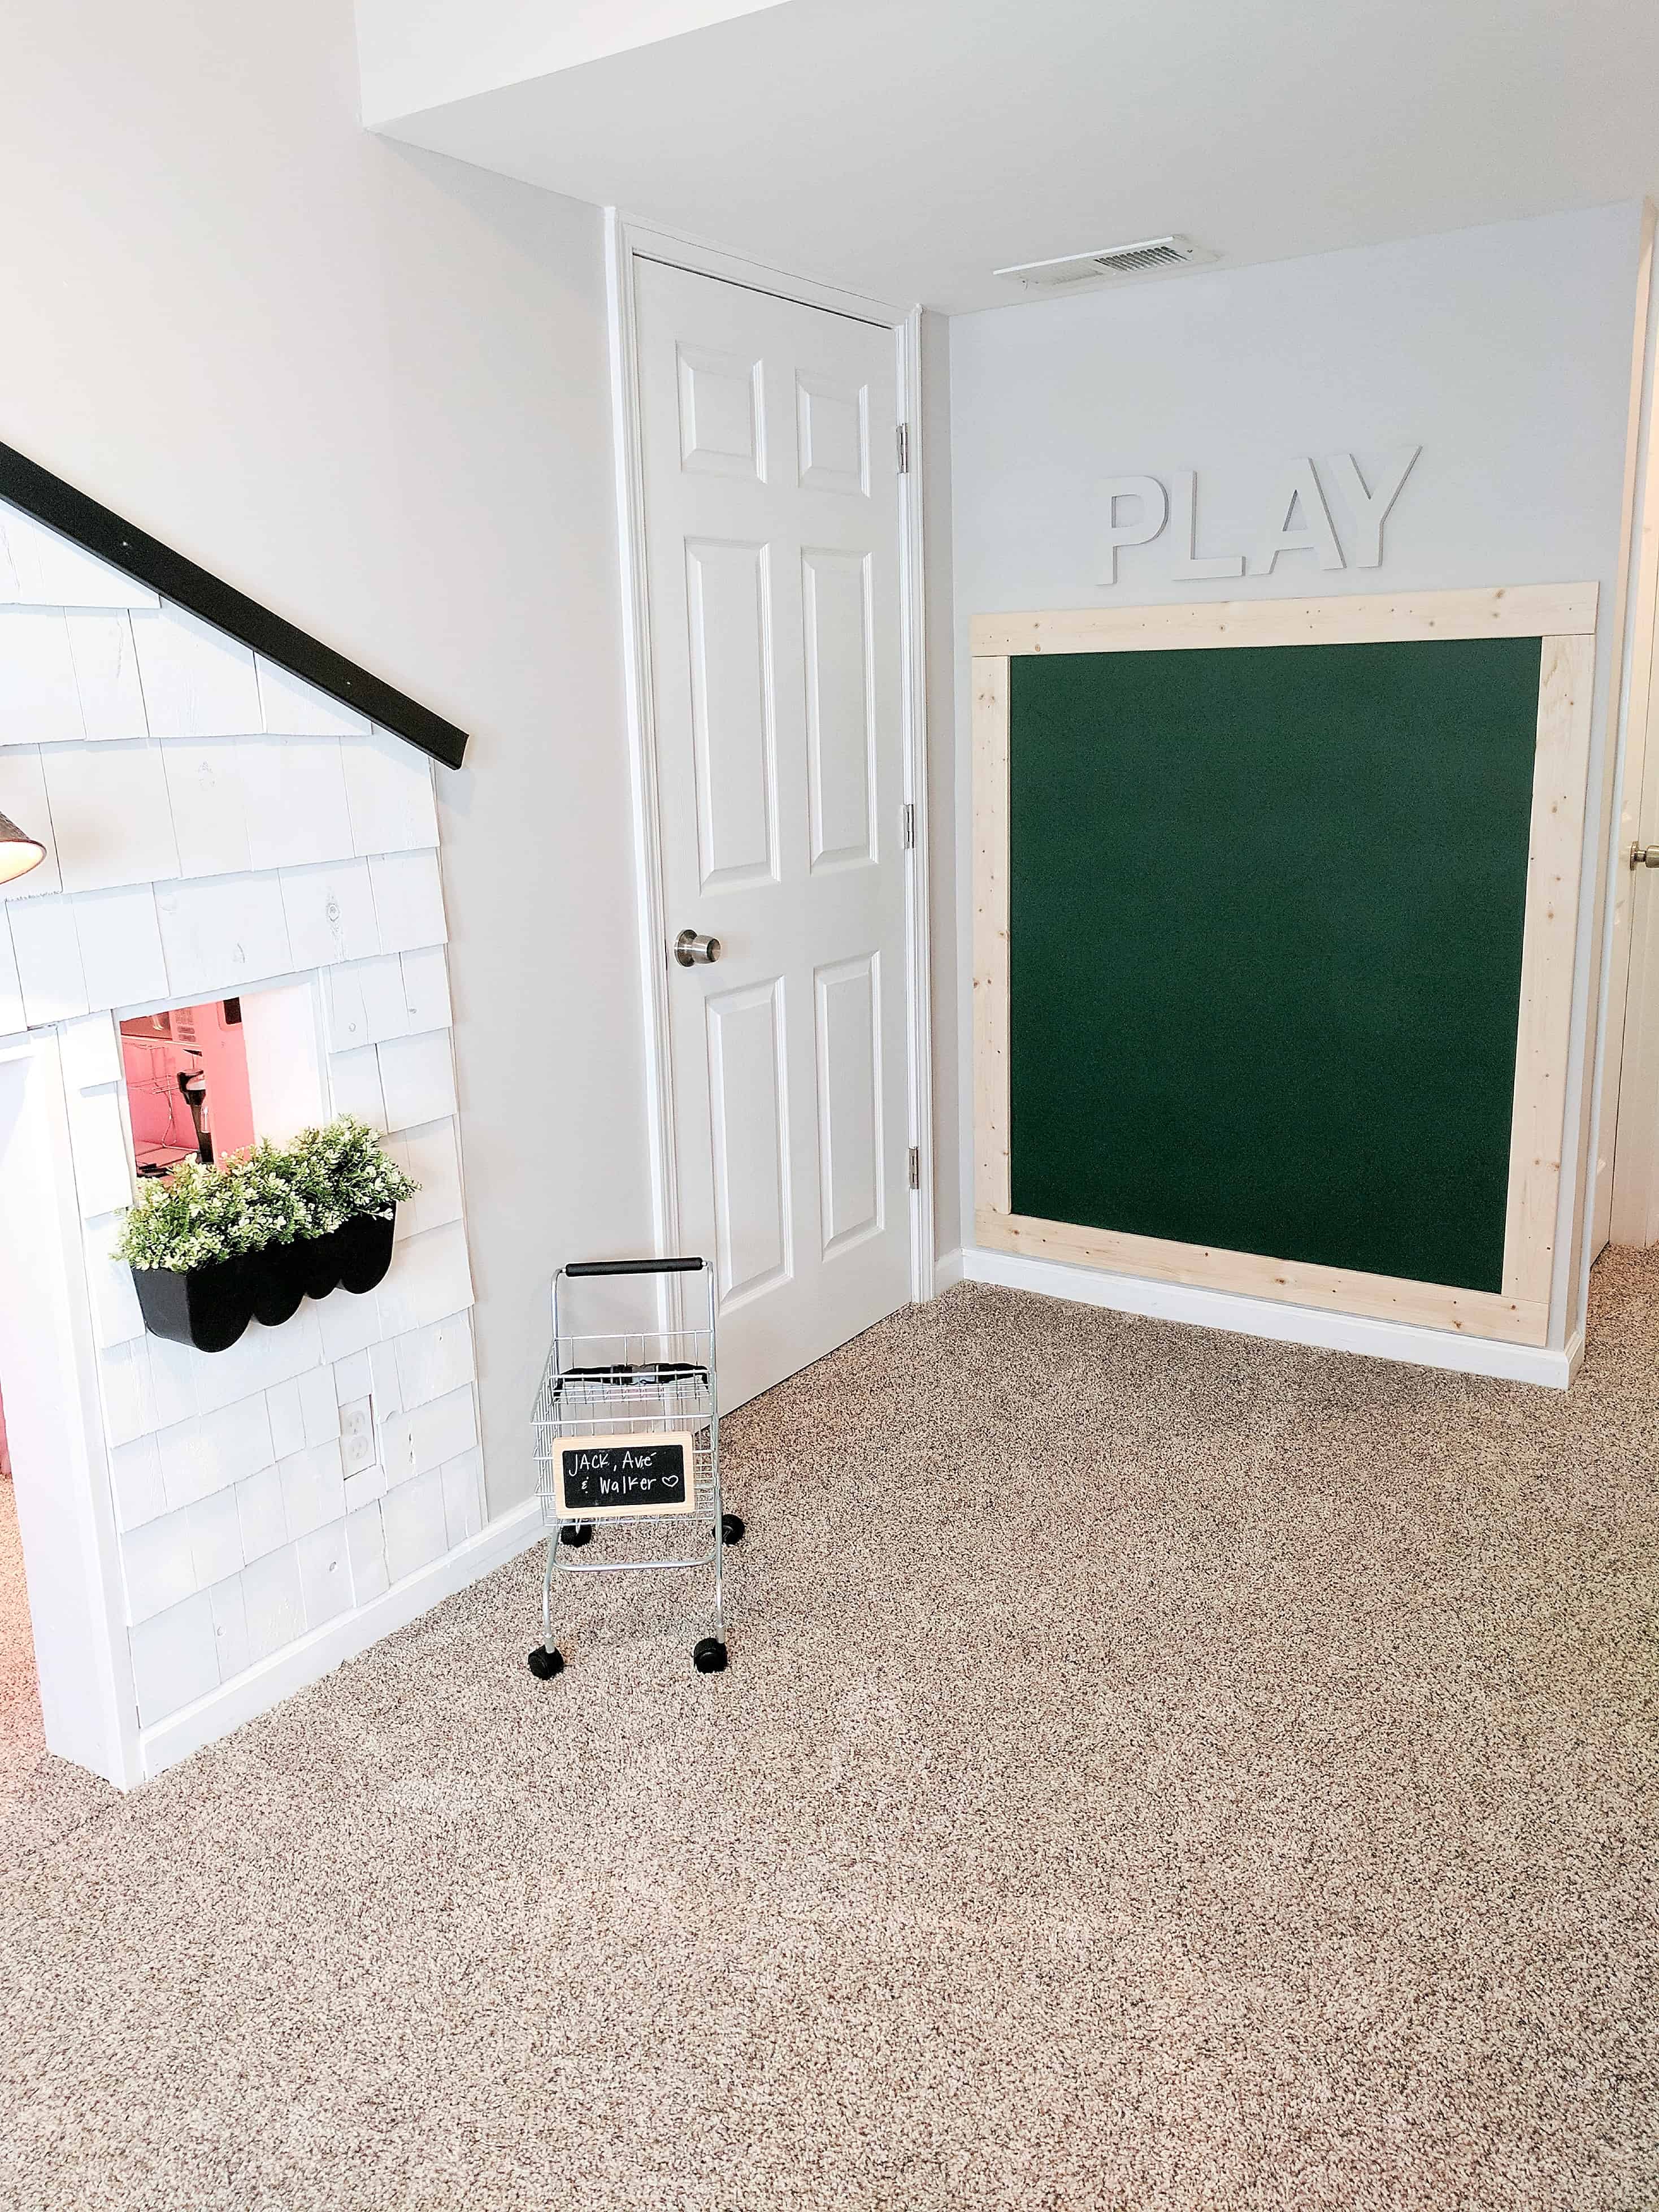
framed green chalk wall with the word PLAY over it in our basement with our under stairs built in playhouse

white playhouse with grocery cart and framed green chalk wall in our basement with our under stairs built in playhouse

Accessories in this Post:

 Grocery Cart // Anywhere Chairs // Wall Decor

There are more fun changes to come to the basement this year, but as for now, that is where we are at! Although we didn’t fully build the under stairs playhouse I am more than happy to send more behind the scenes photos or answer any questions you might have.


Other Basement Photos
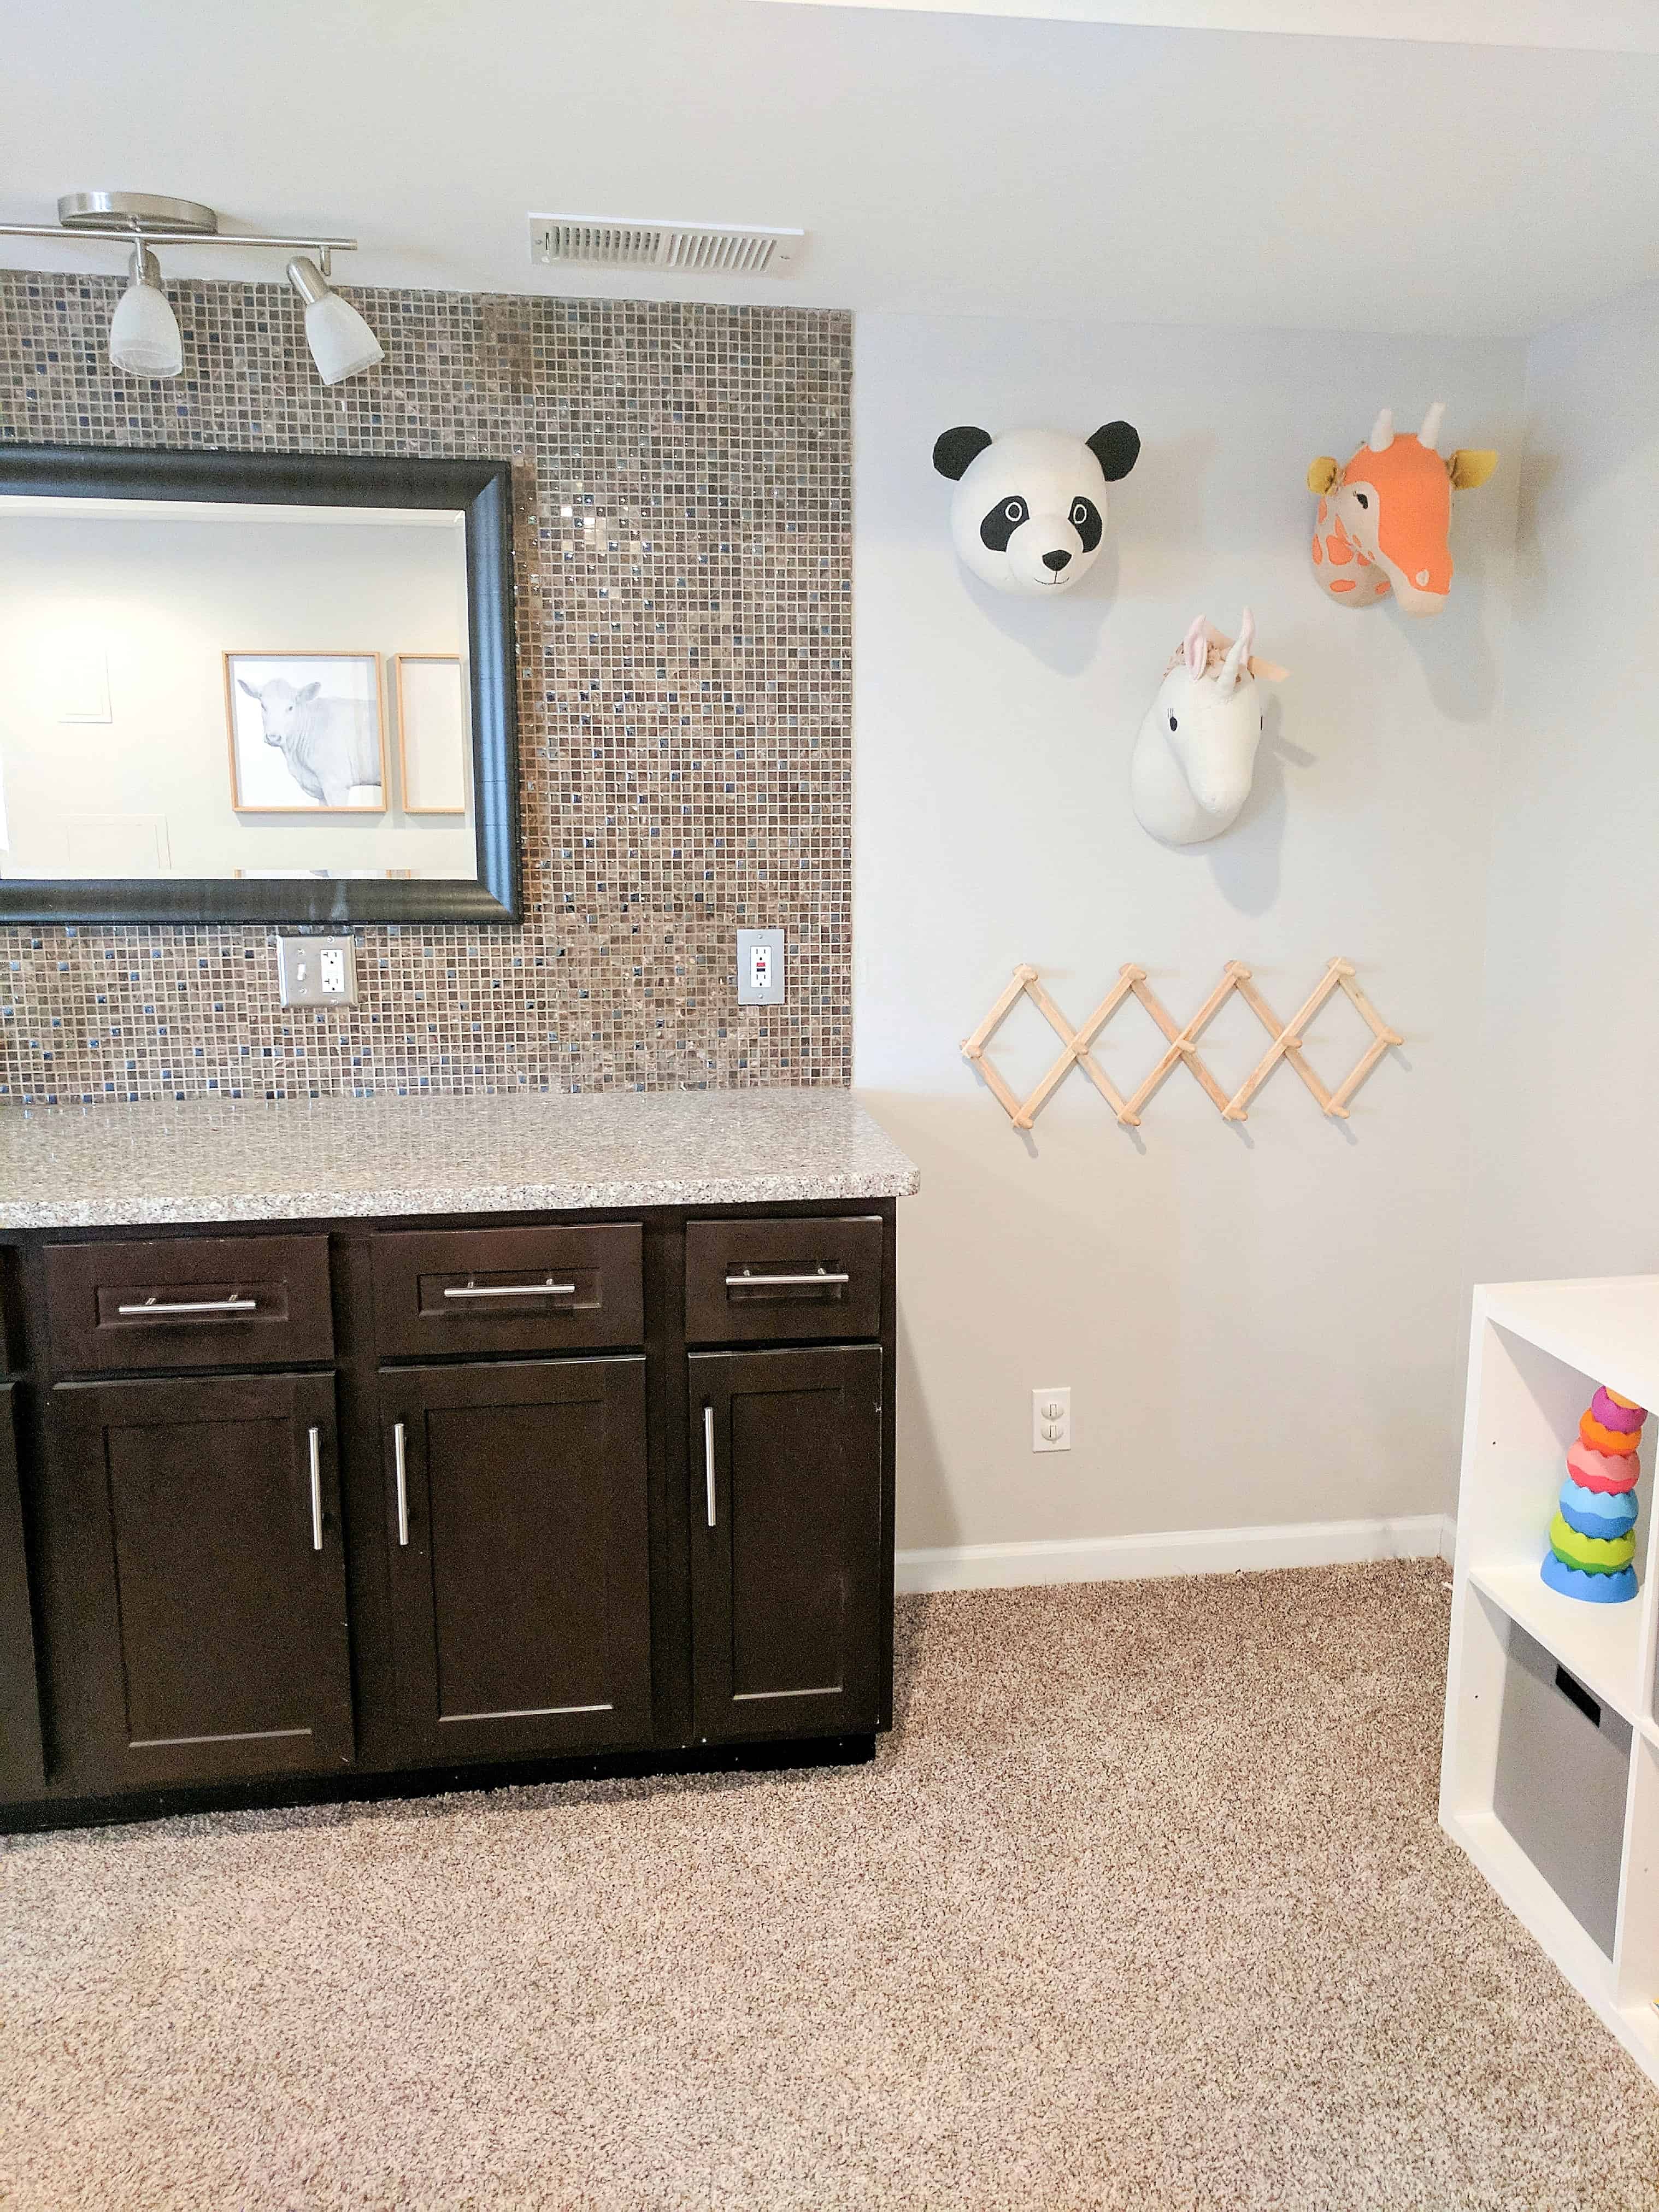
bar with mirror over it and faux taxidermy in our basement with our under stairs built in playhouse

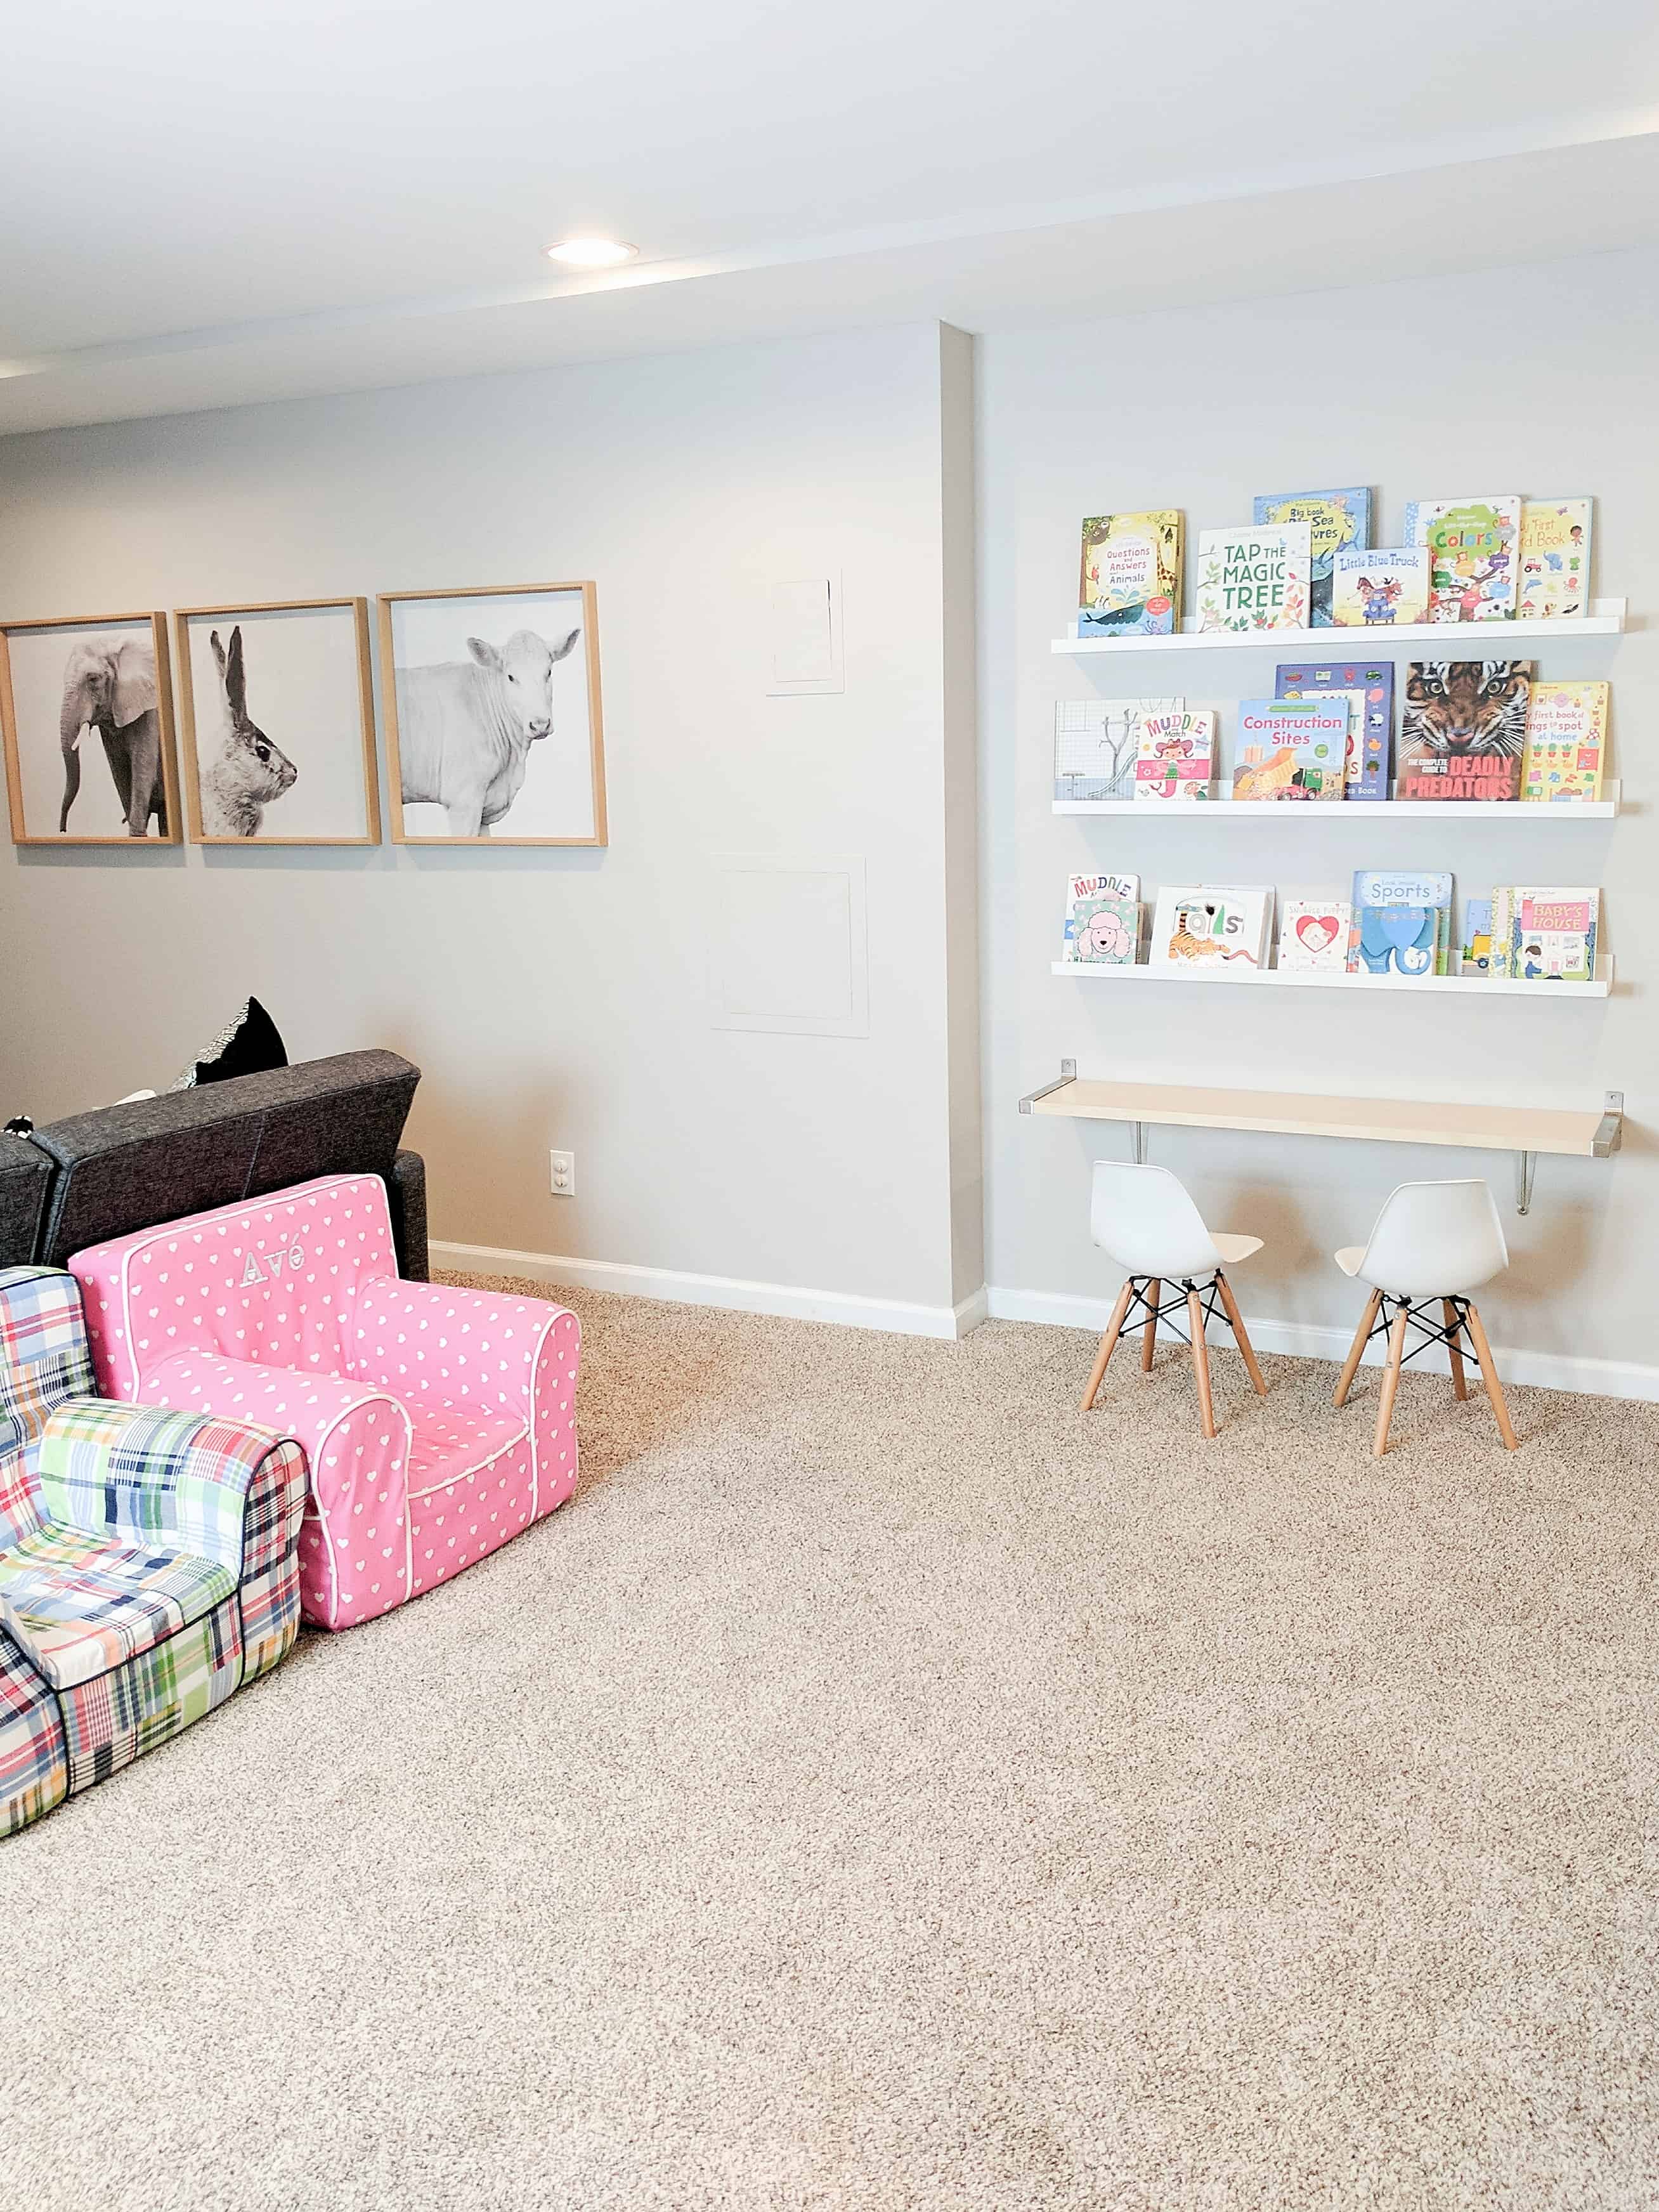
basement playroom with animal photos and book wall

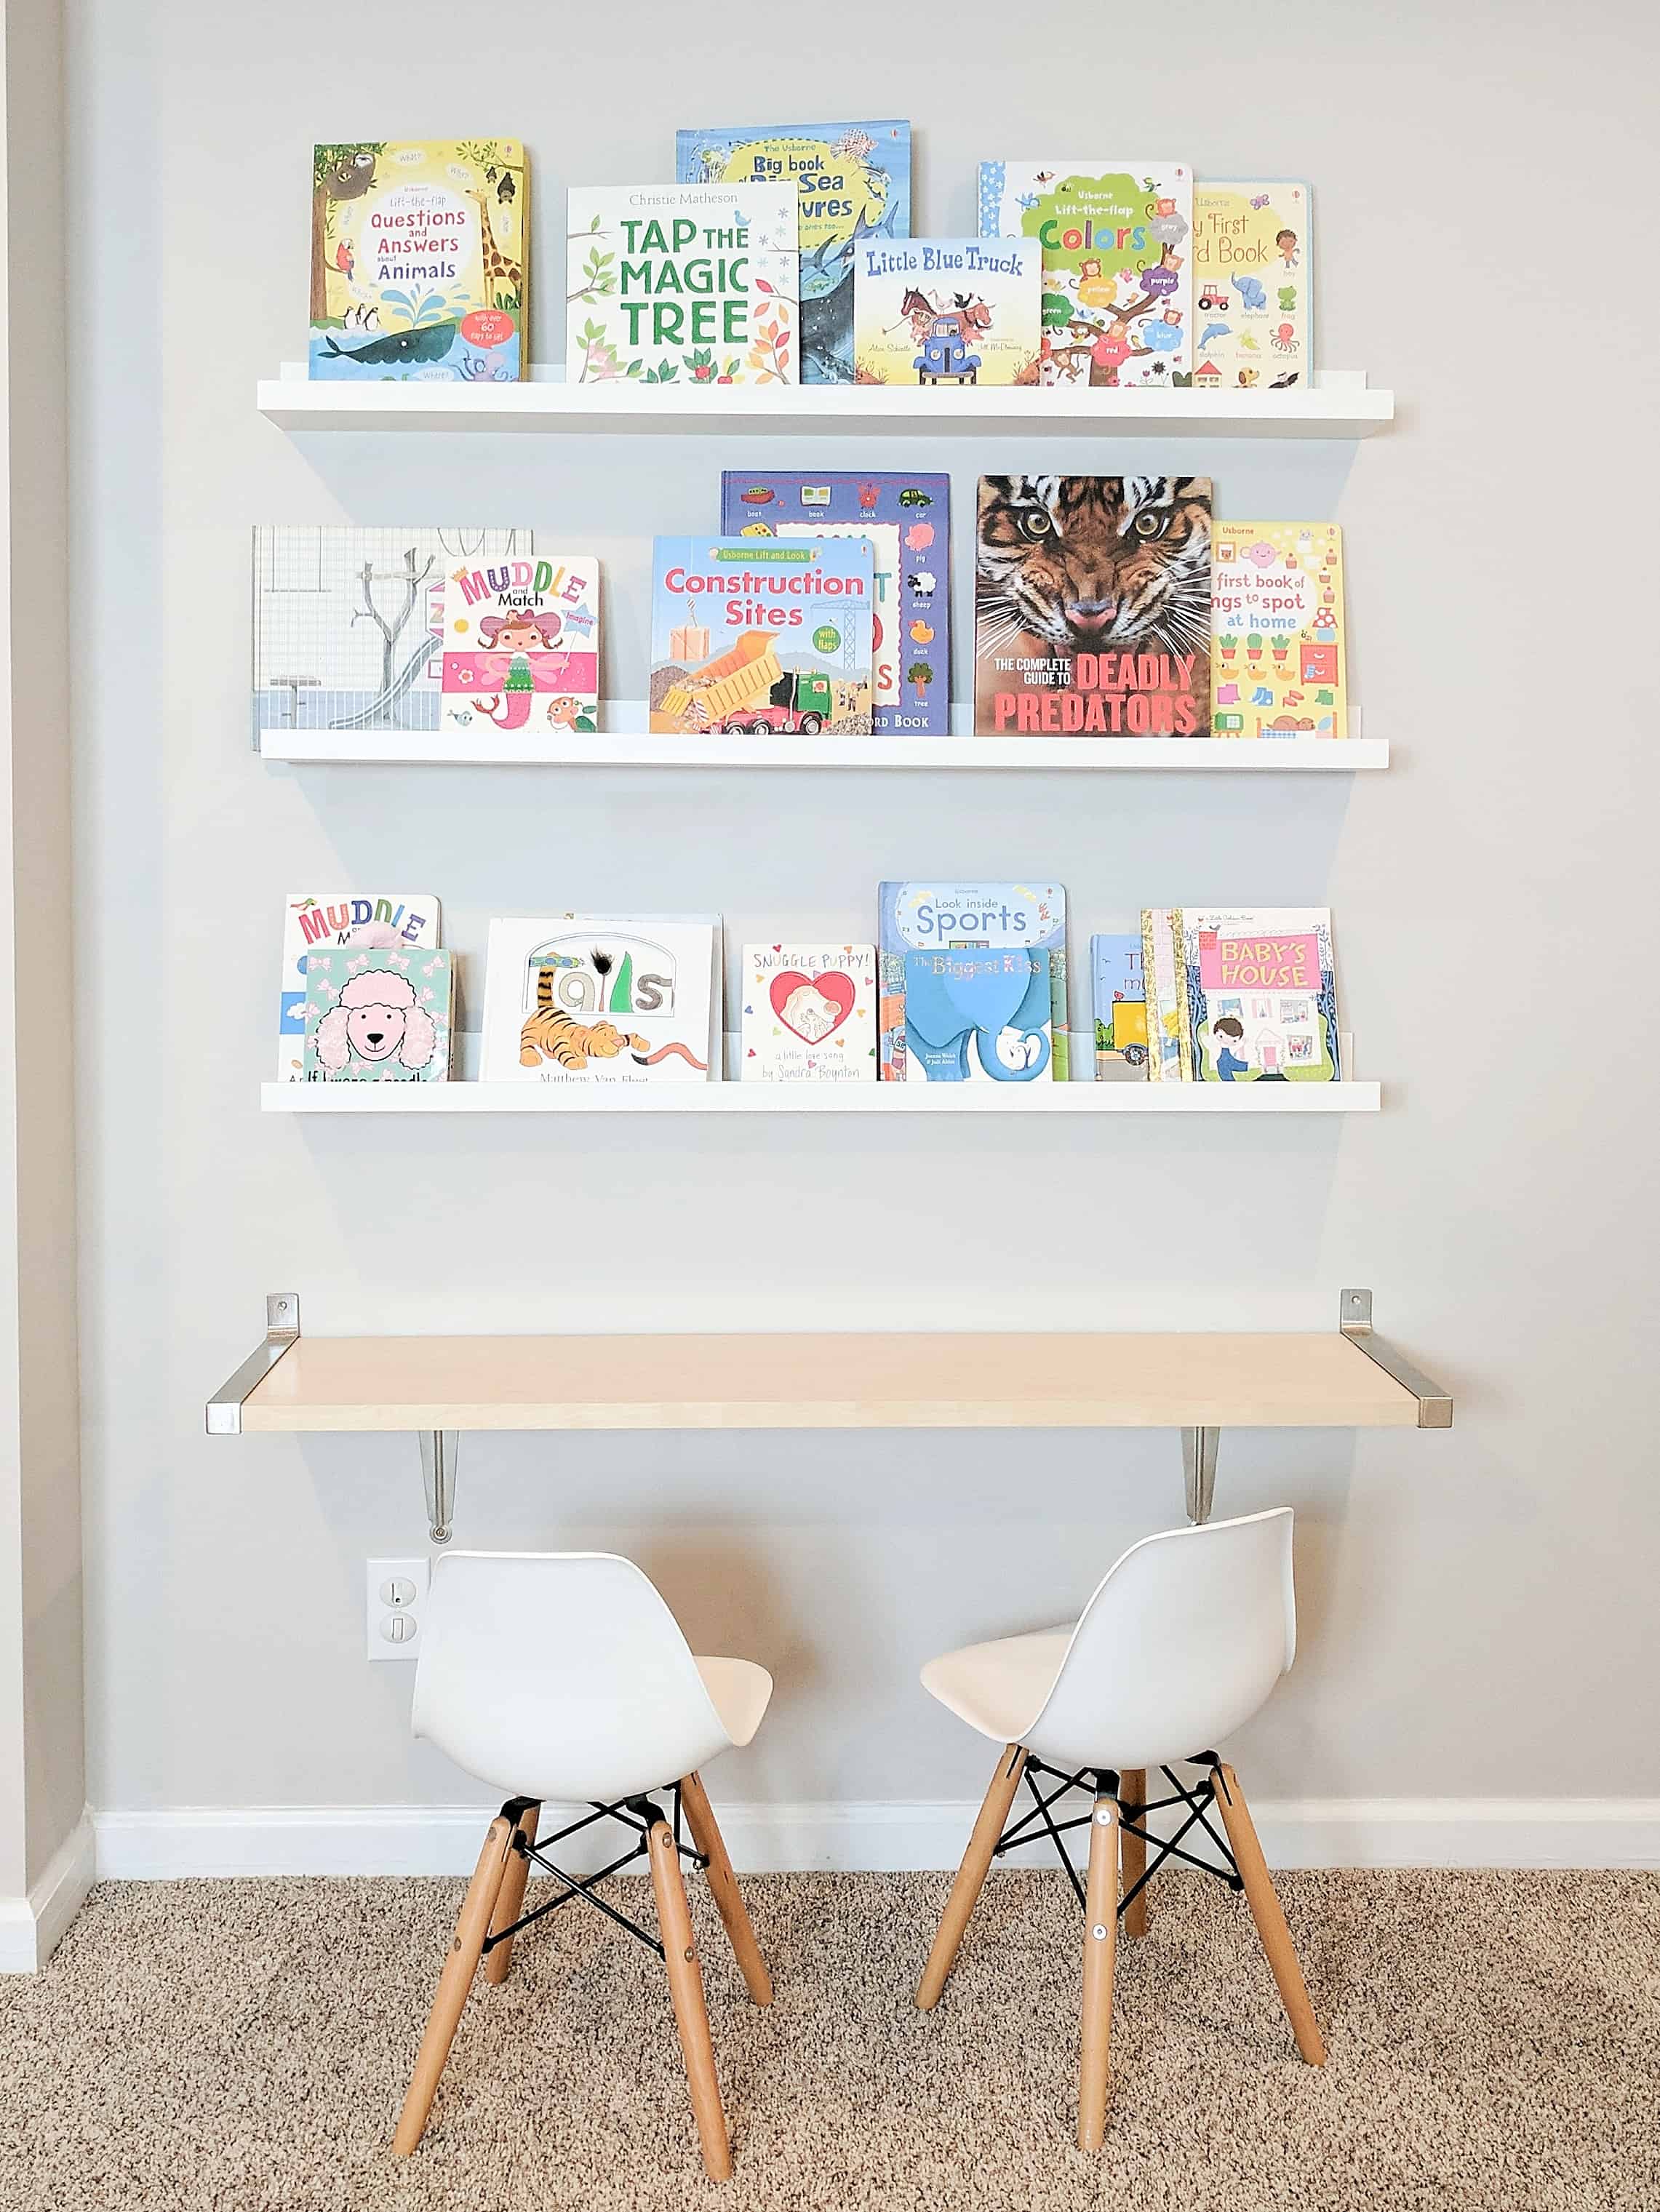
bar kids table and book wall

room with white shingle playhouse shopping cart and bins on wall

SaveSaveSaveSaveSaveSave

SaveSave

SaveSave

SaveSave

Uncategorized

Budget Friendly Beauty Products

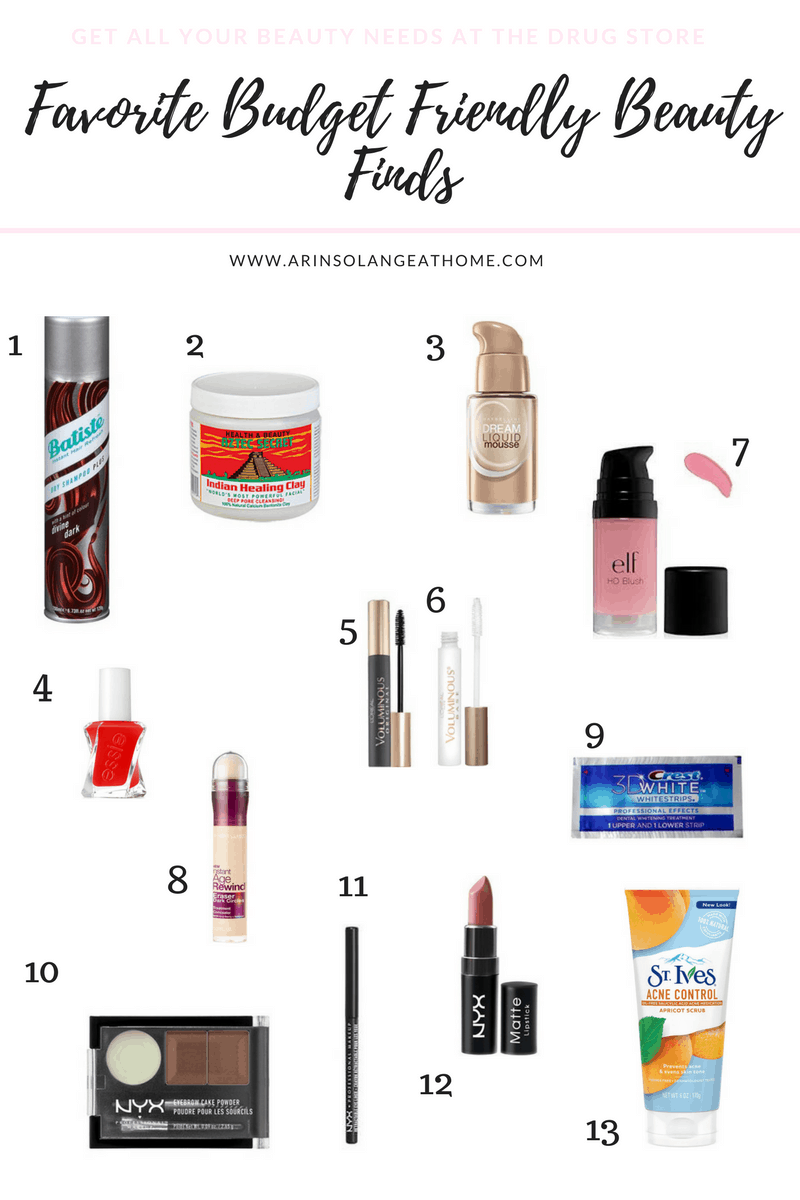
I am by no means what I would consider low maintenance, but I will admit fully to the fact that I don’t love to spend much on beauty products, partially due to my expensive taste elsewhere, and partially due to really preferring if I can order what I need on Prime or grab it at Target when I am there.  I have been asked a few times what my favorite products that I use daily are, so I rounded up my favorite budget friendly beauty products for you all!

This post contains affiliate links. Read more here.

collage of budget friendly drug store beauty products

Budget Friendly Beauty Products

ONE // TWO // THREE // FOUR // FIVE // SIX // SEVEN // EIGHT // NINE // TEN // ELEVEN // TWELVE // THIRTEEN


Feel free to let me know if you have any questions on my favorite colors, and I hope you love my suggestions! What are your favorite budget friendly beauty products?  Anything I am just totally missing out on?

SaveSaveSaveSave

SaveSave

SaveSave

Products we Love

Fawn Design Diaper Bag Review


If you know me, or have been following me for long, you know that I am a diaper bag fanatic.  I have tried so many styles and brands, and although I think that some service a specific purpose, I always come back to my Fawn Design  diaper bags.  

I have owned one since Avé was an infant, and now switch between two and love them.  I thought I would do a Fawn Design review for all of you, when you’re searching for a bag of you own.

*product was received in exchange for review.  Read more here

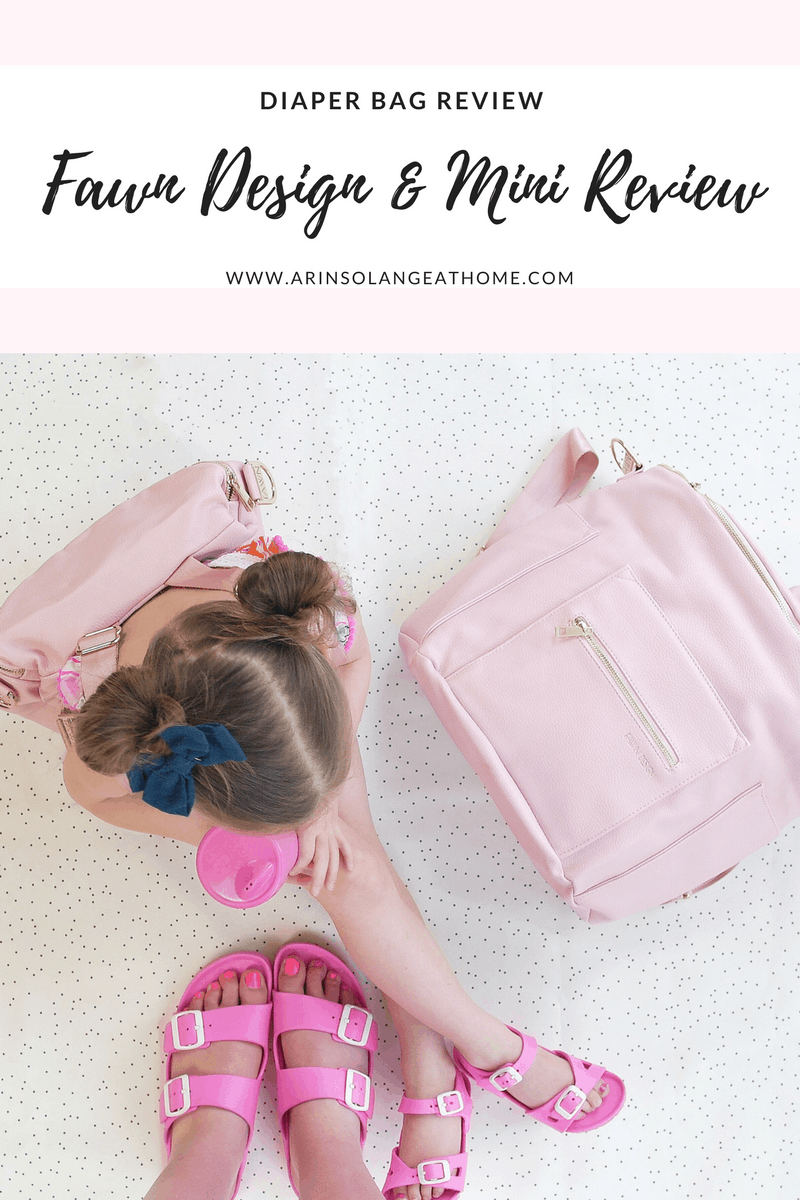
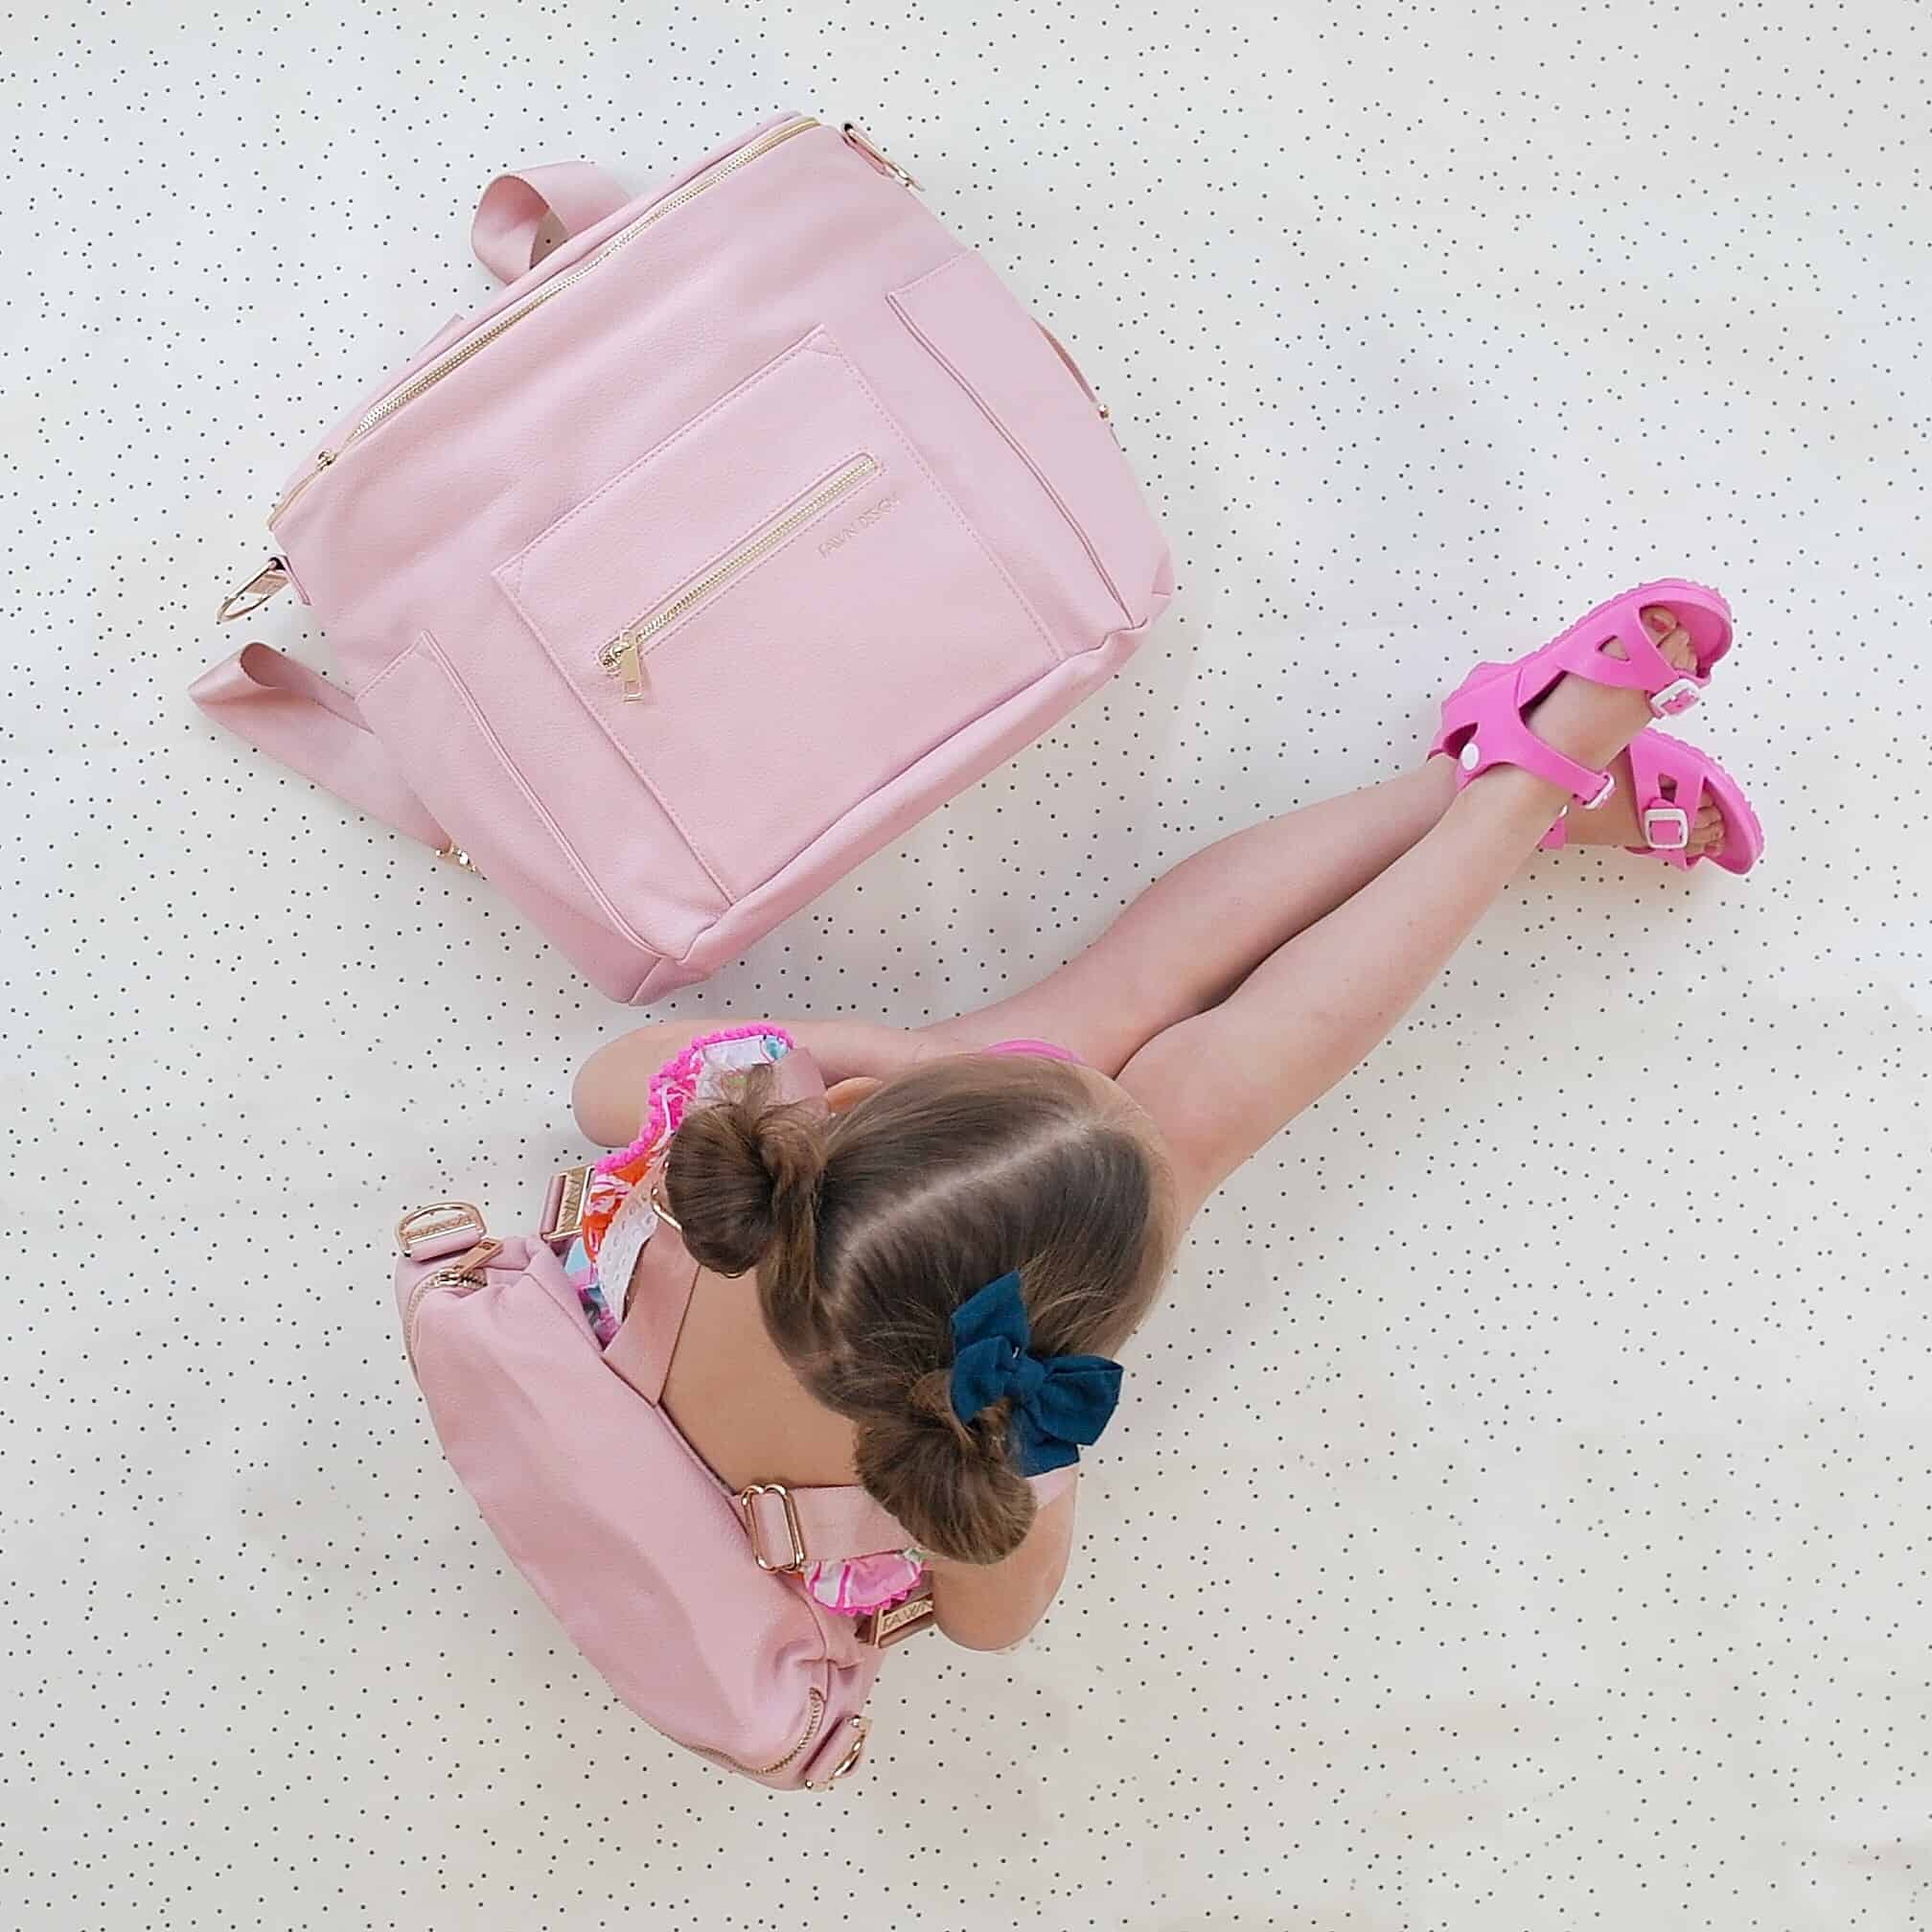
little girl with pink fawn design bag and blush fawn design diaper bag | Fawn Design Diaper Bag

Fawn Design  Diaper Bag Review

I can not be alone in the fact that fashion and function are equal for me when it comes to a diaper bag.  I do not carry a purse with my diaper bag, so for the past 5 years 90% when I am leaving my house my diaper bag is my purse….so what it looks like MATTERS!  

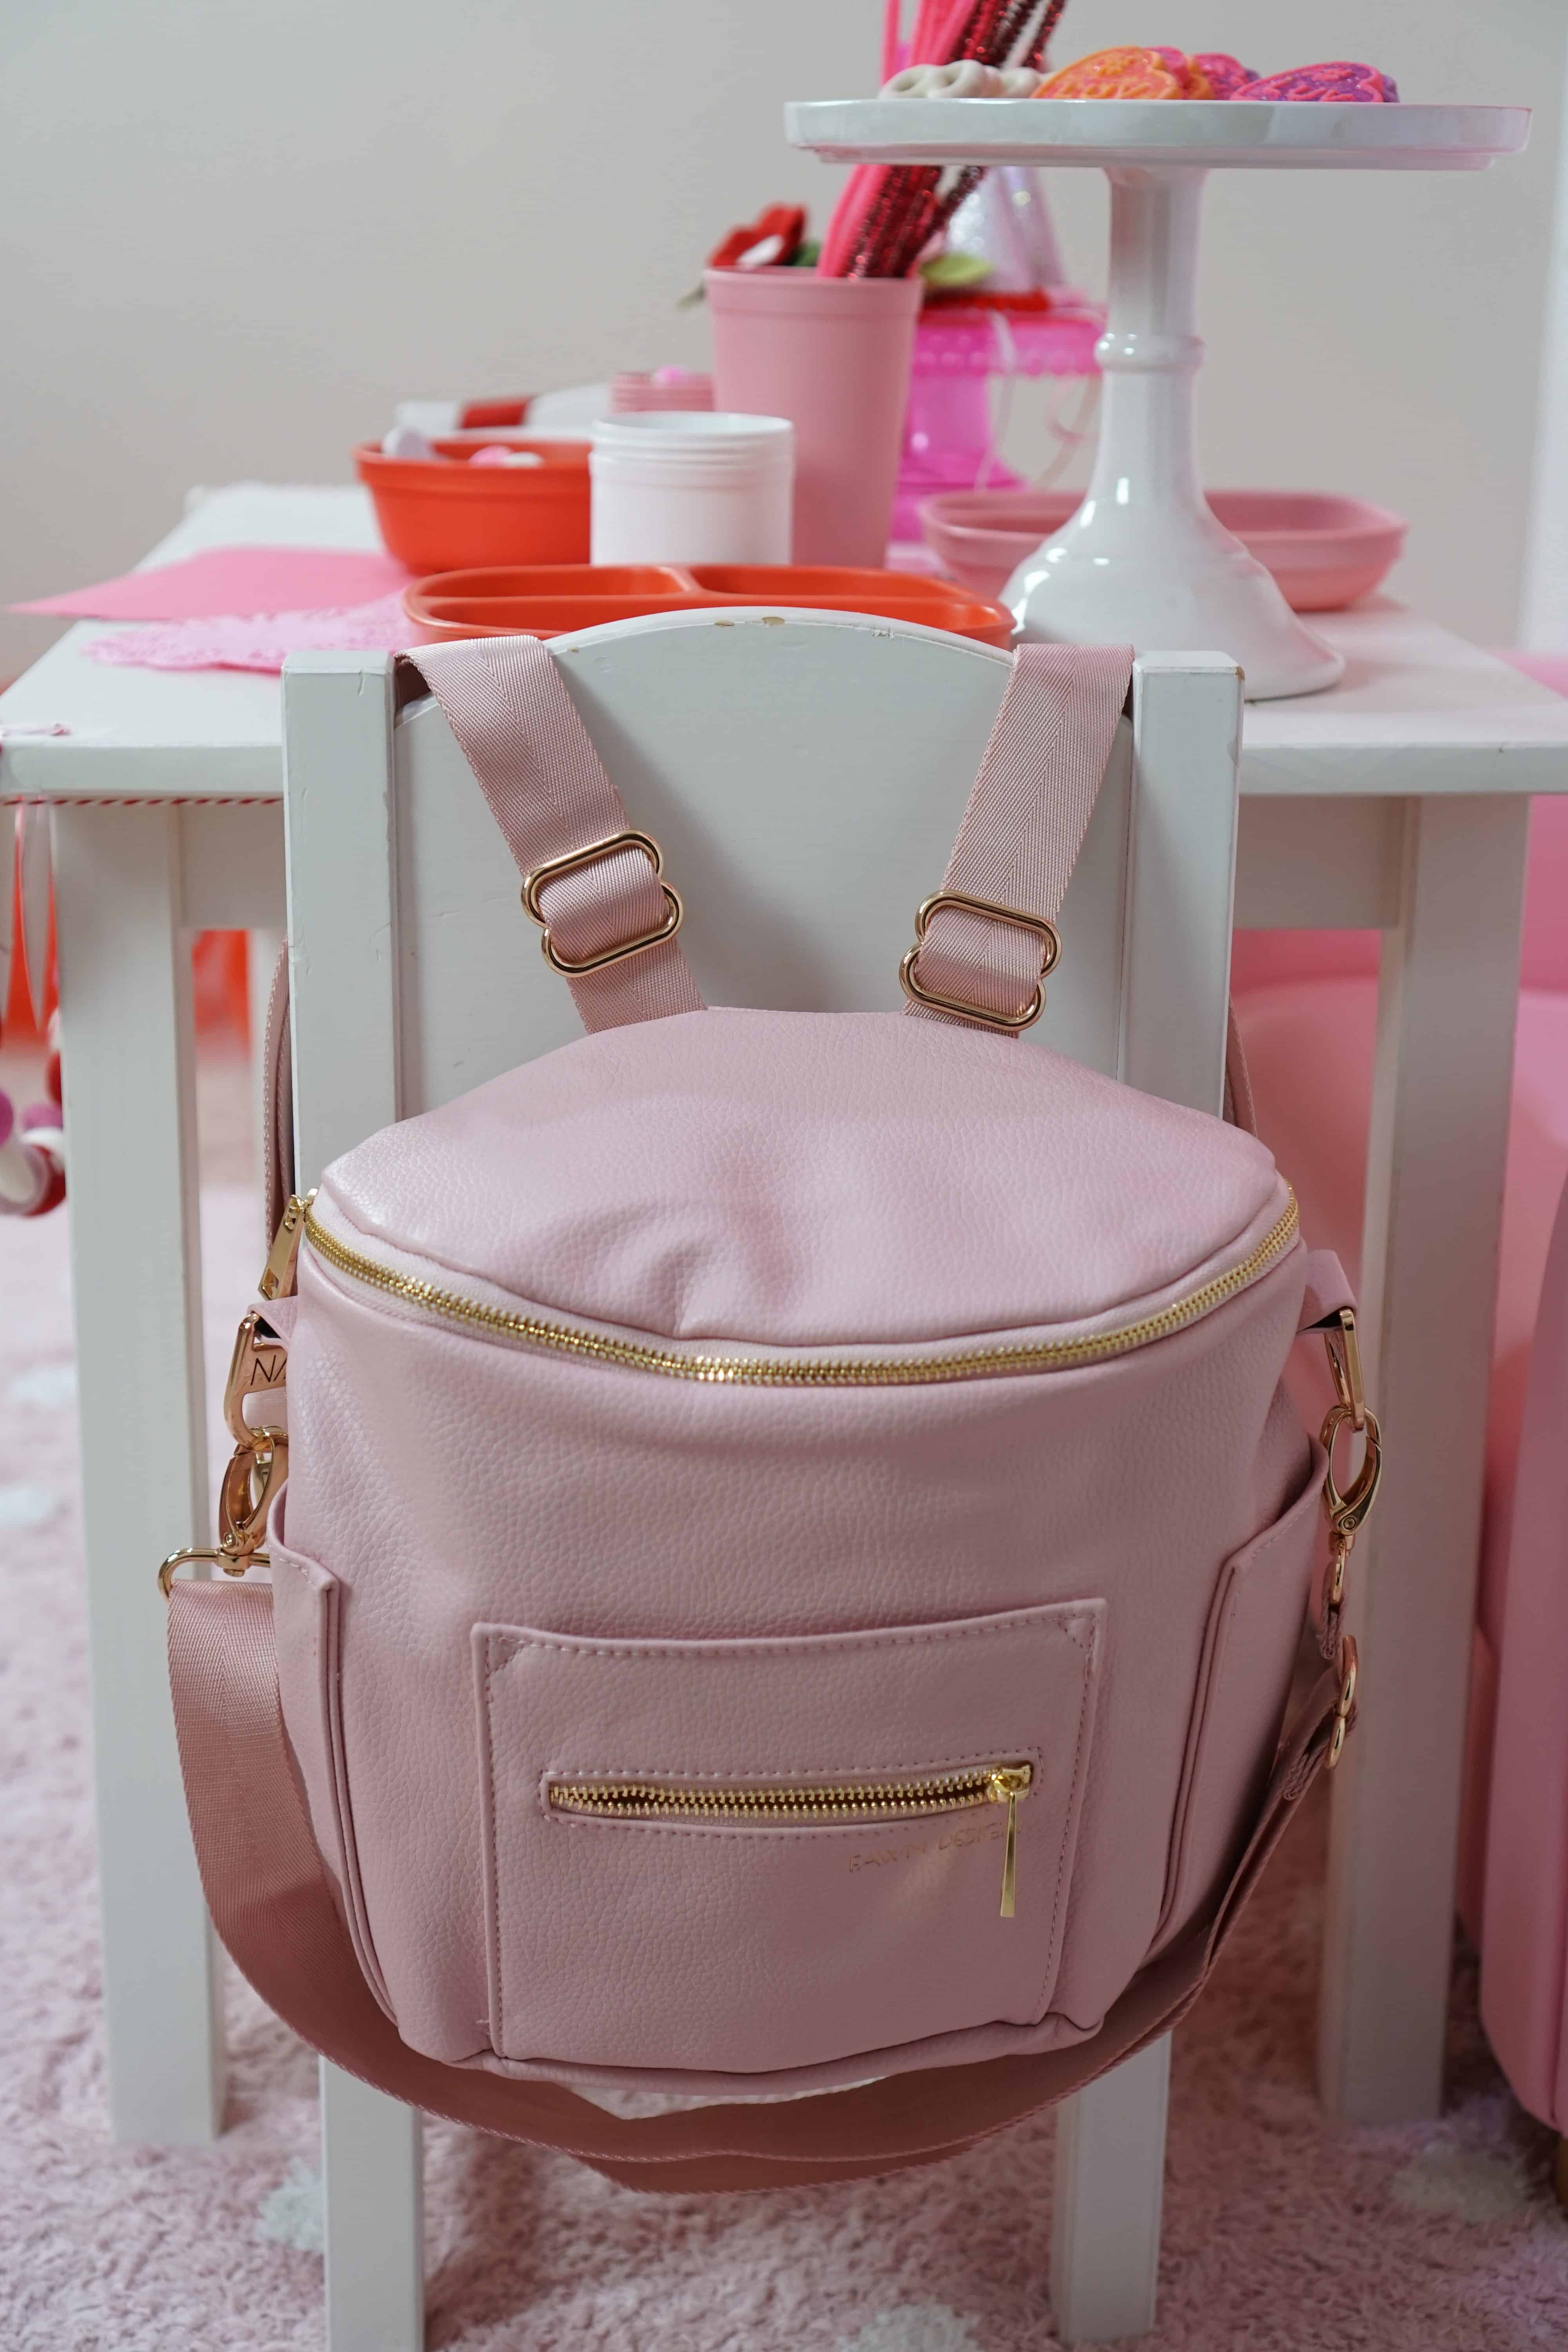
The Fawn Design Diaper bag is faux leather with gold hardware and accents that are gorgeous.  I was actually stopped at the airport the first time I traveled with the bag by 3 NON MOMS asking where I got my backpack because they wanted one.  That is a total diaper bag win.

Fawn Design Diaper Bag Functionality

On top of being fashionable it has 10 pockets and you can pull the inside out to wipe out, which comes in super handy when you have 10 bags of goldfish crumbs in there. There is a key hook for your keys, and you can use the backpack straps or attach the messenger strap.  

I personally typically leave both straps on.  If I’m only running in the store I’ll throw it on with the messenger strap, but if I’m walking far, a backpack style diaper bag is the only way to go!

I am able to take enough in my Fawn Design bag for all three kids for a full day.  We traveled across the country last month and I had enough for all three kids for the full day the full-time we were there in my bag.  

 One thing I will note about the bag is that the inner pockets don’t keep a ton in them so I do like to use my own small bags to organize my bag.

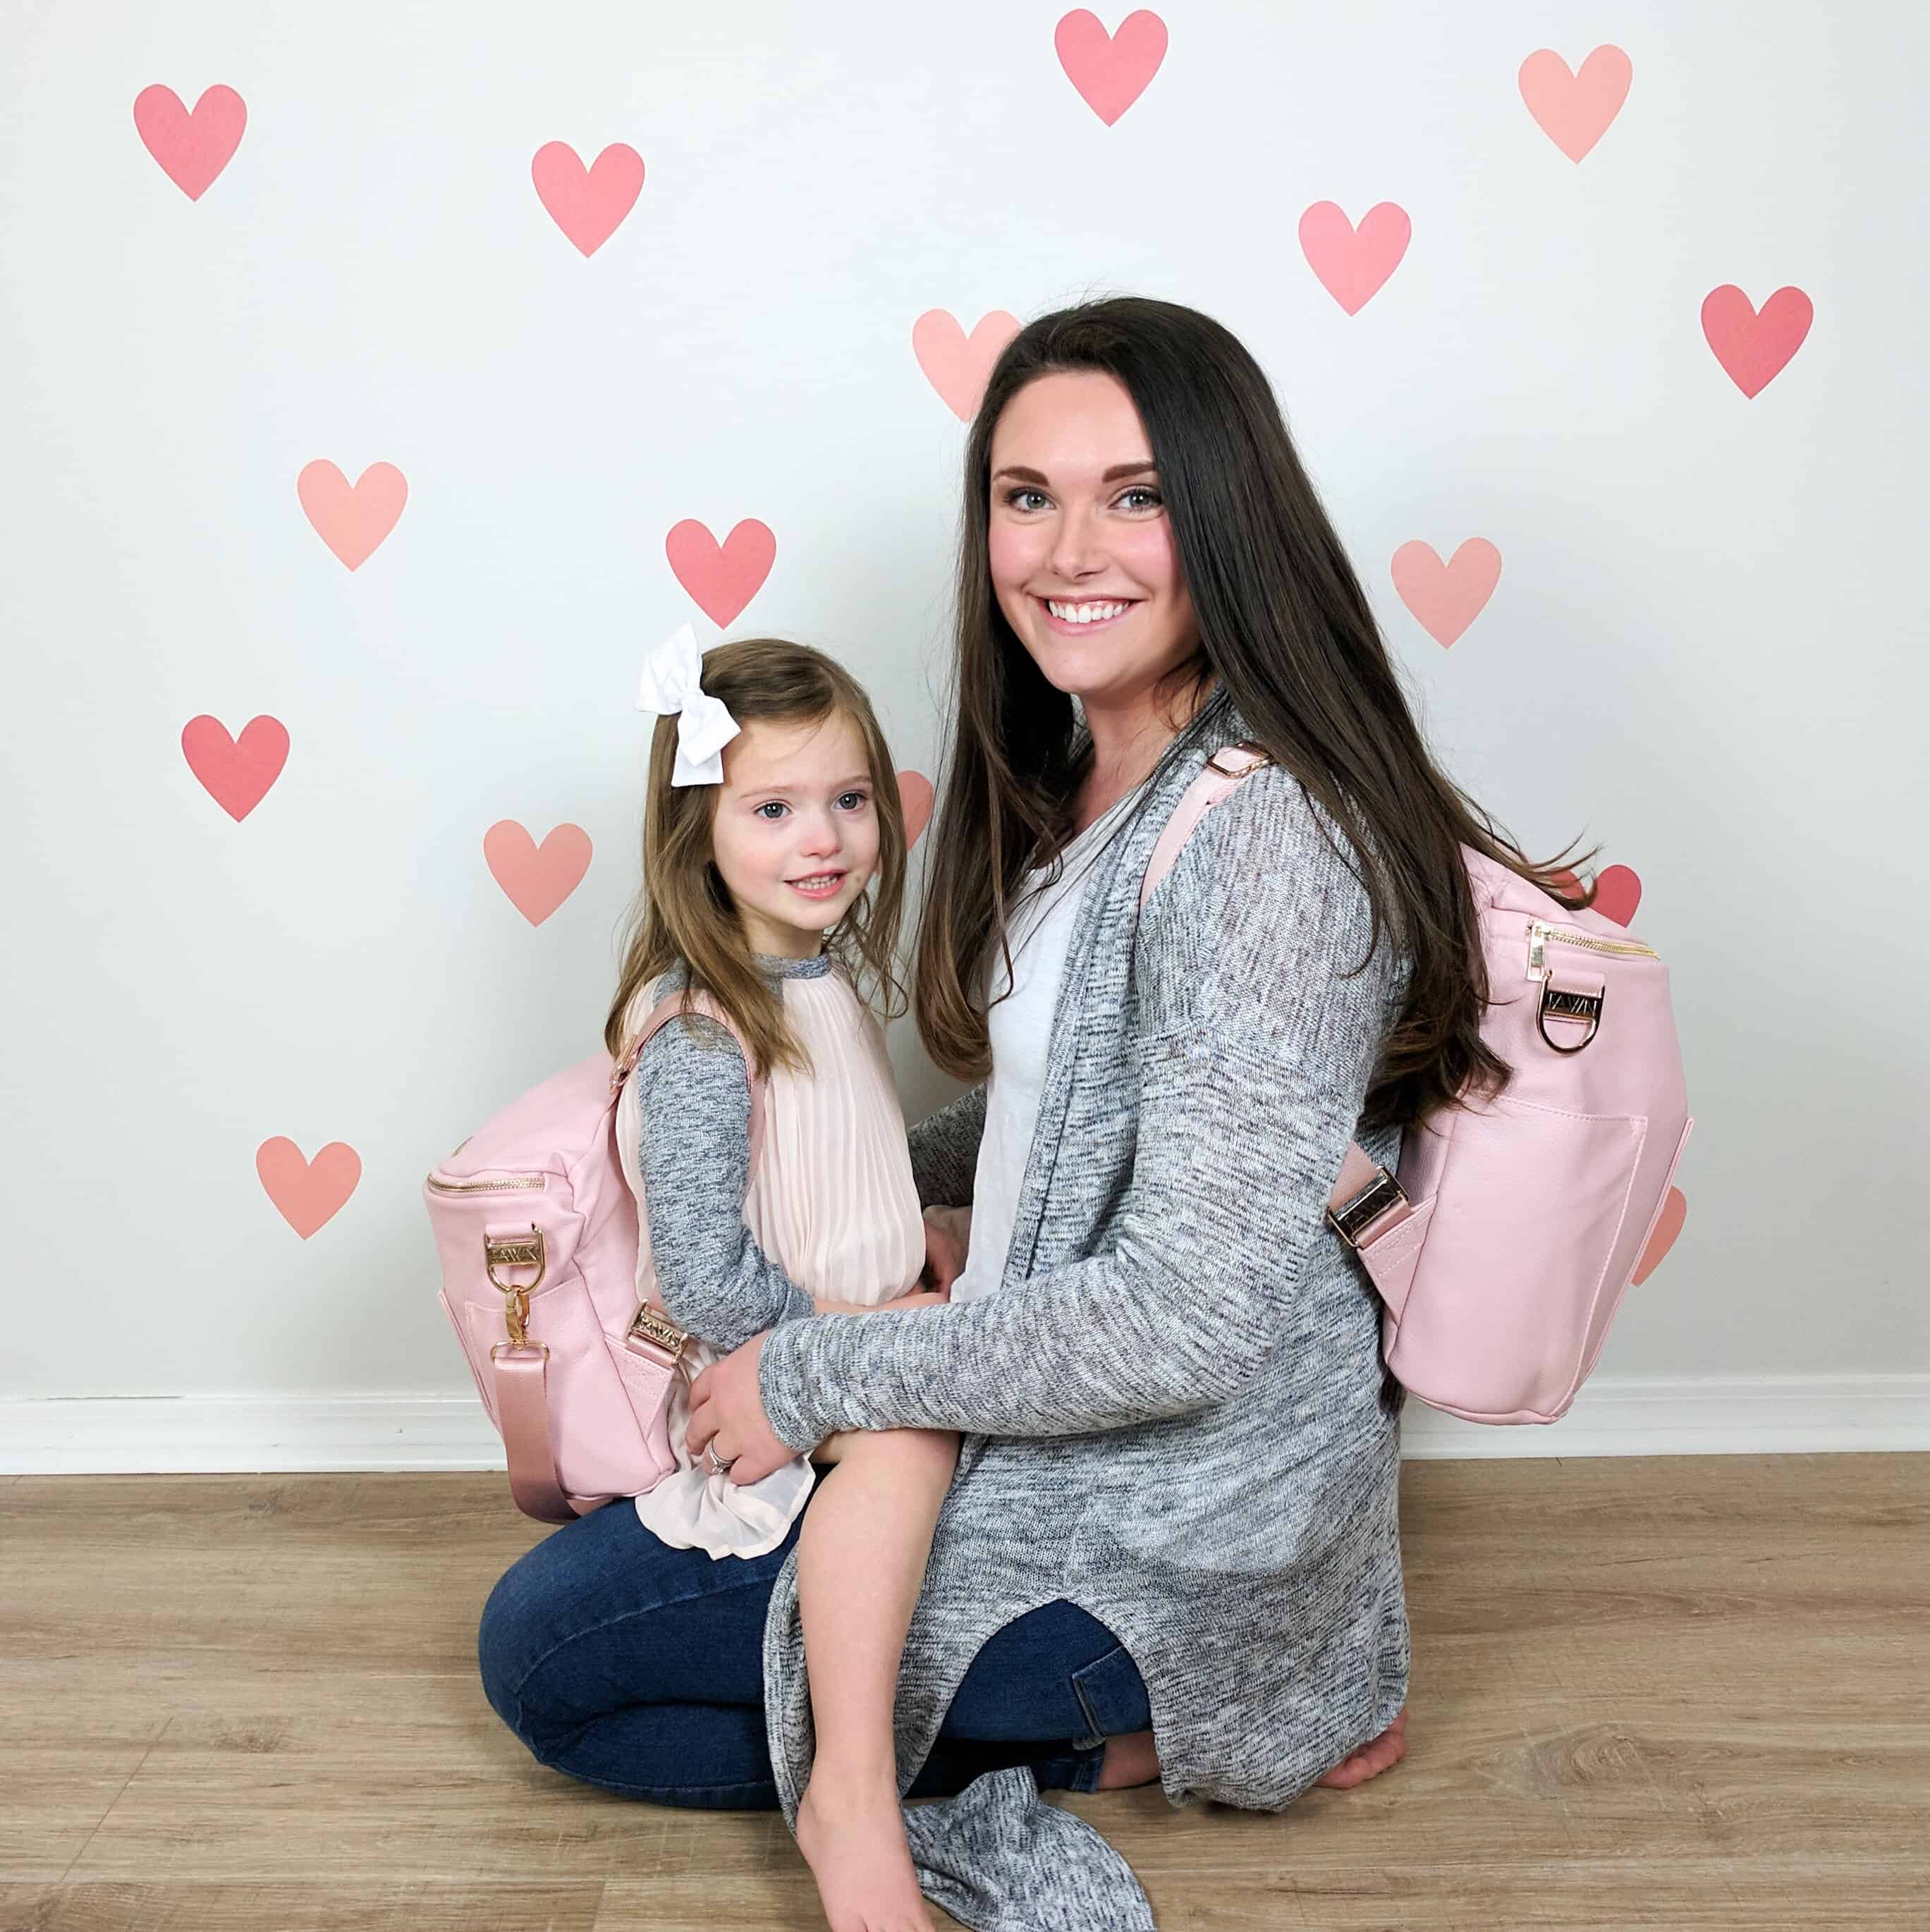
mom and daughter with matching pink bags in front of heart wall | Fawn Design Diaper Bag


Fawn Design Mini

I recently got Avé the mini (because I won’t stop twinning with her until she makes me) and it is LOVE. She loves to carry it, so many times she takes her own little stuff and a snack for Jack in her bag.  

I love that I could easily carry it as a small purse for a ball game – which will happen, so it was well worth the investment for me.  I will say if you are looking to buy this for your kiddo, it would be great for preschool but once they hit the age where they need a folder a full-sized folder won’t fit.

Update… Avé now uses it as her dance bag too and it is perfect for that, and I loved it so much that I bought the black one for myself to use when we go on dates where a backpack would be best!!

little girl with pink backpack next to pink diaper bag | Fawn Design Diaper Bag

Let me know what you think of the Fawn Design Diaper bag if you give it a try, and let me know if you have any questions.

Also I am sure that if you’re looking for a review on the Fawn Design Diaper bag, you have considered the Freshly Picked bag.  I did a comparison of the two here to help you decide which works best for you!


SaveSave

SaveSave
Family

Toddler Valentine’s Day Party

I am so excited about todays guest blog post.  Since I know so many of you loved my Valentines Day party post a few days ago, I thought it would be fun to share Chelsee’s ADORABLE Toddler Valentines Day party she put together.  Be sure to check out Chelsee on Instagram and her blog for more amazing posts like this!!


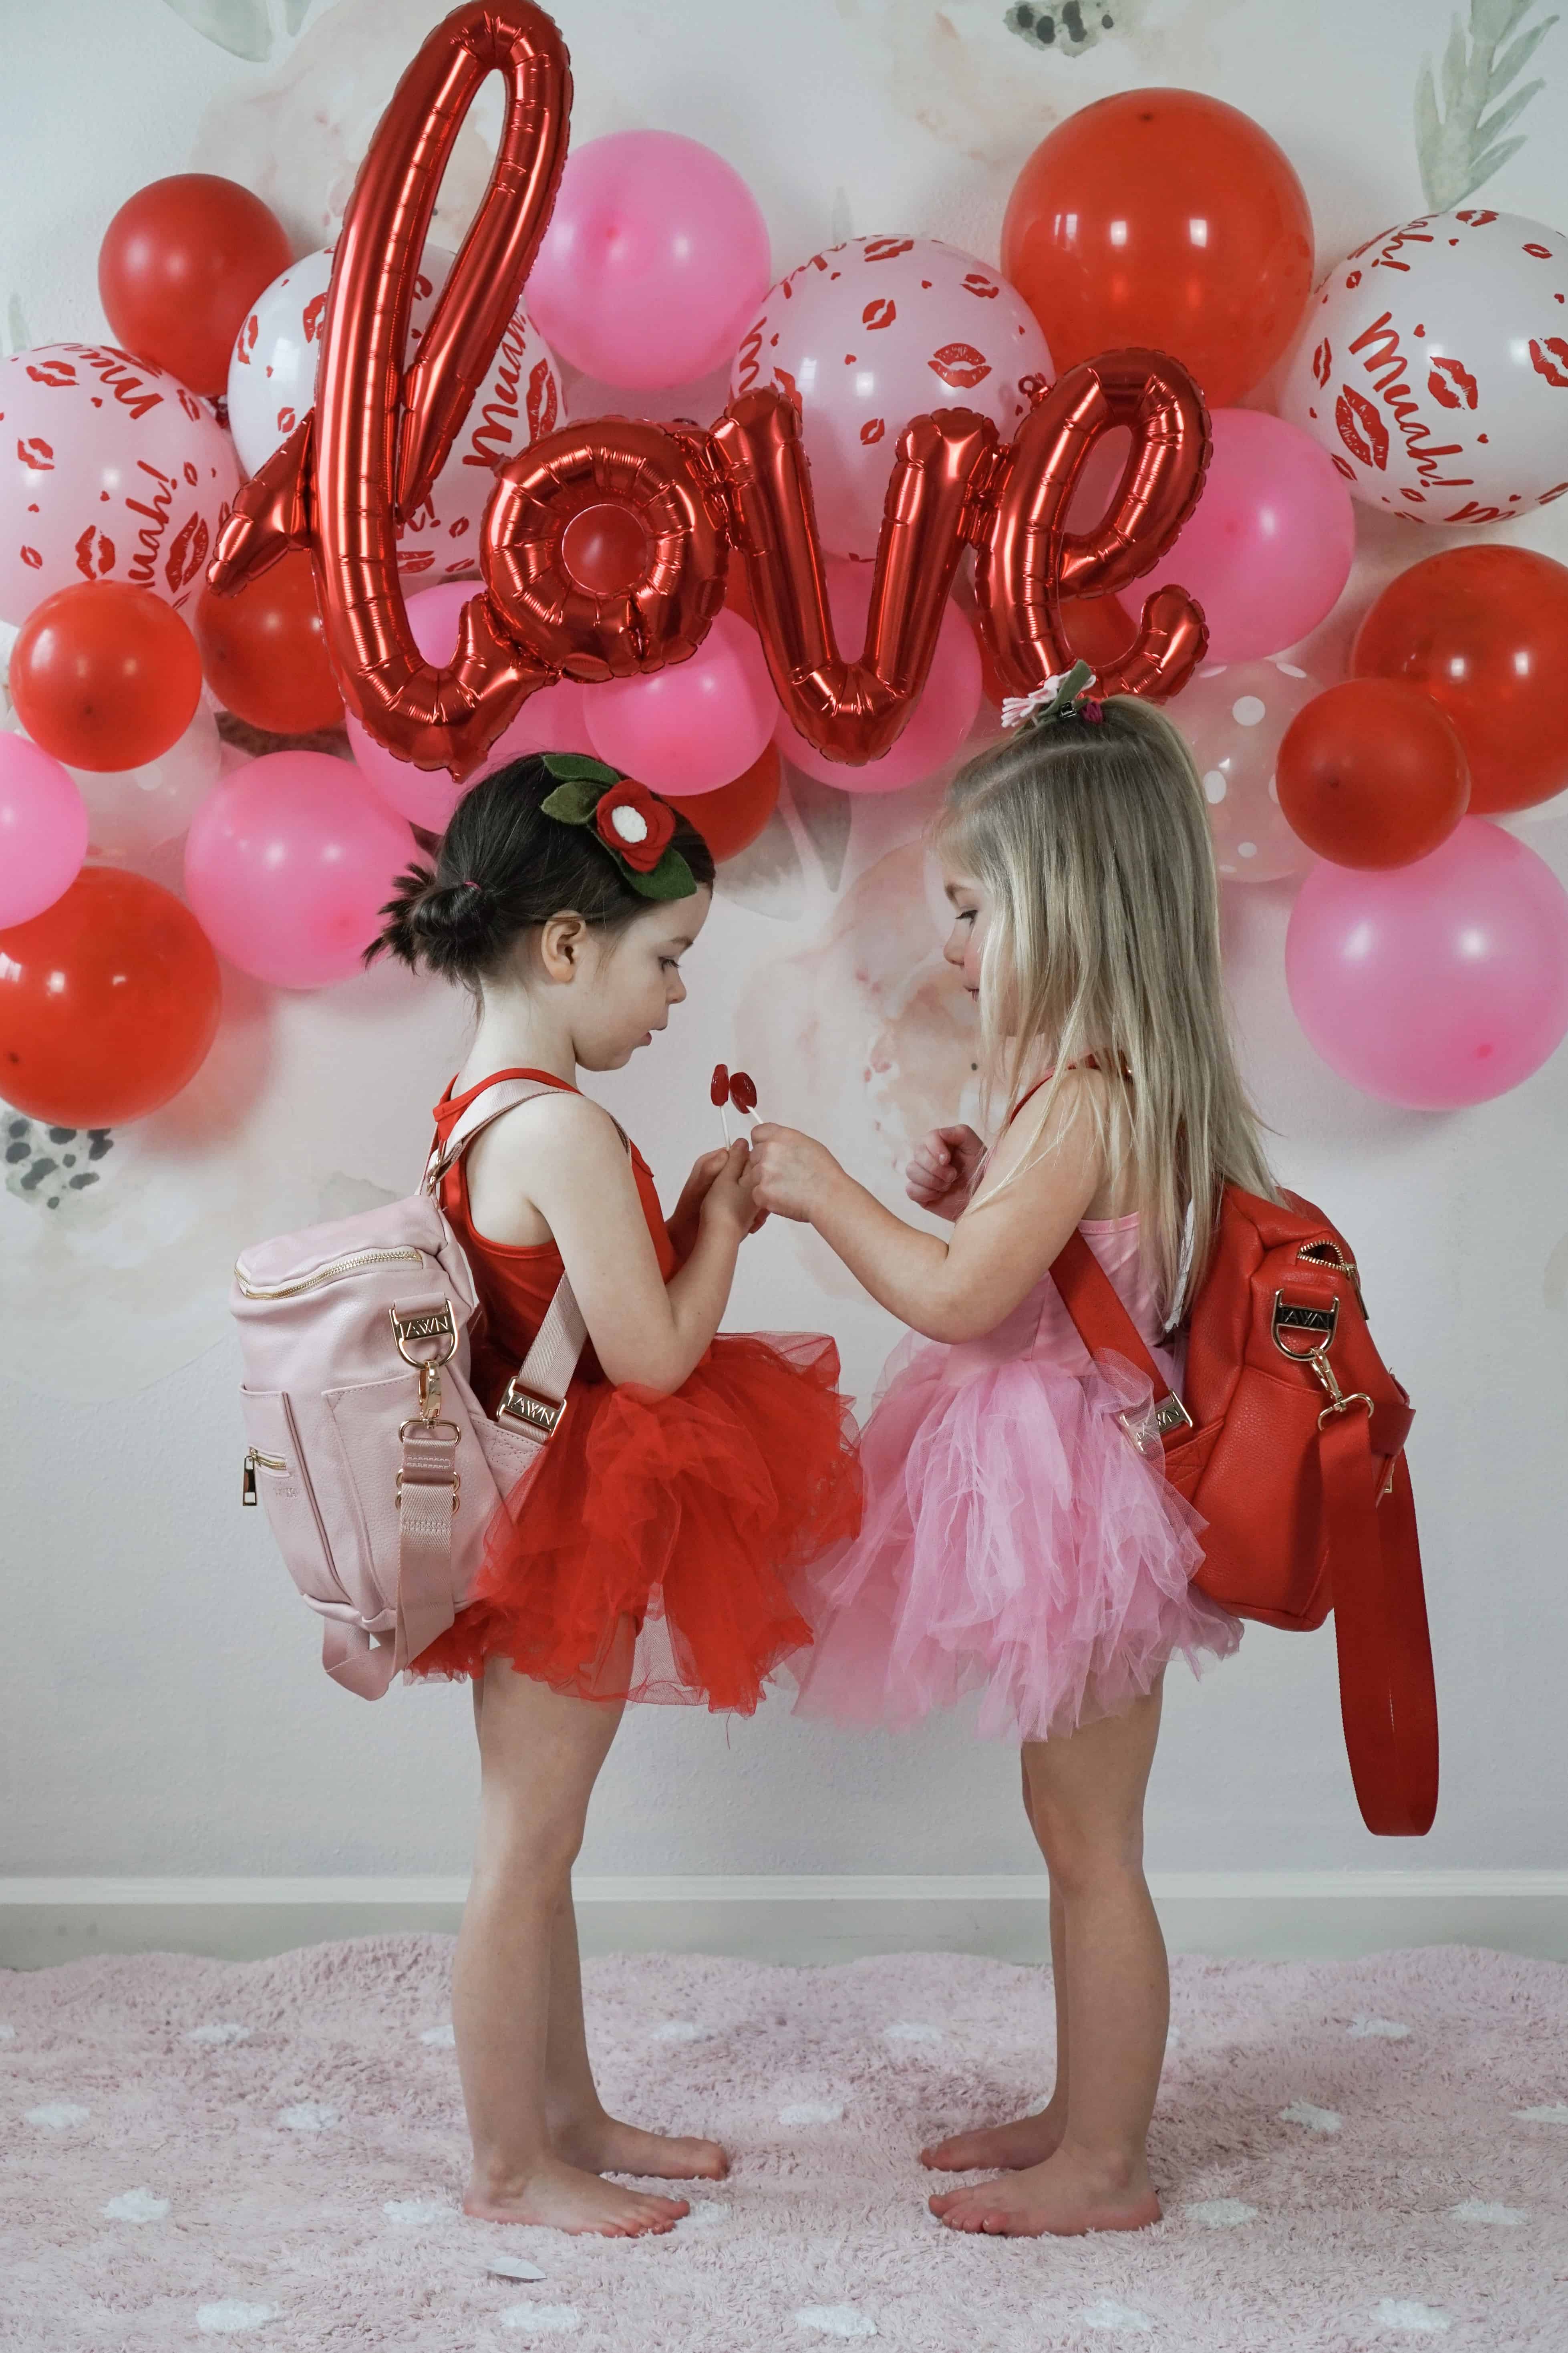
two toddlers in front of pink and red balloons with fawn design mini bags

 Valentine’s Day Party

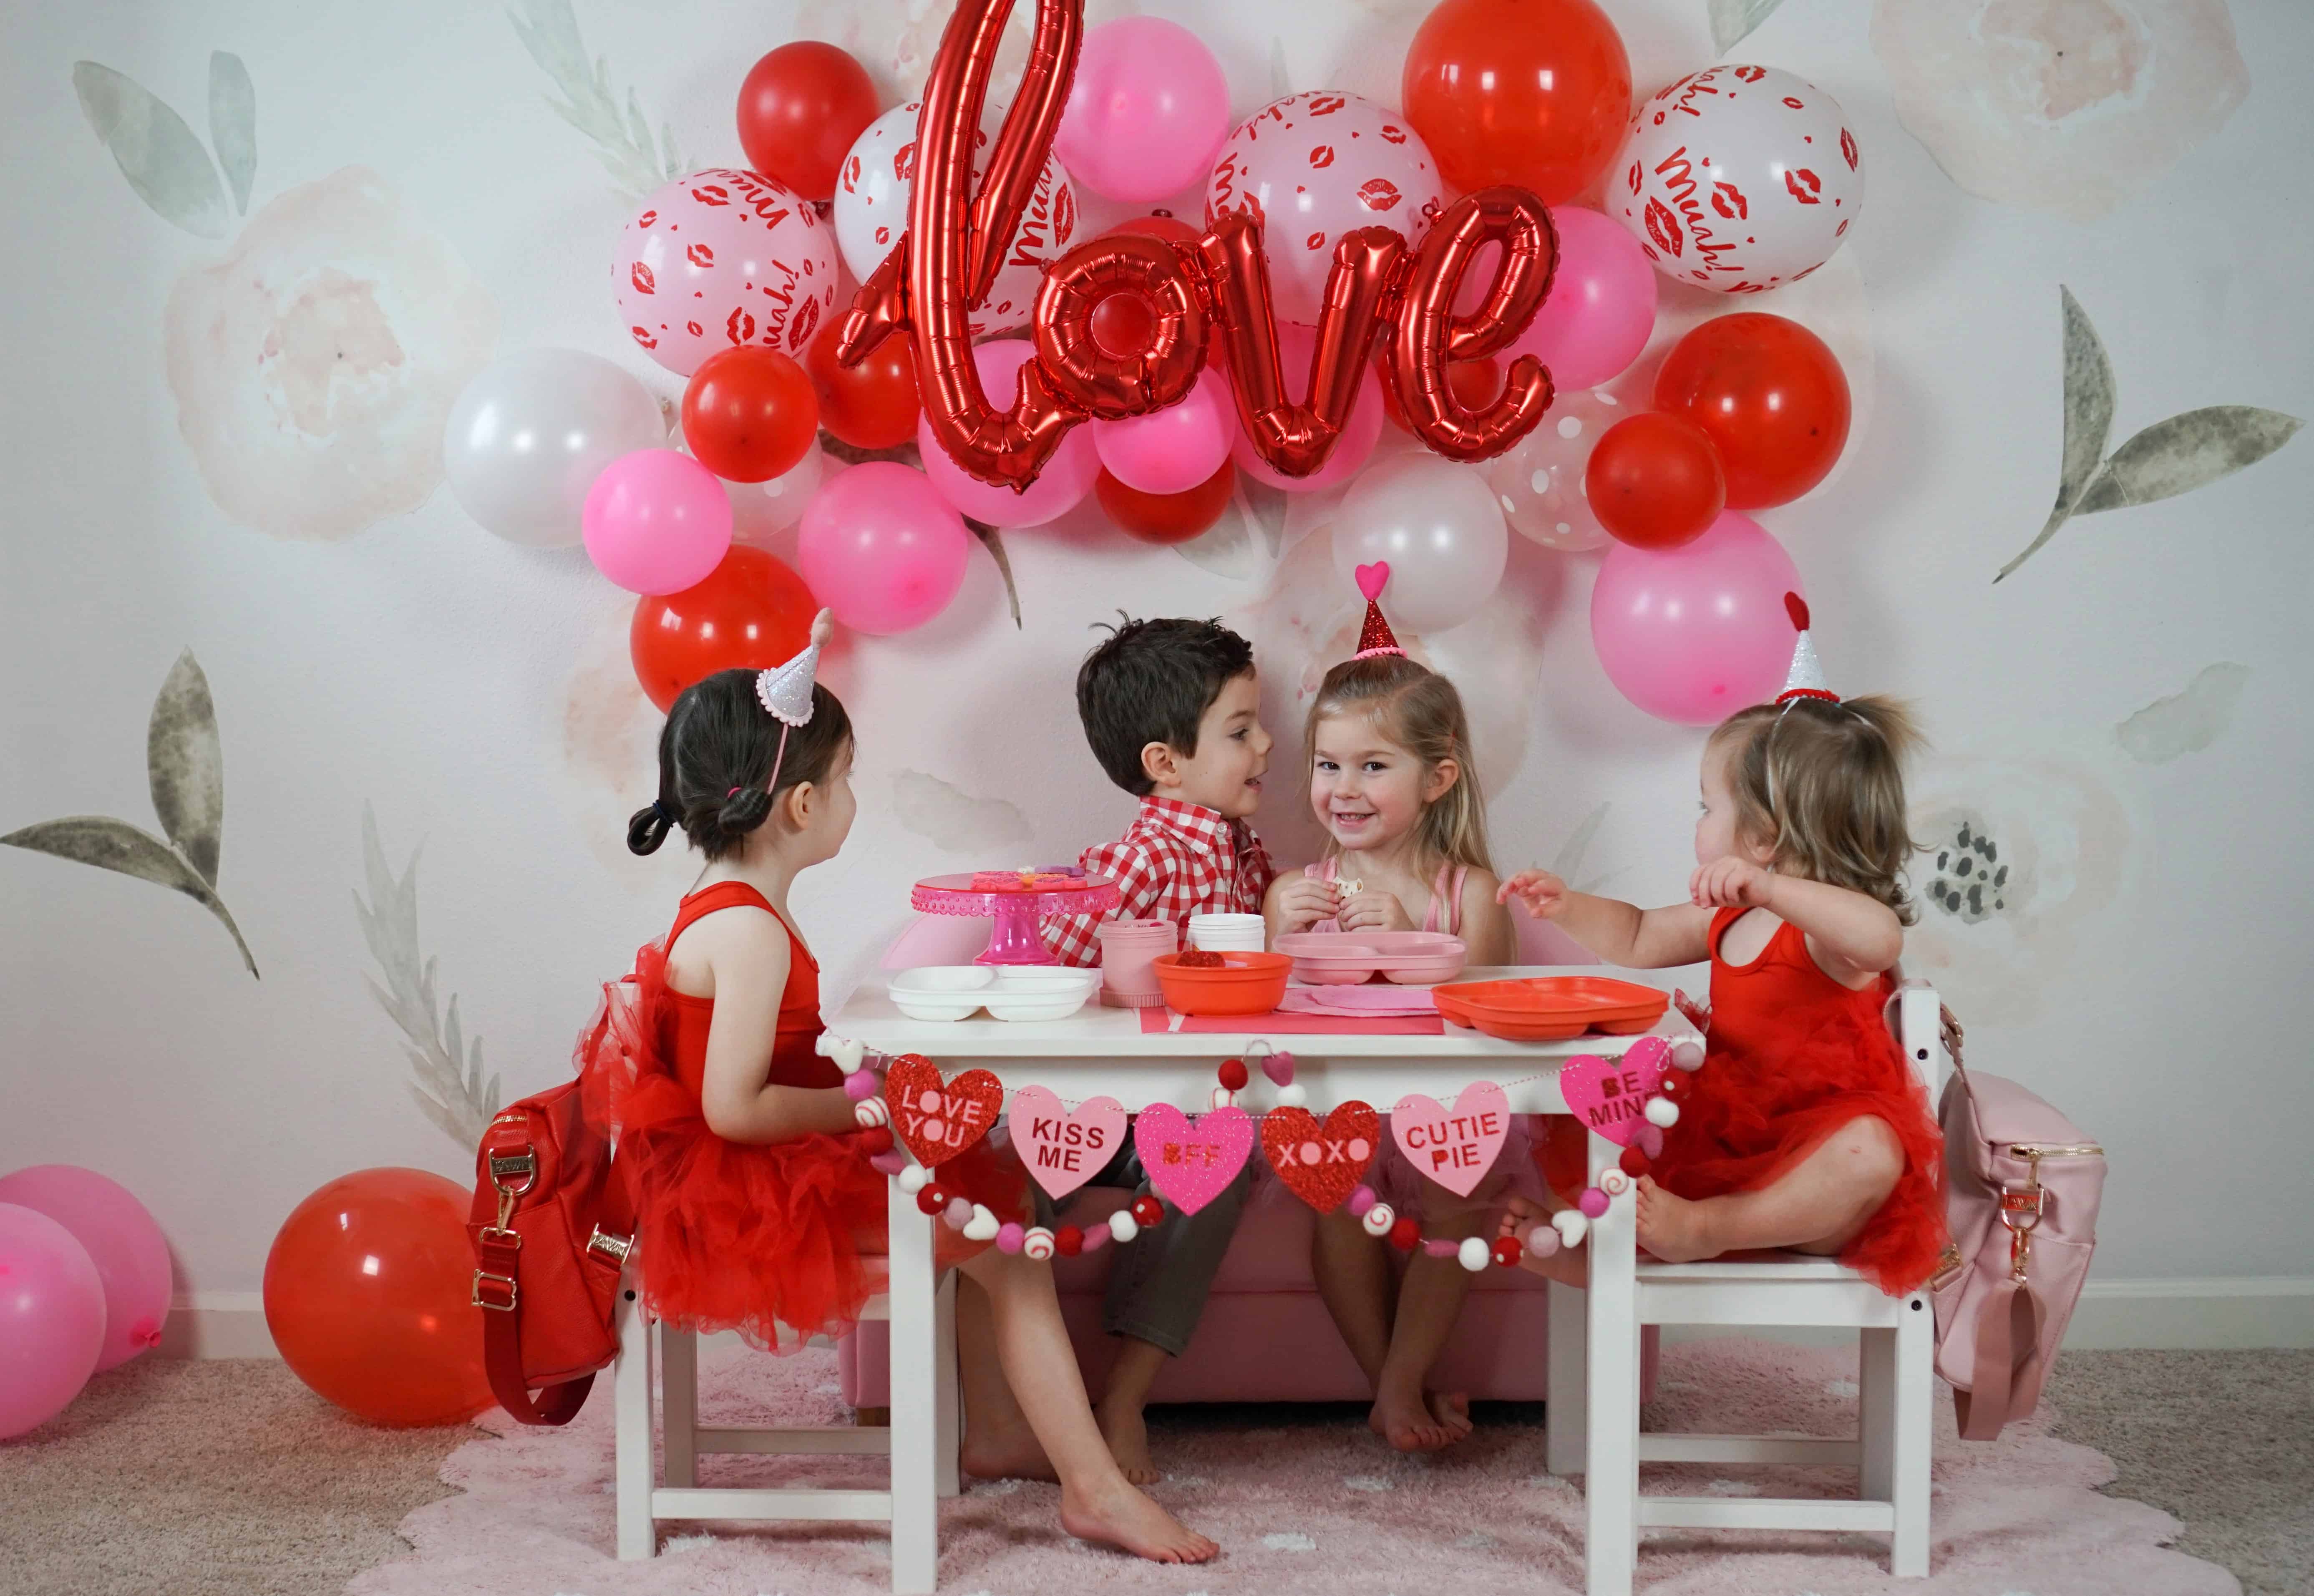
I’ll take any excuse to plan a party and a day all about love is one of them!  My bff has kids close in age to mine (thank goodness-it’s so fun to get together with littles that can play!) and we decided to plan a little Valentine’s shindig. 

I know it’s totally early but Valentine’s day will be here before you know it so why not start celebrating now?!  It was a good excuse to have some fun treats and let the kiddos make some easy crafts. 

I will try to tag everything, but please let me know if you have any questions!

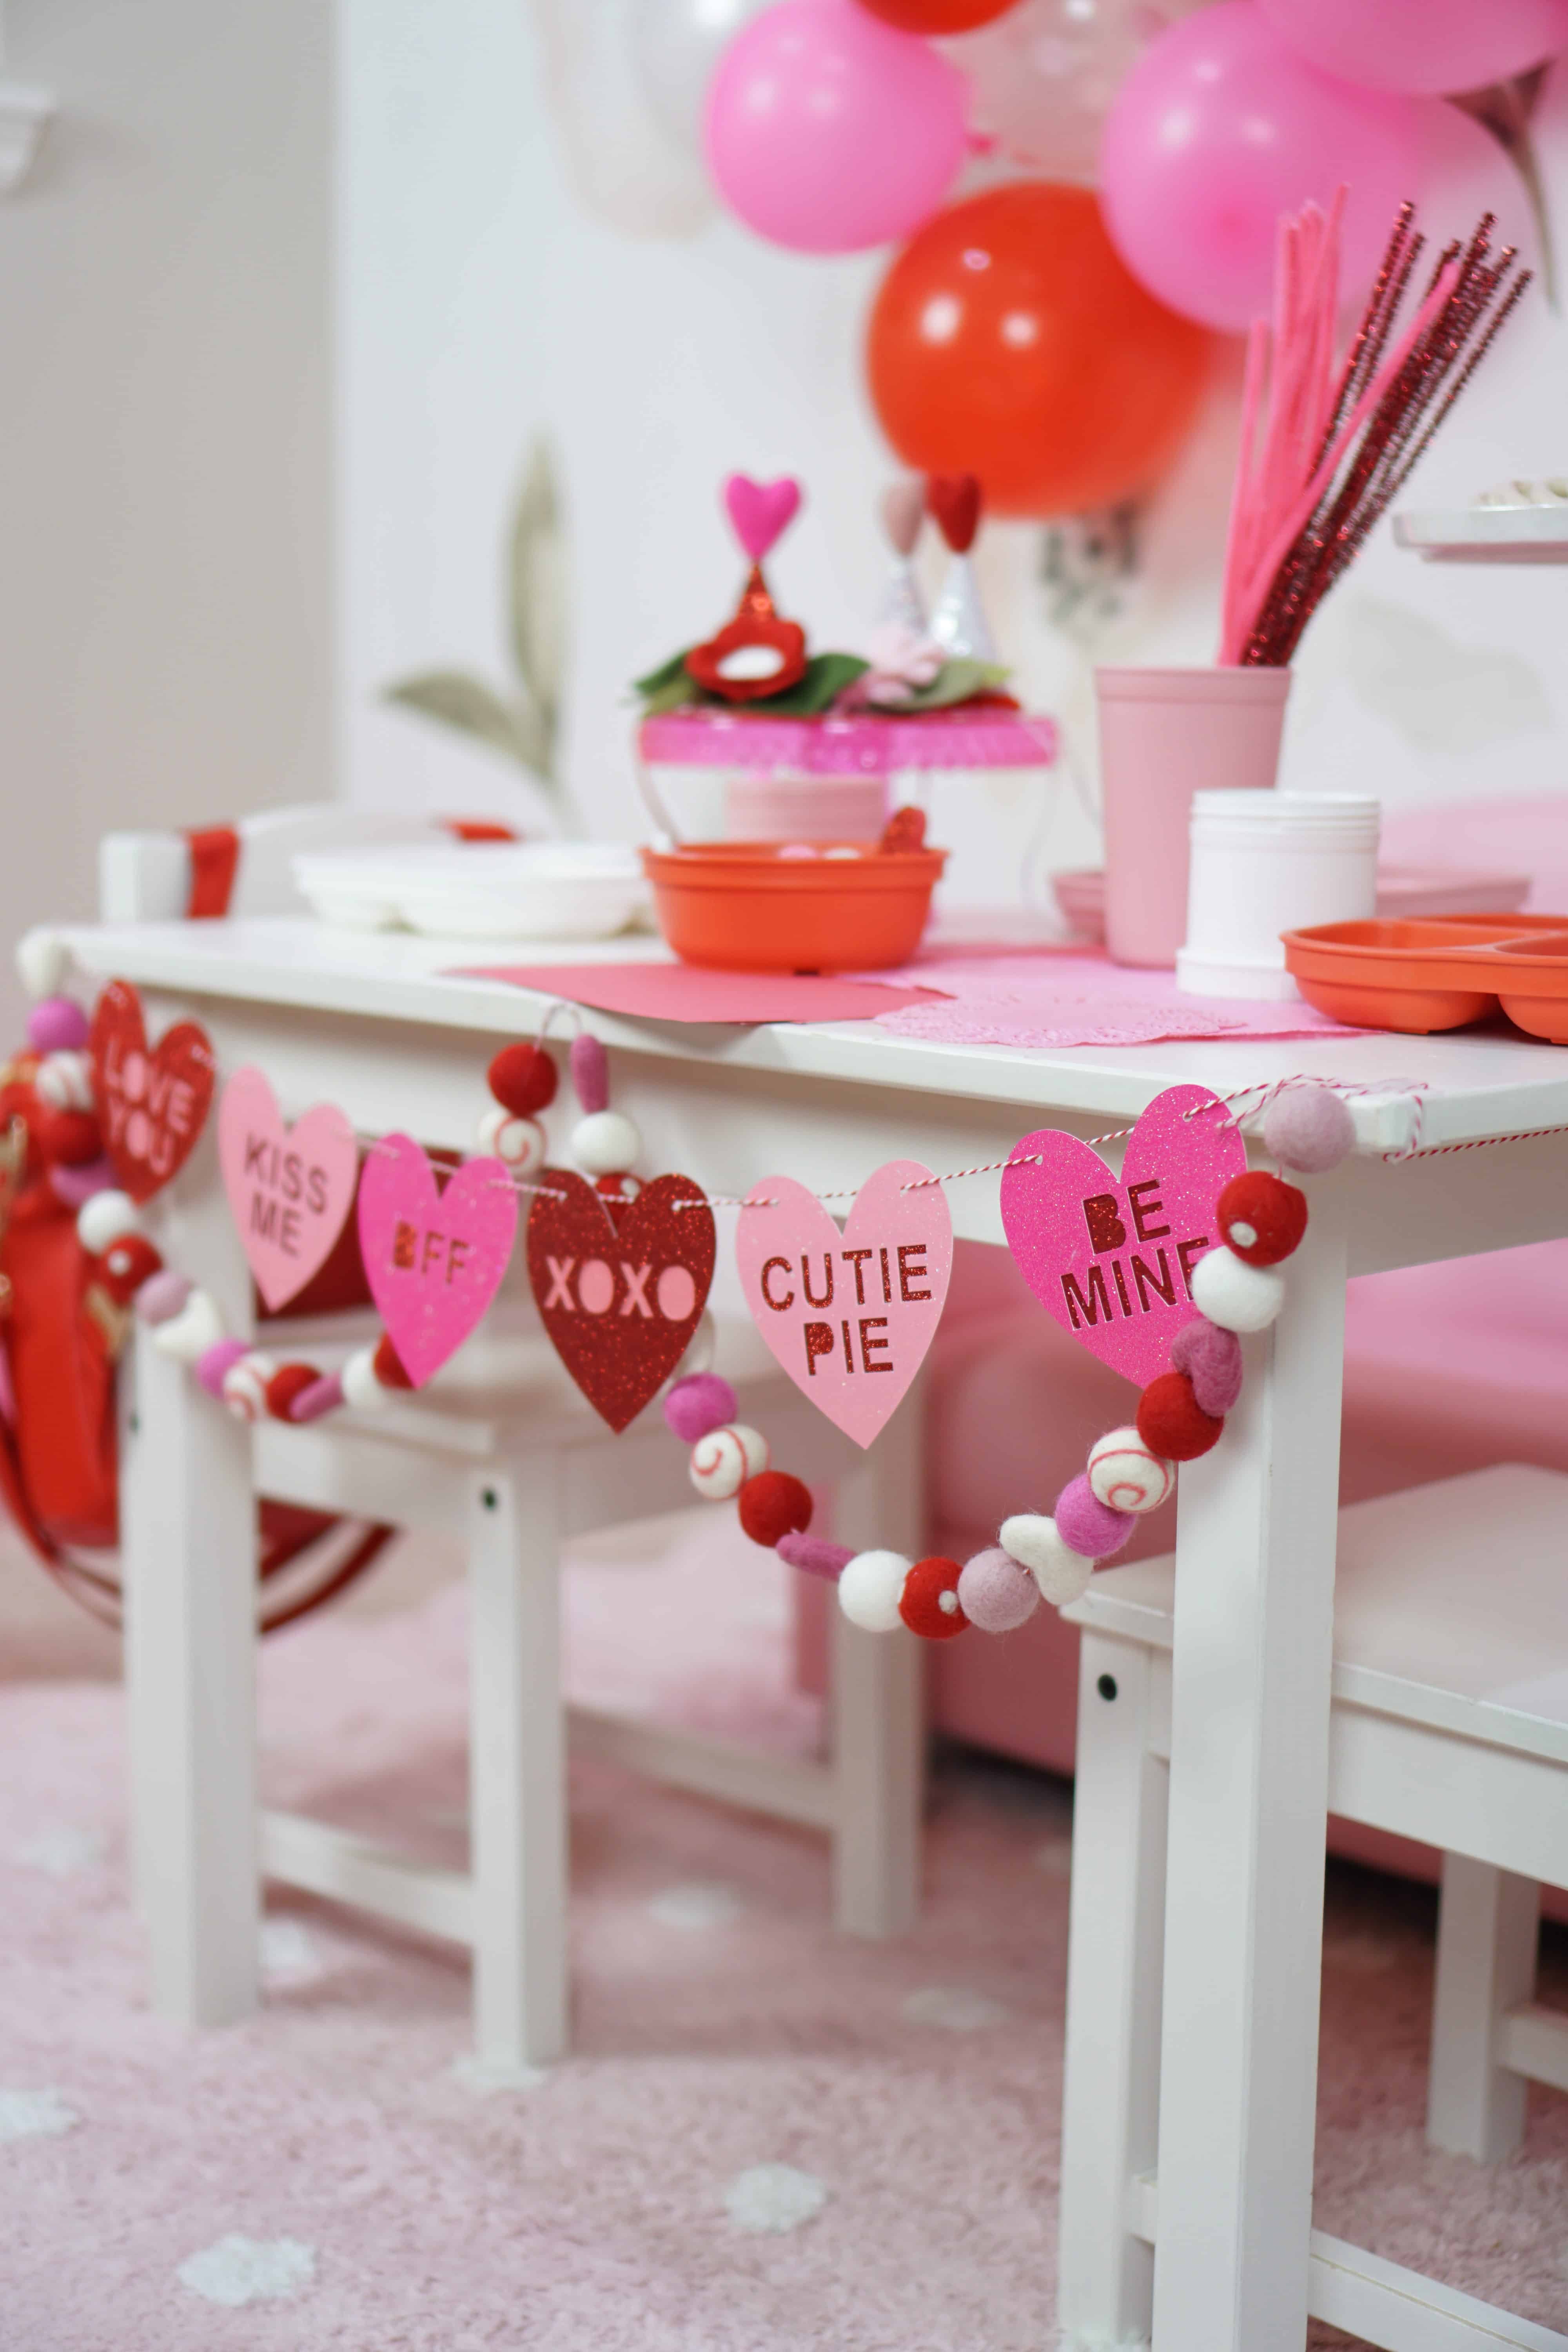
toddlers in front of pink and red balloons at white decorated table for valentines day


blush fawn design mini

Bag

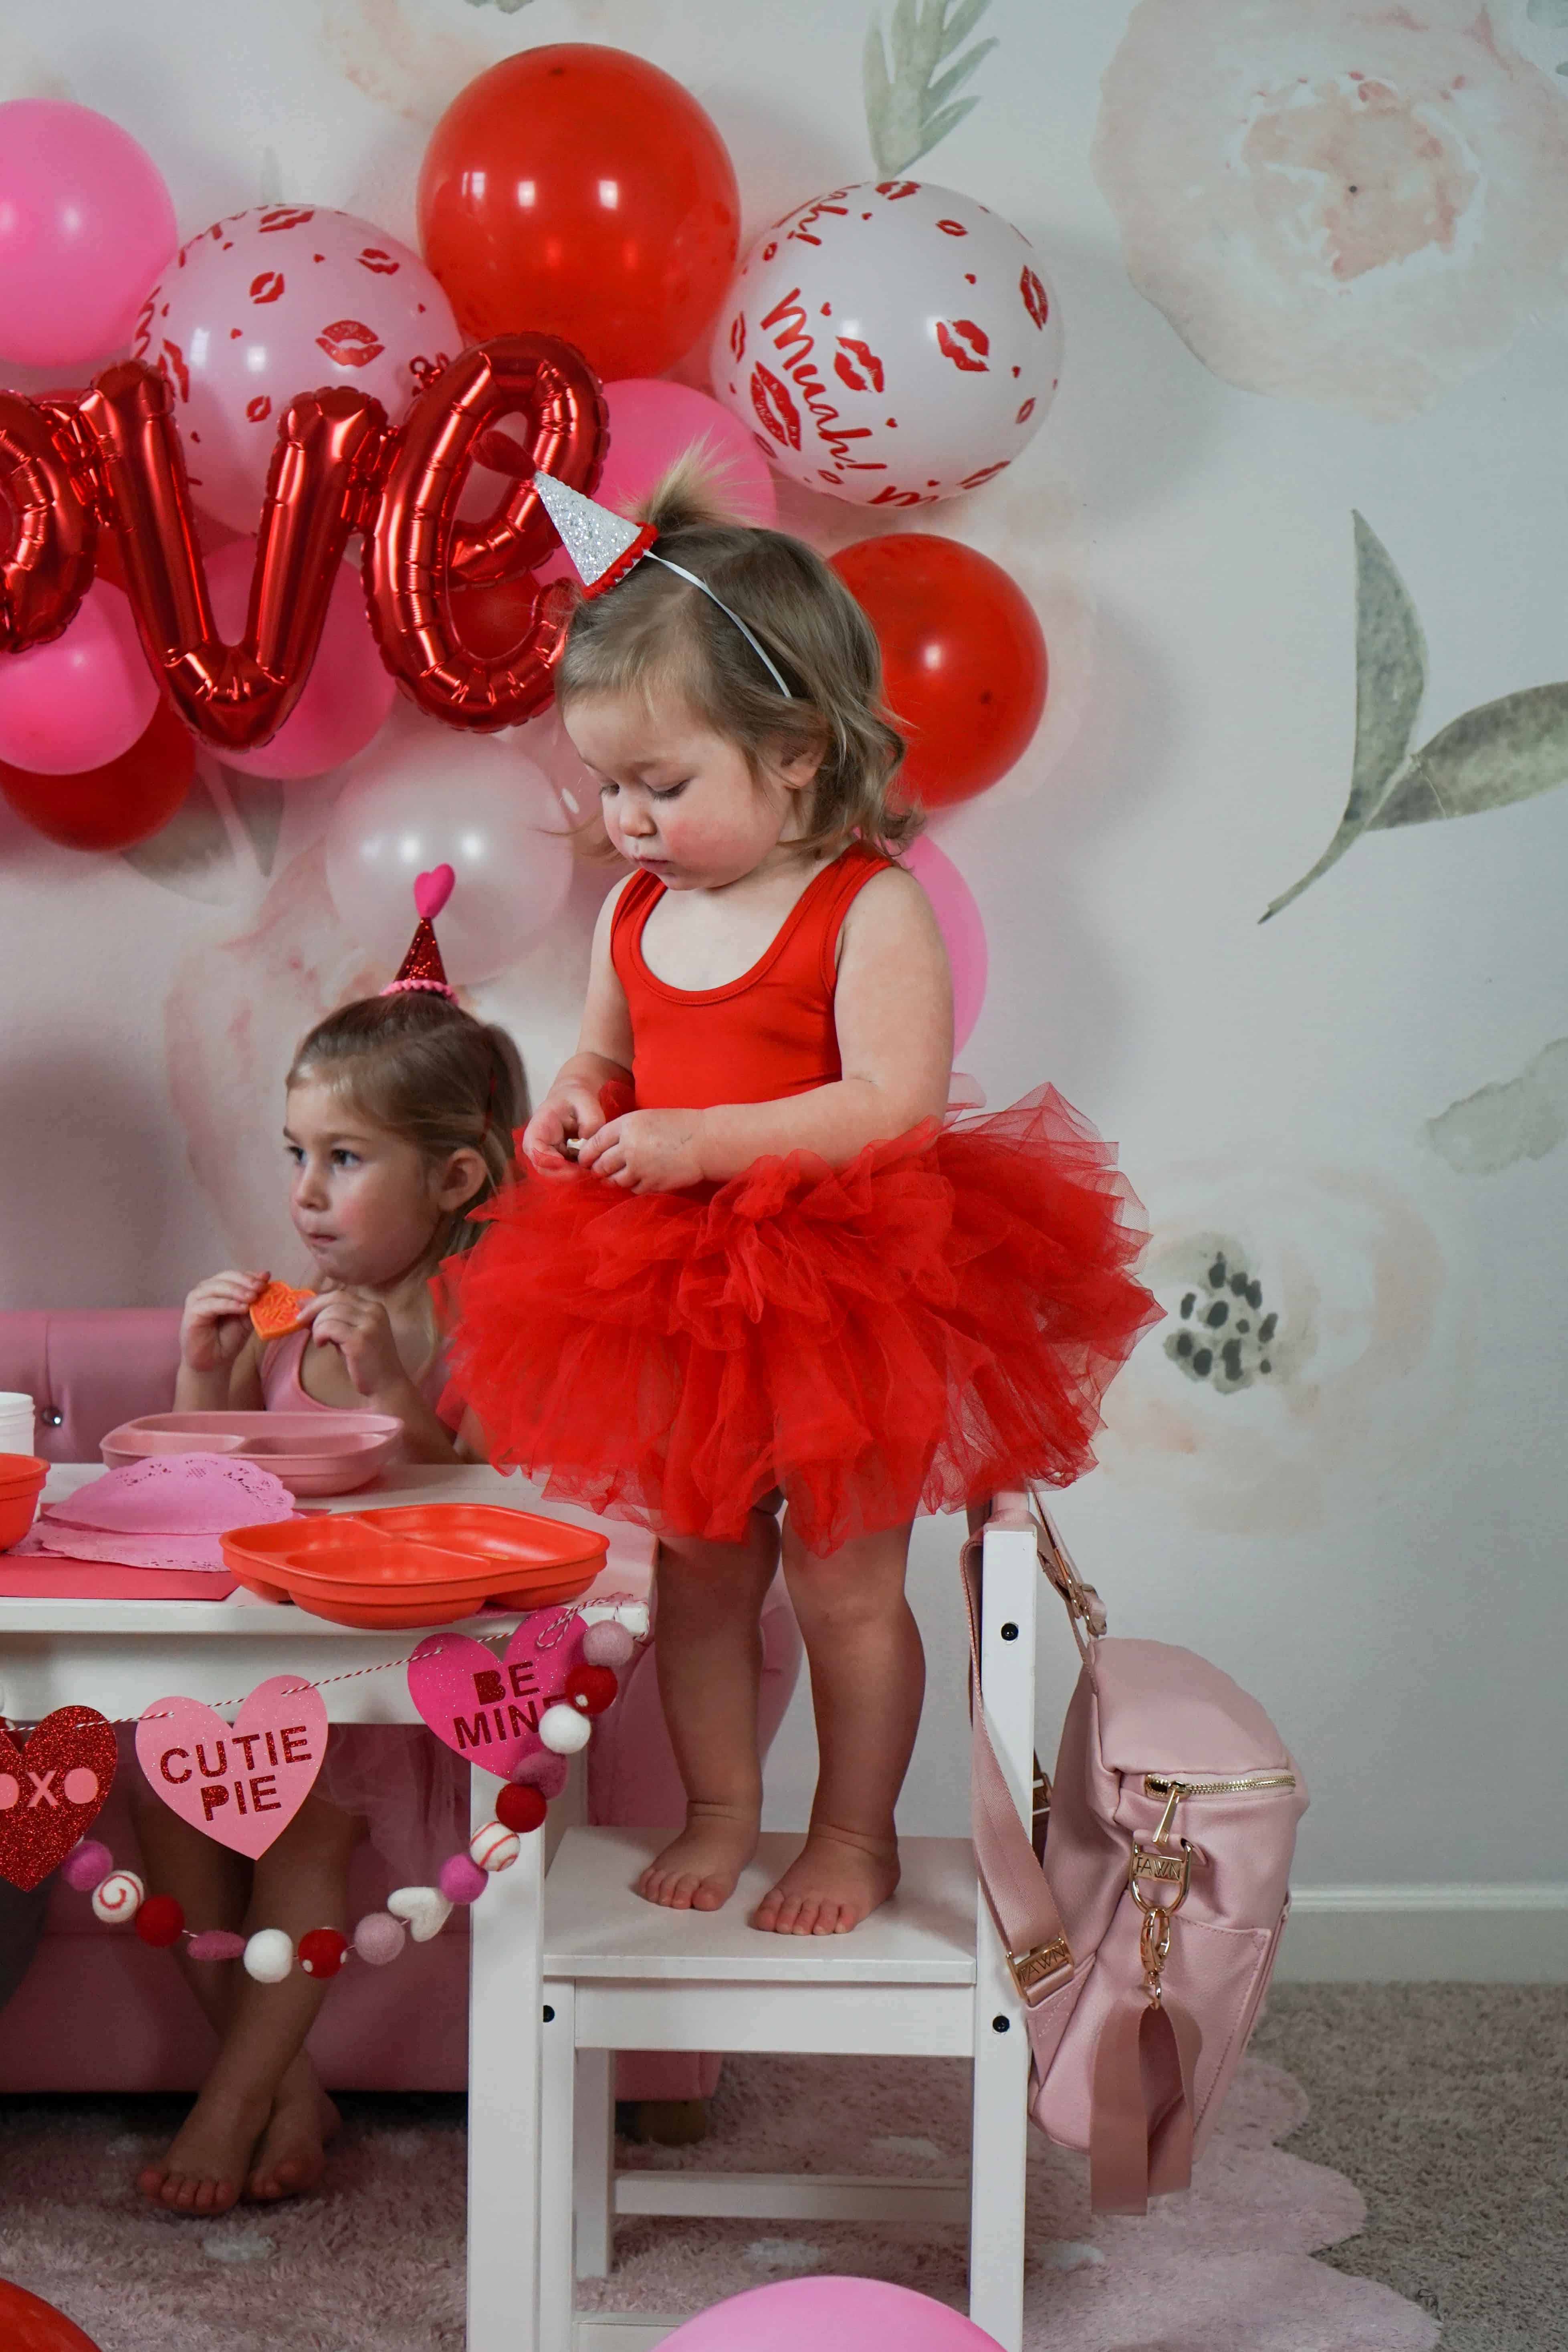
toddler girl in red tutu standing on chair

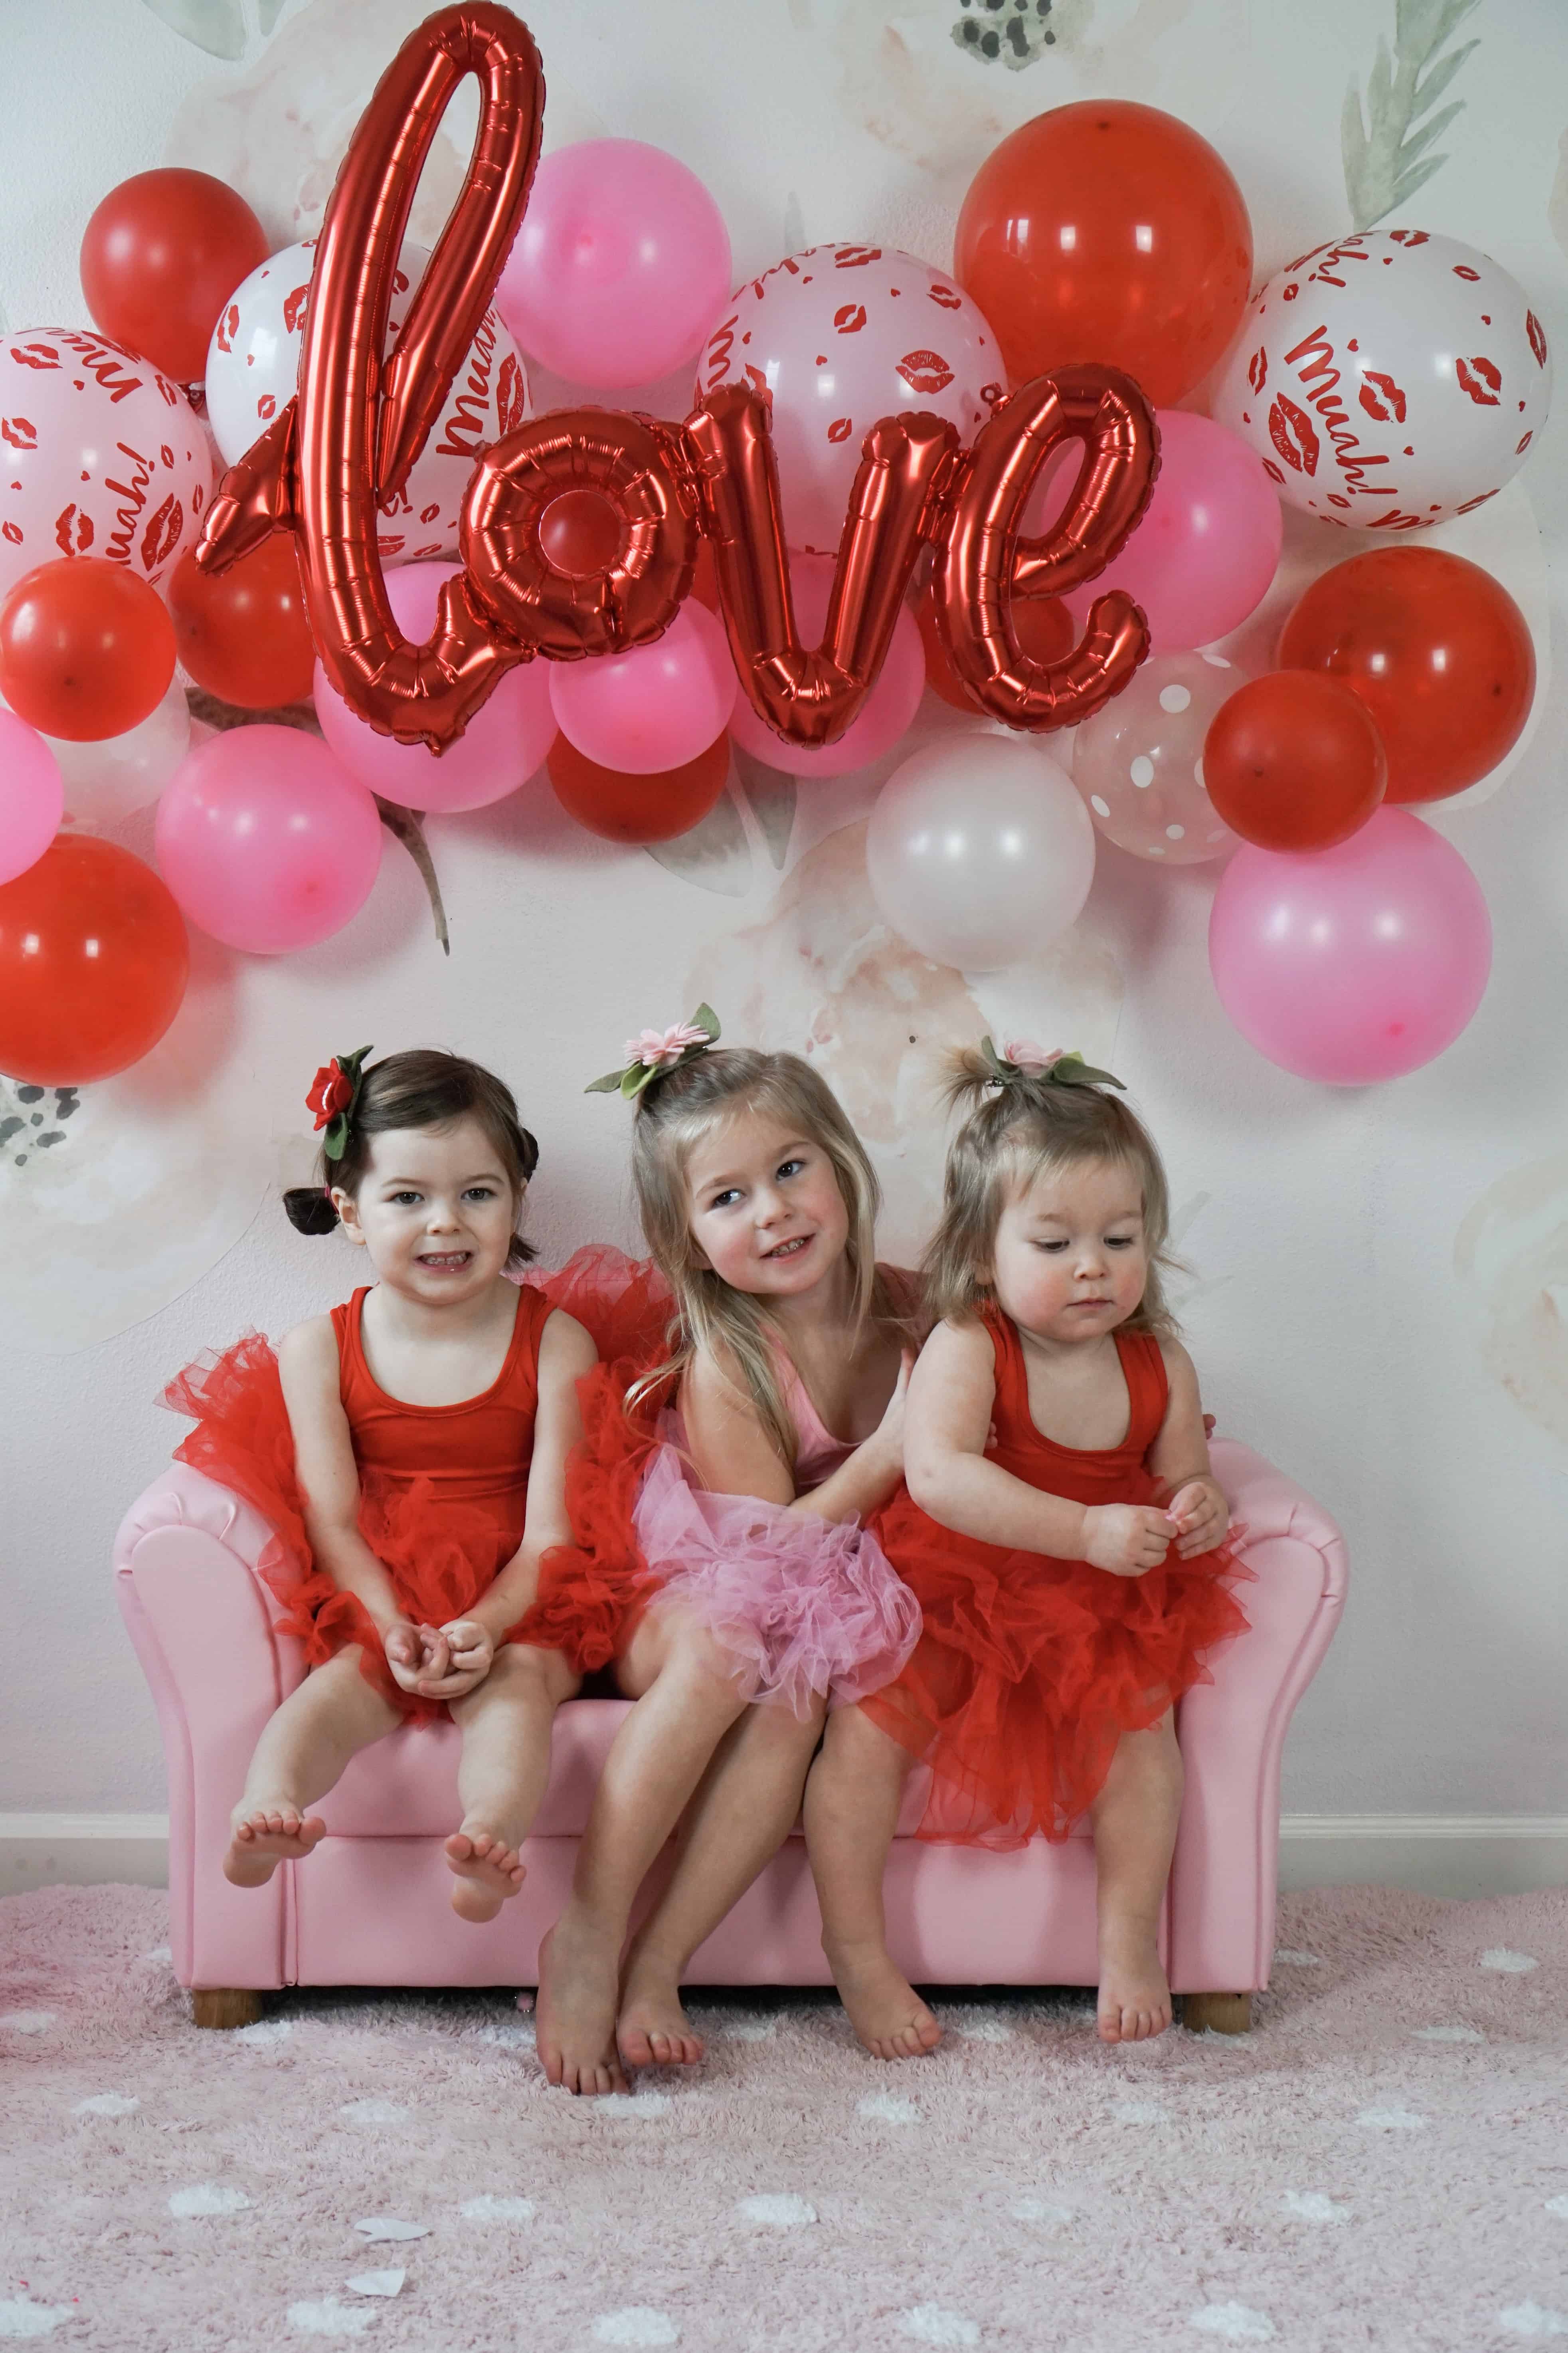
three toddler girls on pink couch in front of balloon wall

pink and red balloons and table scape with toddlers

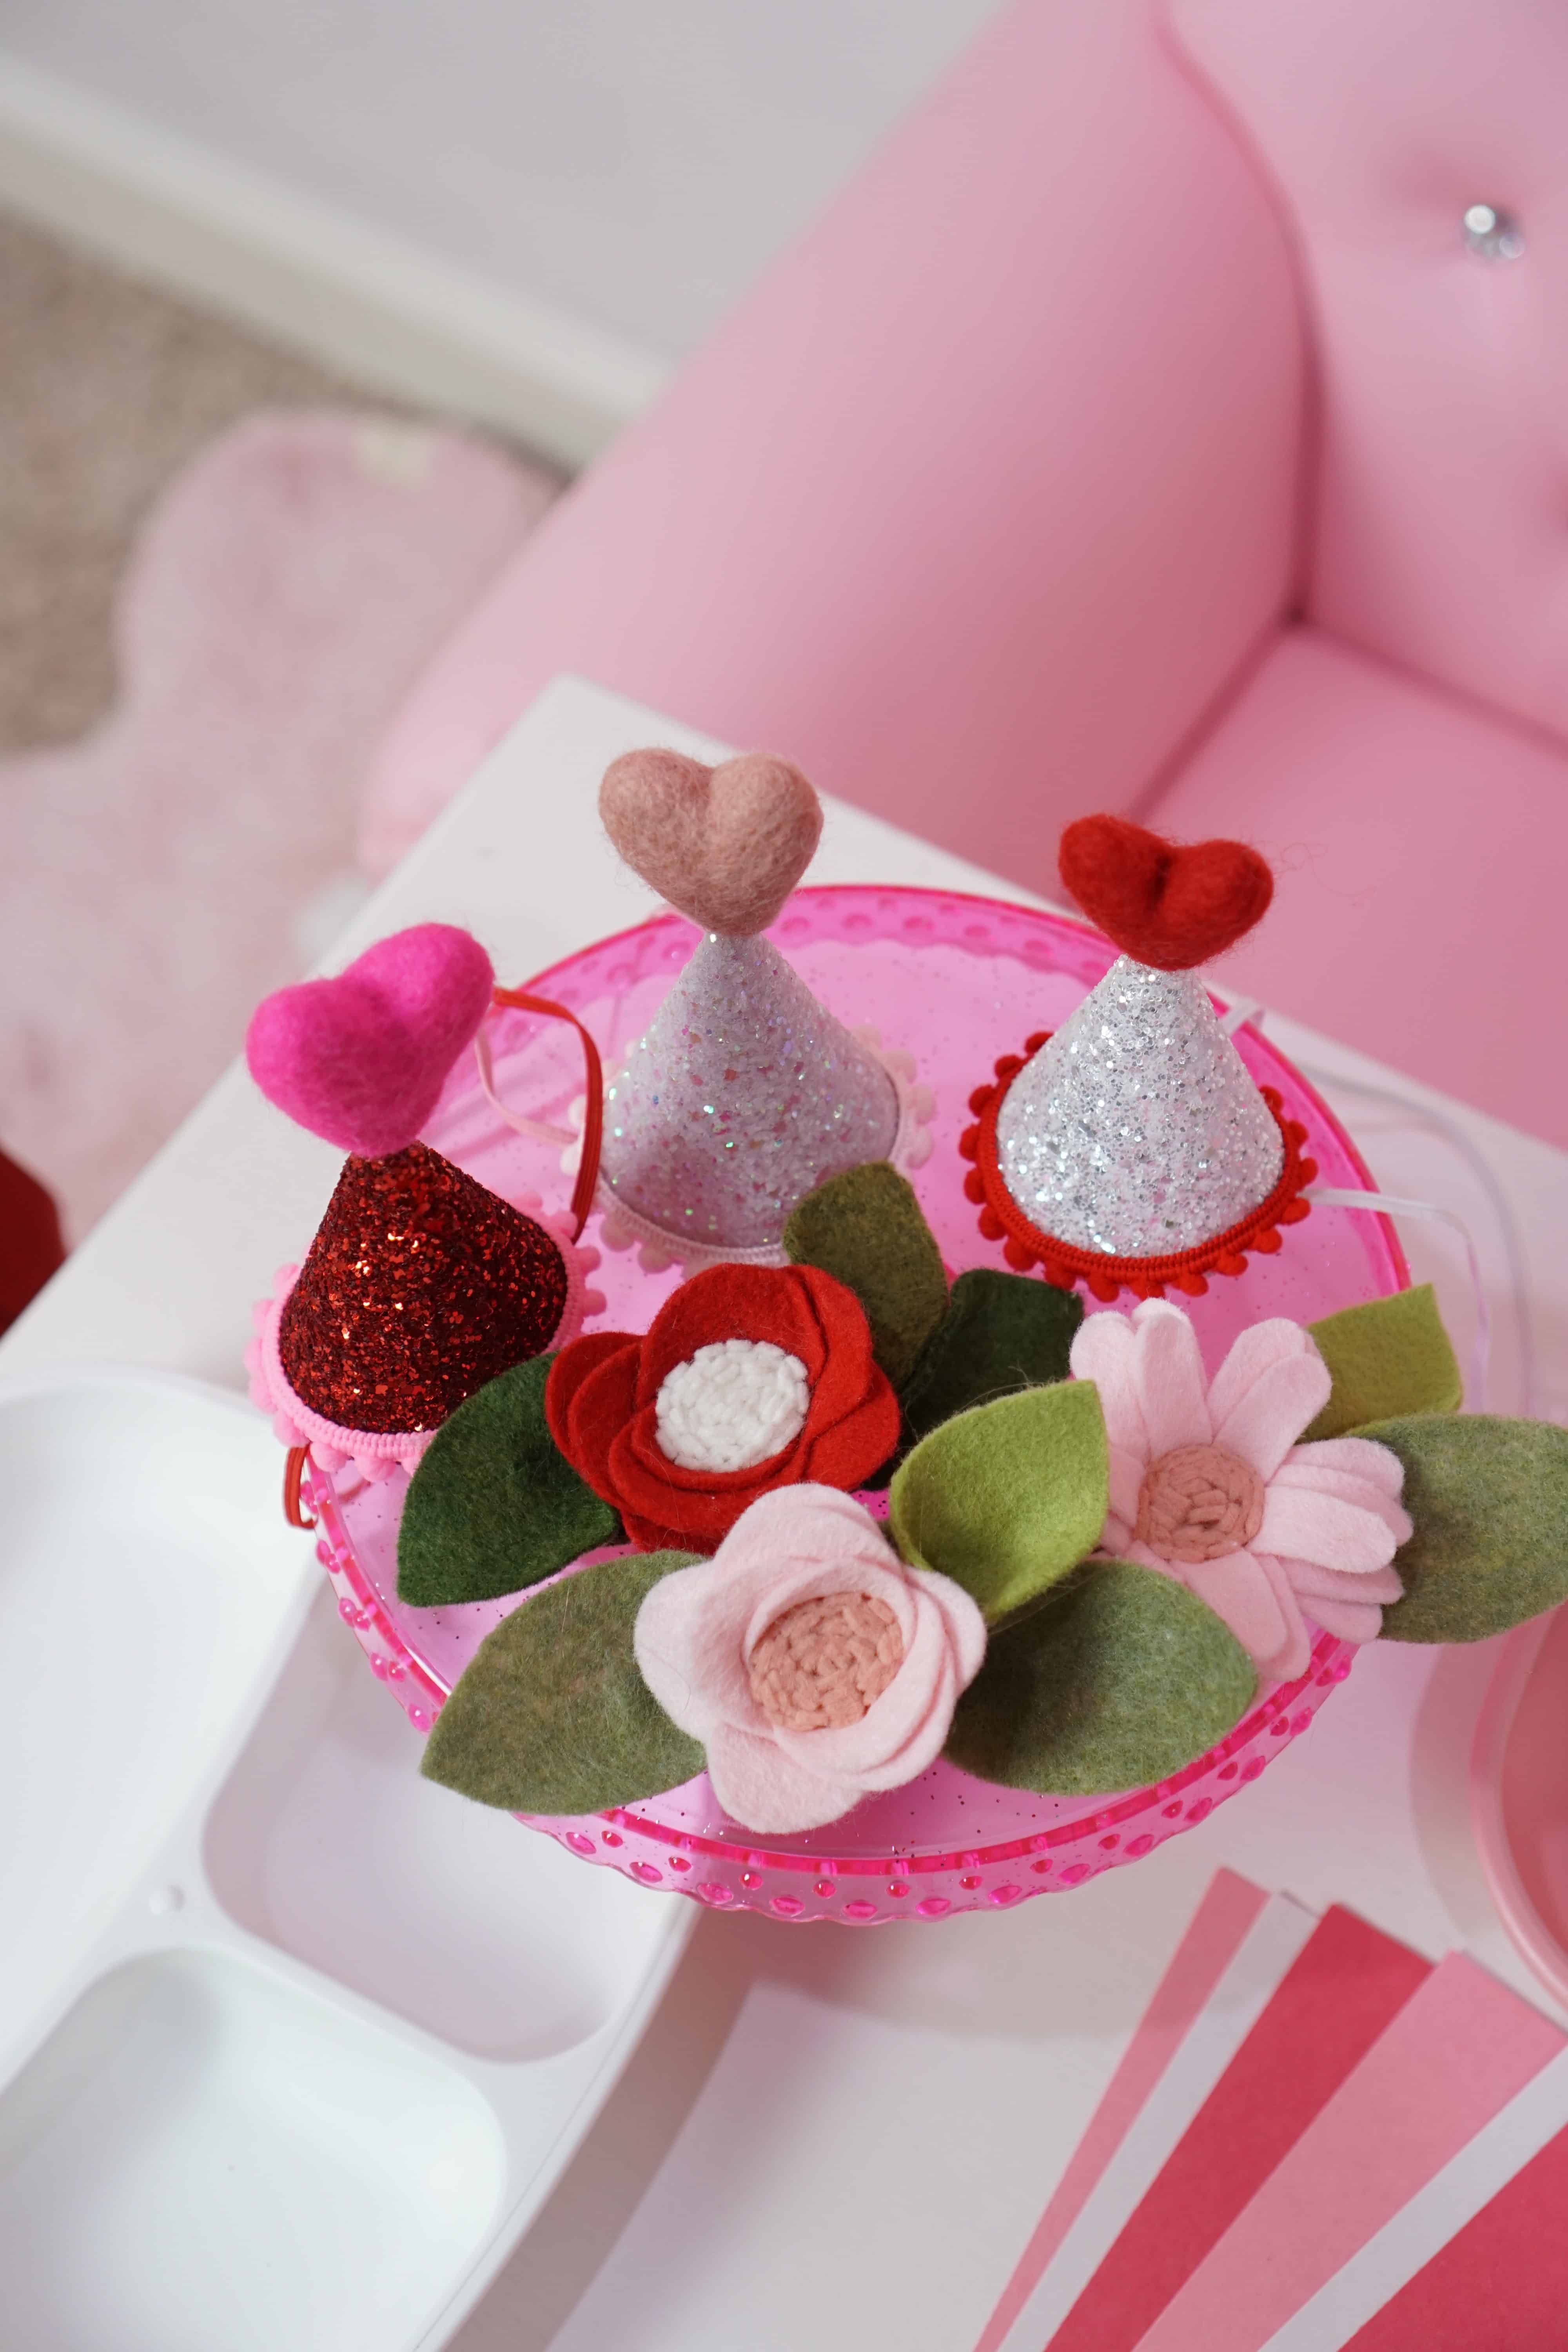
mini heart party hats and flower bows on a pink cake stand

rug / glitter banner / wool garland / love balloon / hats / tutus /Flower Clips

Our Valentine’s Craft

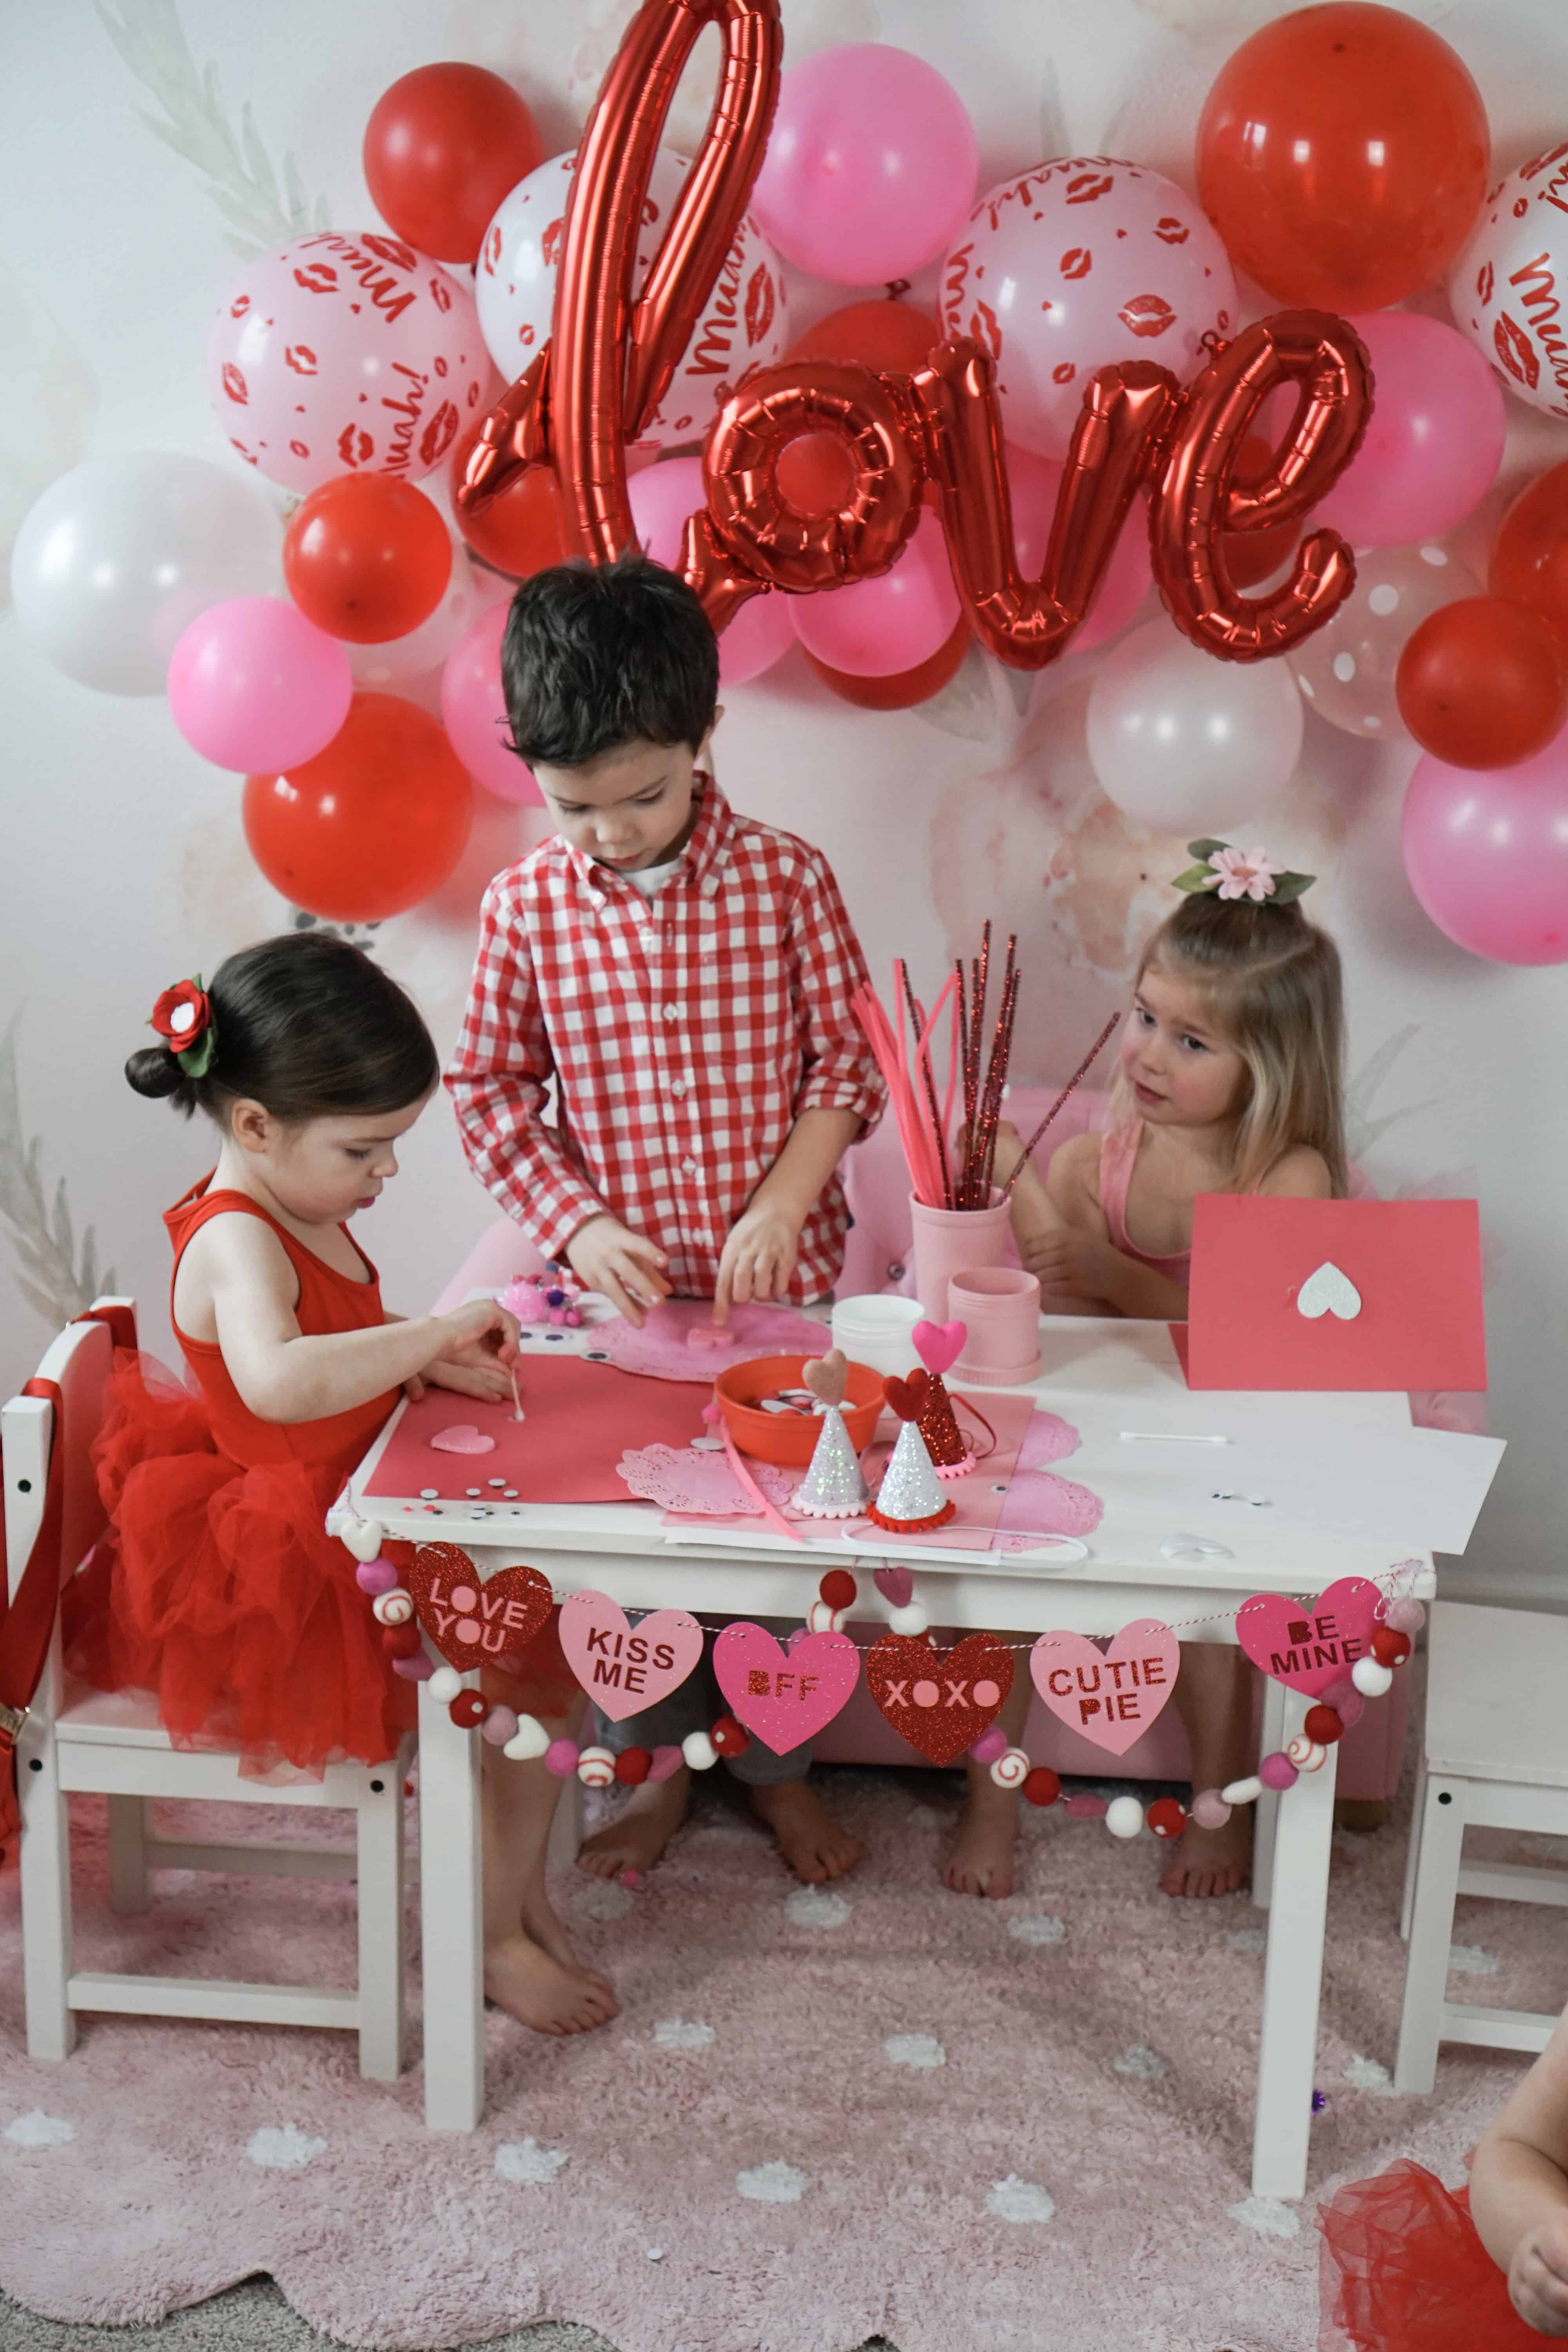
We have bins of trinkets, pom poms, googley eyes, pipe cleaners, etc.  The girls love gluing them to paper and making fun designs. 

I decided to pull out all the Valentine’s Day colored pom poms, pipe cleaners, and construction paper and let them go to town creating whatever their little hearts desired.  I also added in some foam hearts and mini doilies that I got from Walmart.  It was simple but they loved it!

toddlers doing a valentines day craftvalentines day table for craft

Hopefully this will give you some fun ideas for a Valentine’s Day party of your own!  See our other Valentine’s Day photos here from last year.  Thanks for reading!

SaveSaveSaveSave
Food

Vegan Pumpkin Spice Superfood Protein Smoothie

This weeks Guest Recipe Post will have you craving that fall pumpkin year round!! Alex from Queen Culinare is sharing this amazing Vegan Pumpkin Spice Superfood Smoothie, and it is AMAZING!! Drink this as a smoothie, or poor it in a glass to enjoy with a straw, either way you are going to love it!

to smoothies topped with whipped cream

Vegan Pumpkin Spice Protein Superfood Smoothie

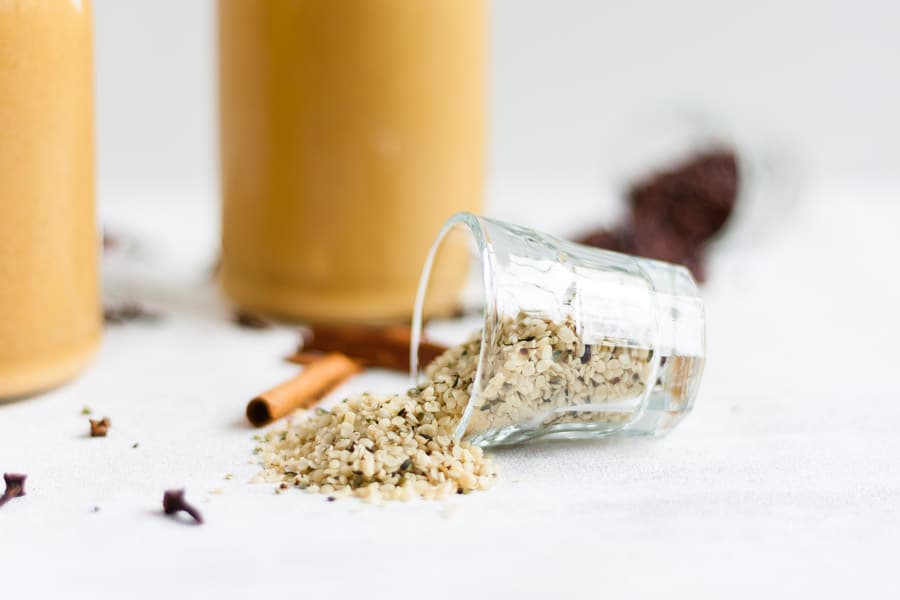
spilled glass of seeds next to smoothie

Smoothies

  • 1 cup Non-Dairy Milk of Choice (unsweetened almond milk is a great choice)
  • 1/2 cup Pumpkin Pureé
  • 1 1/2 tsp Pumpkin Pie Spice
  • 1/2 tsp Turmeric Powder
  • 1-2 cups Ice
  • 2 scoops Vanilla Vegan Protein Powder (Optional but recommended)
  • 1/4 tsp Freshly Ground Black Pepper

Toppings

  • 2 Tbsp Non-dairy Yogurt
  • 2 tsp Shelled Hemp Seeds
  • 2 tsp Chia Seeds
  • 2 tsp Cacao Nibs
  1. Place all the smoothie ingredients into a high powered blender (Vitamix or Nutribullet kinda thing) and blend until smooth and thick.

    Divide between two glasses and top with a little yogurt. Go wild with your toppings, pop in a straw and enjoy!

If you have unflavoured protein powder, this works great too. Just be sure to add a little stevia or other sweetener to taste (honey, maple syrup etc) and 1 tsp vanilla extract.

top view of smoothies topped with seeds

I hope you all enjoy this Vegan Pumpkin Spice Superfood smoothie, and make sure you check out the rest of Alex’s recipes and let her know how much you love this!