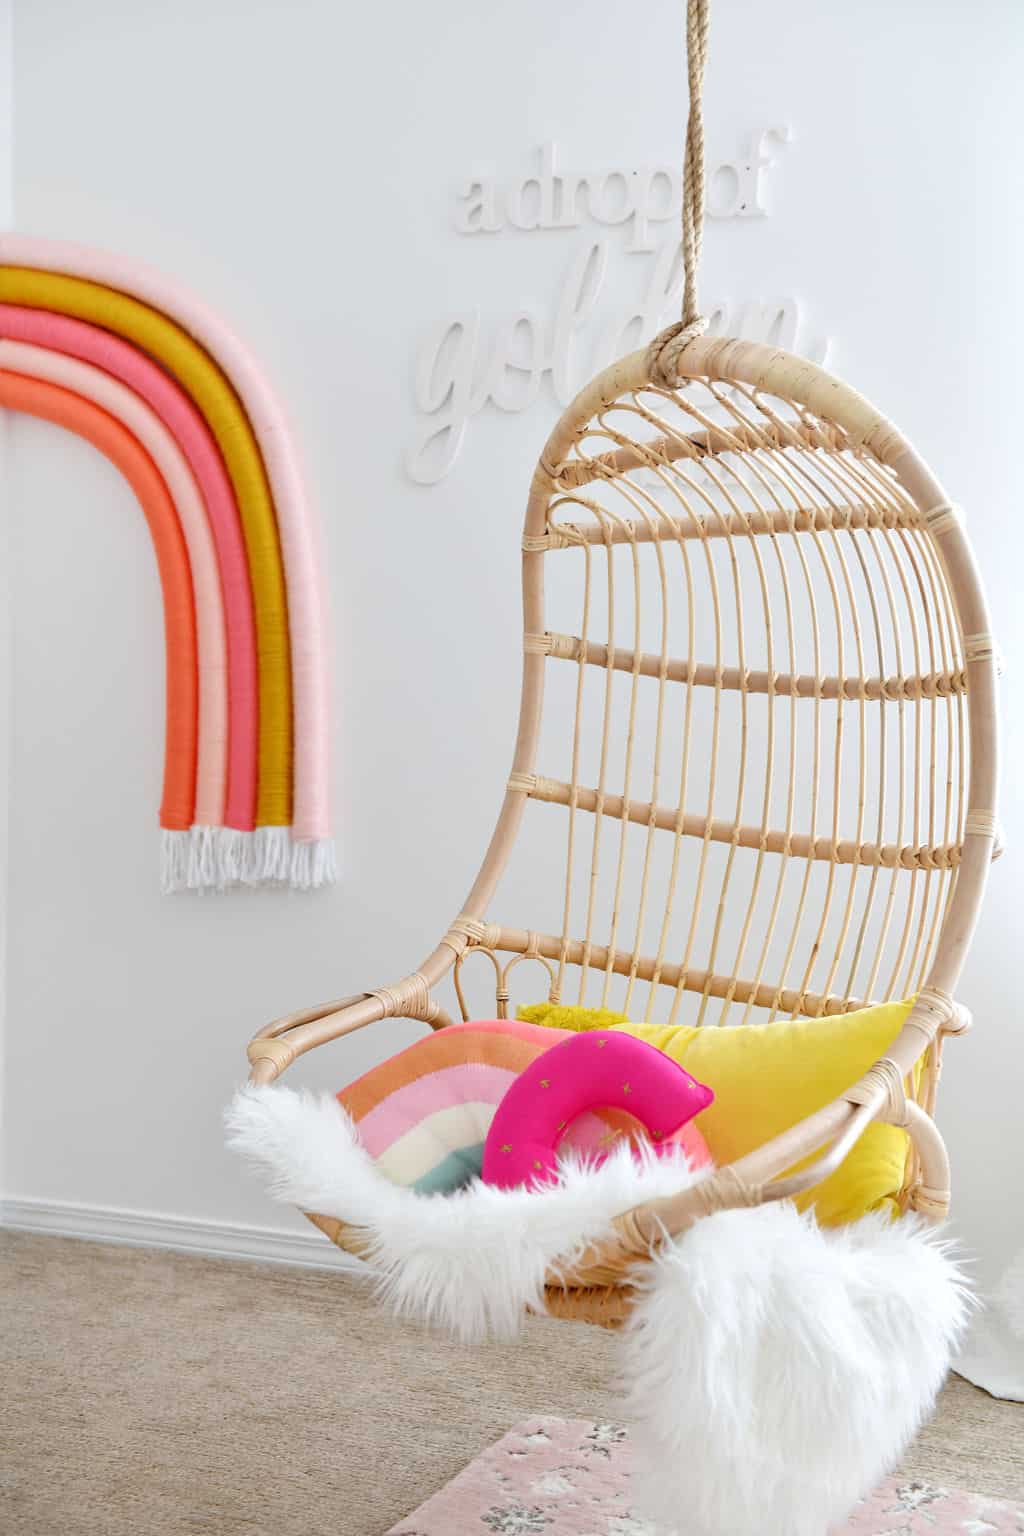
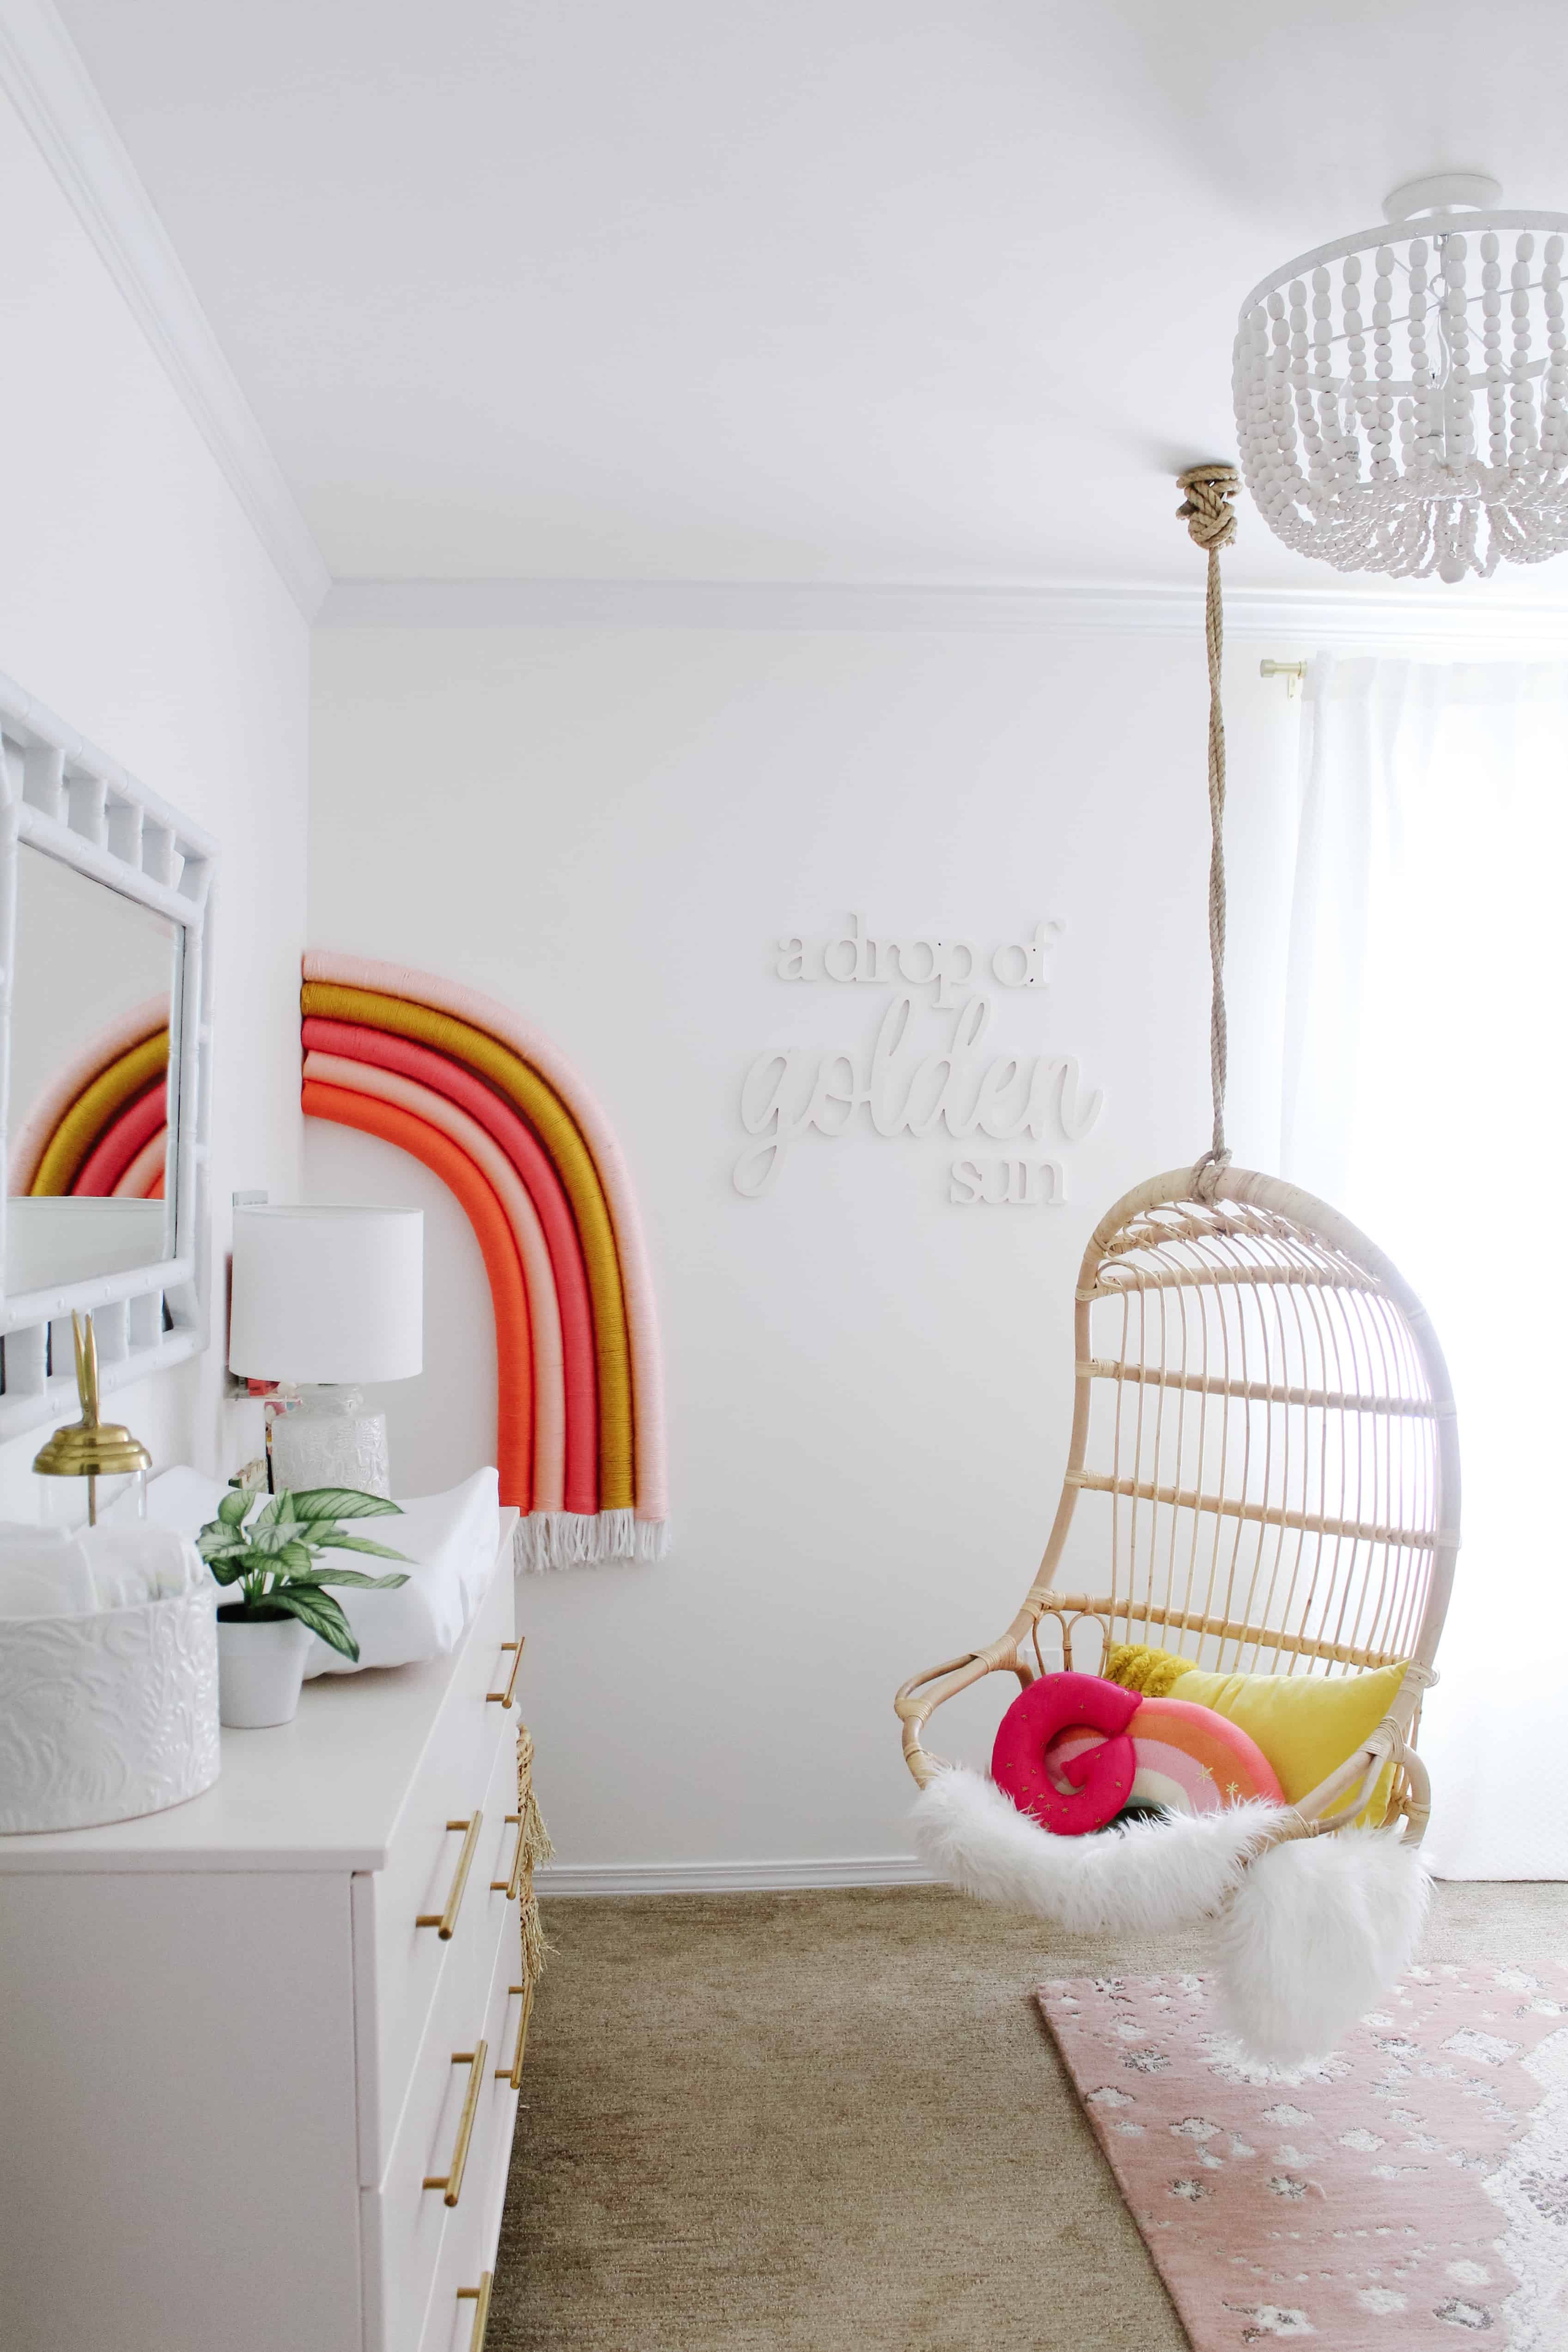
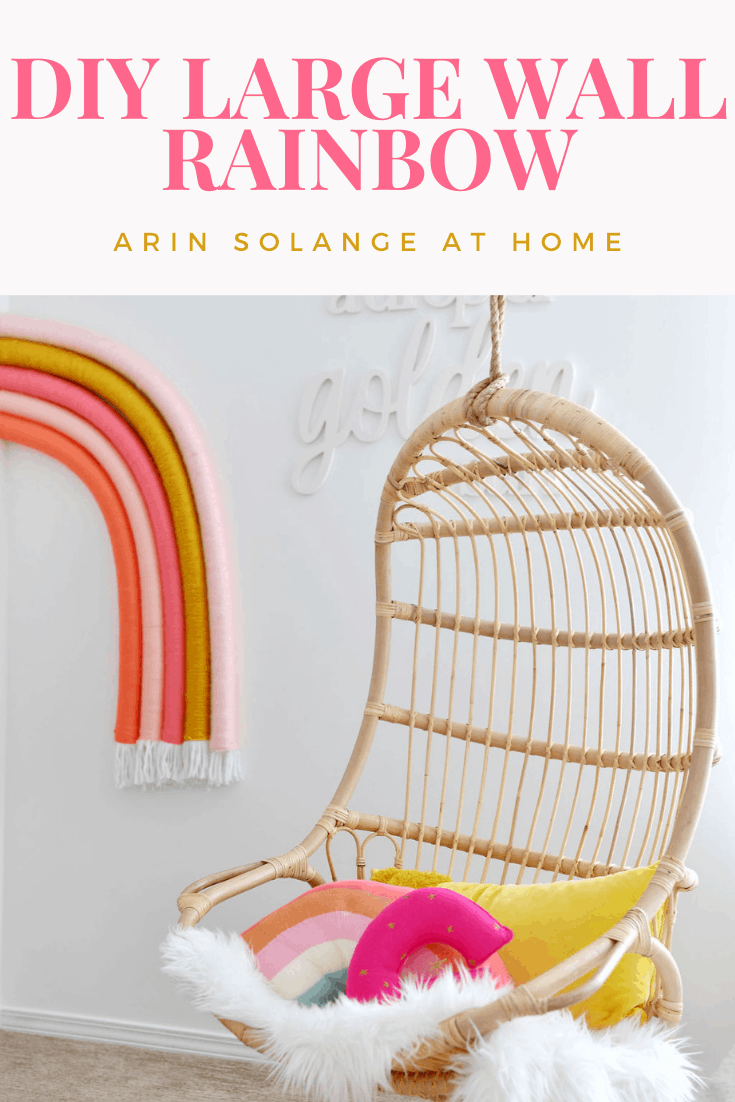
Last week when I posted Goldie’s Nursery the real show stopper was FOR SURE the DIY large wall rainbow. I half knew that would be the case, because I also LOVE it, but also can’t help but laugh because it was totally the last minute item that I didn’t plan on. When I first set out to do Goldie’s room I only wanted a couple touches of rainbows, but when it was missing something I did what I do best…got creative, and the outcome was seriously too good not to share!
This post may contain affiliate links
DIY Large Wall Rainbow
This DIY was equal parts easy and exhausting. Due to the large scale, completing each color was just a whole lot of tedious (yet easy) work.
What you need:
1 foam water noodle per stripe of rainbow
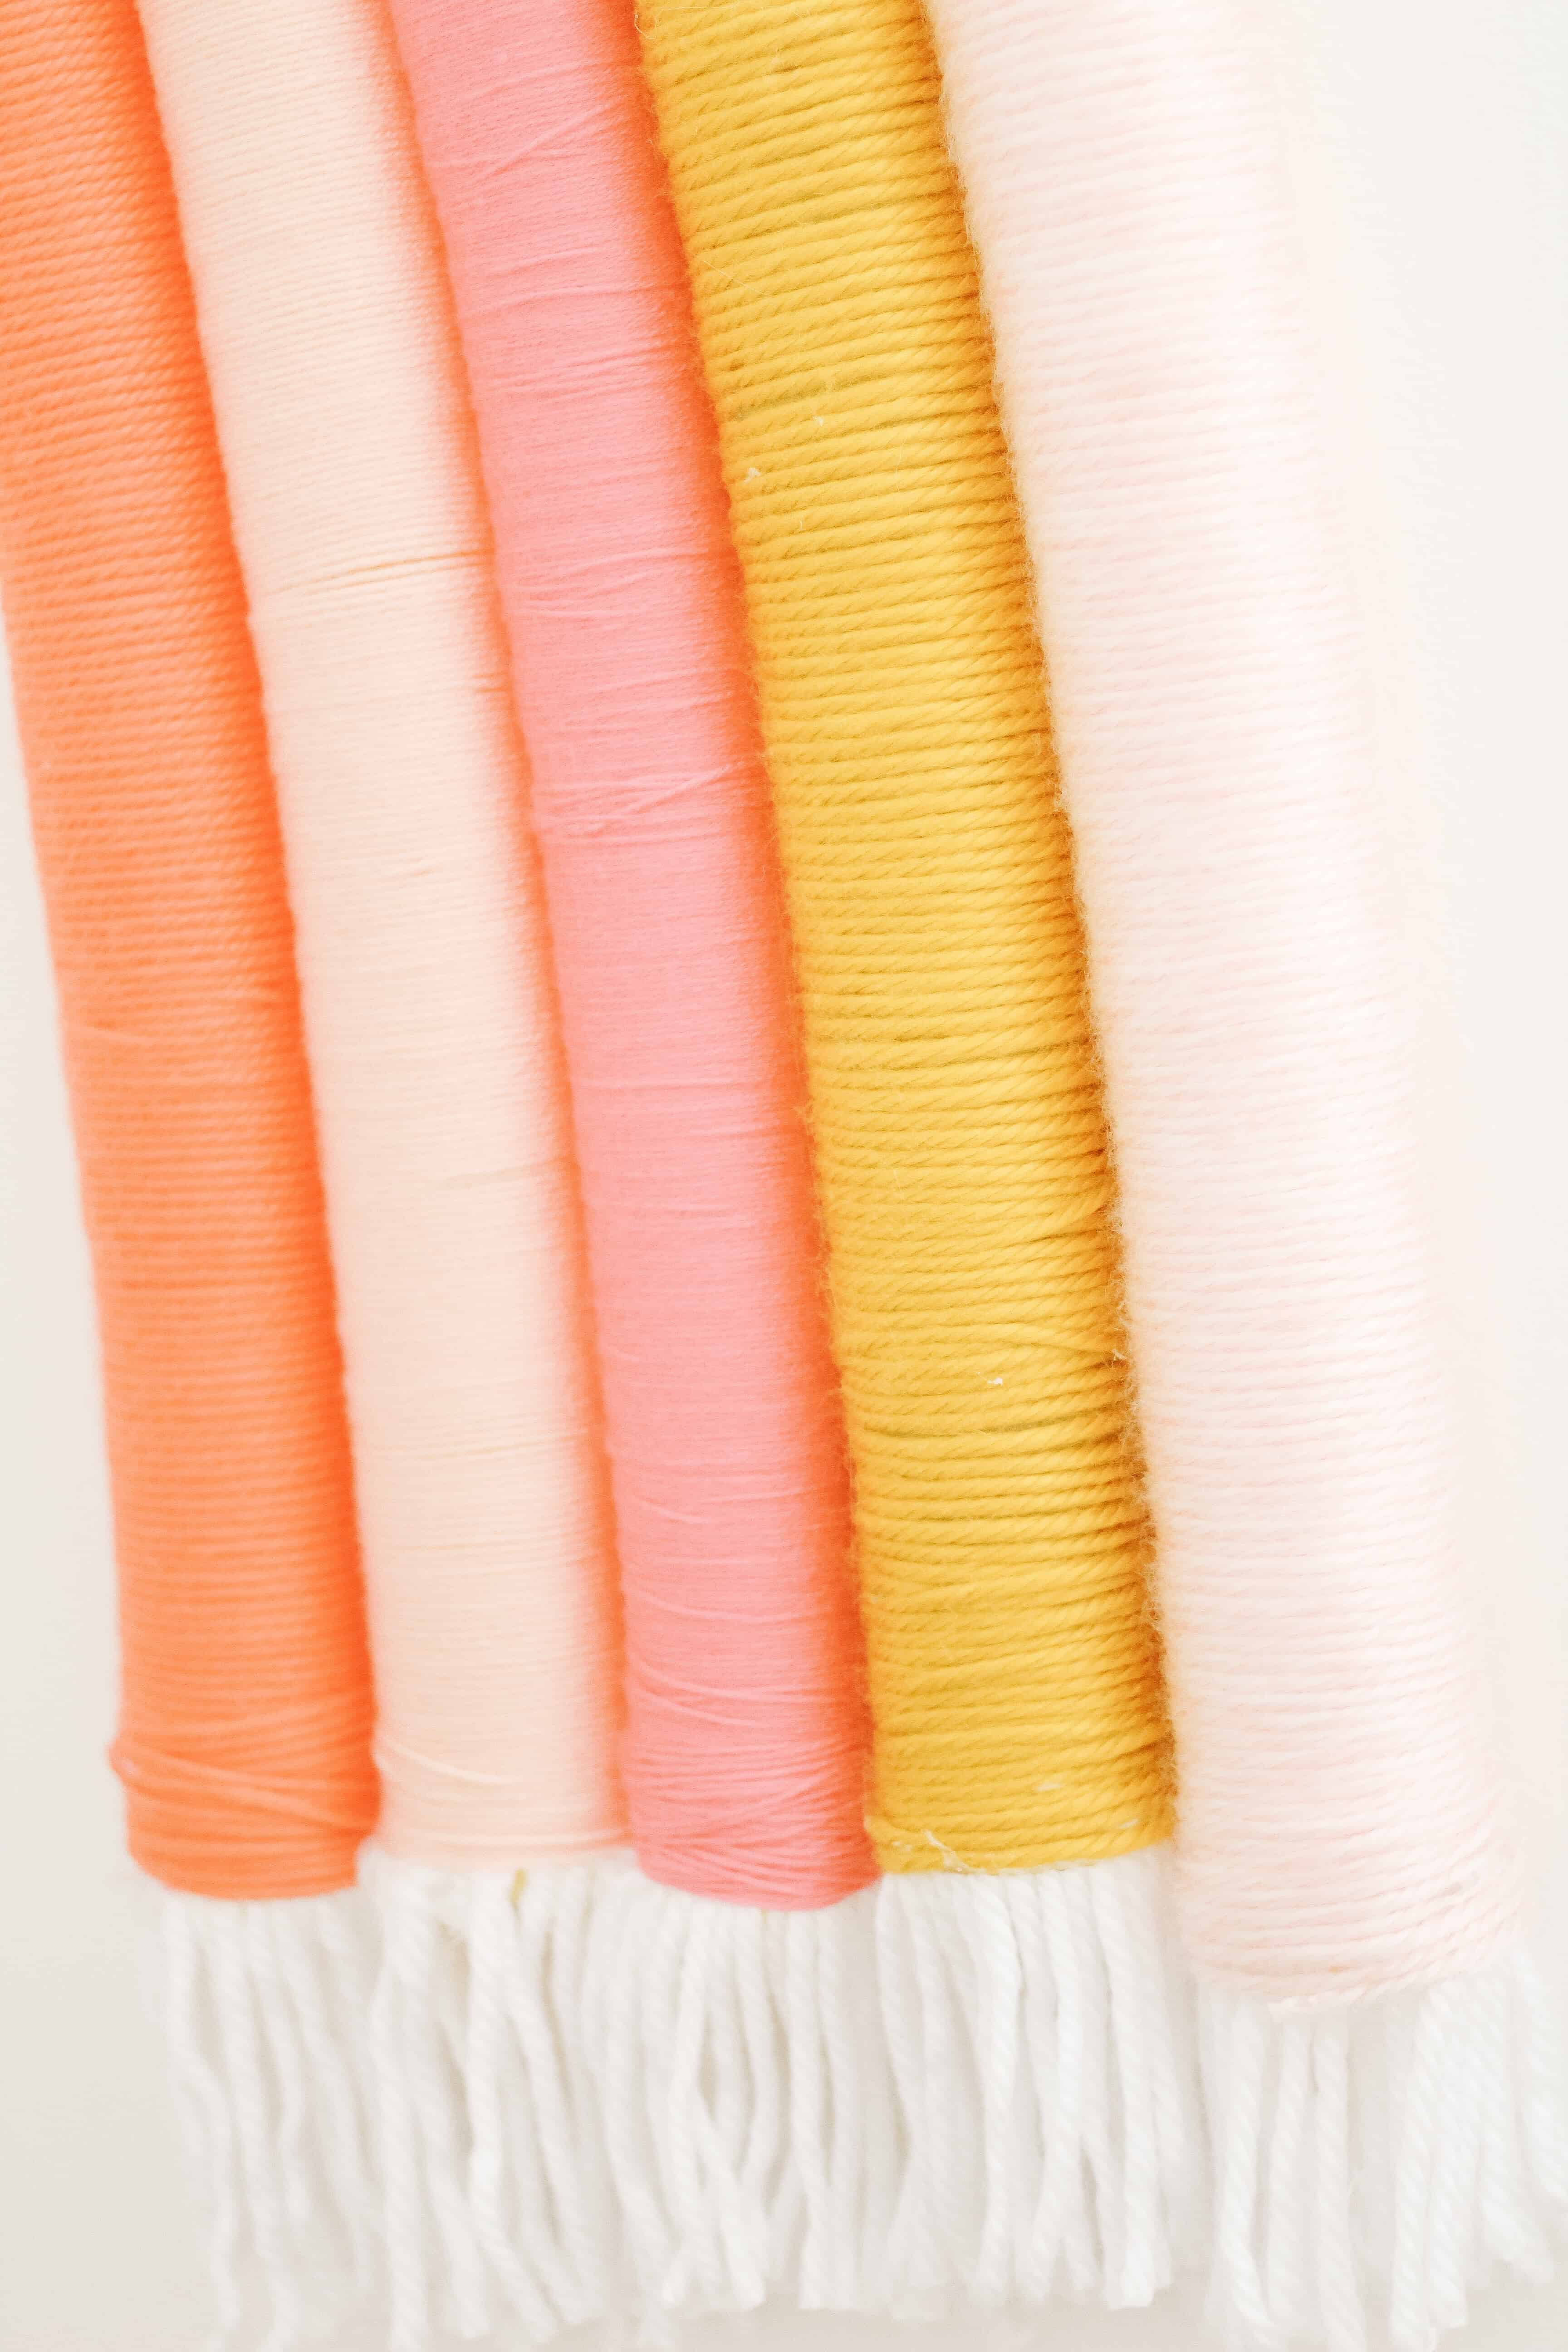
Yarn (for me it took basically 1 thing of yarn per stripe) – either go with varying widths or all the same. (I know that sounds silly, but what I am saying is mix it up half and half ish or do them all the same…don’t just have one be different) I found that Walmart had the best prices on some wider yarn!
White yarn for the ends – looks best with a bit wider yarn (one thing will be more than enough)
How to:
- Start with your outter most stripe of the rainbow. You will basically just start by hot glueing carefully and wrapping the first few rounds.
- I hot glued the end into the middle hole of the noodle. I then had the end of the noodle slightly covered with yarn.
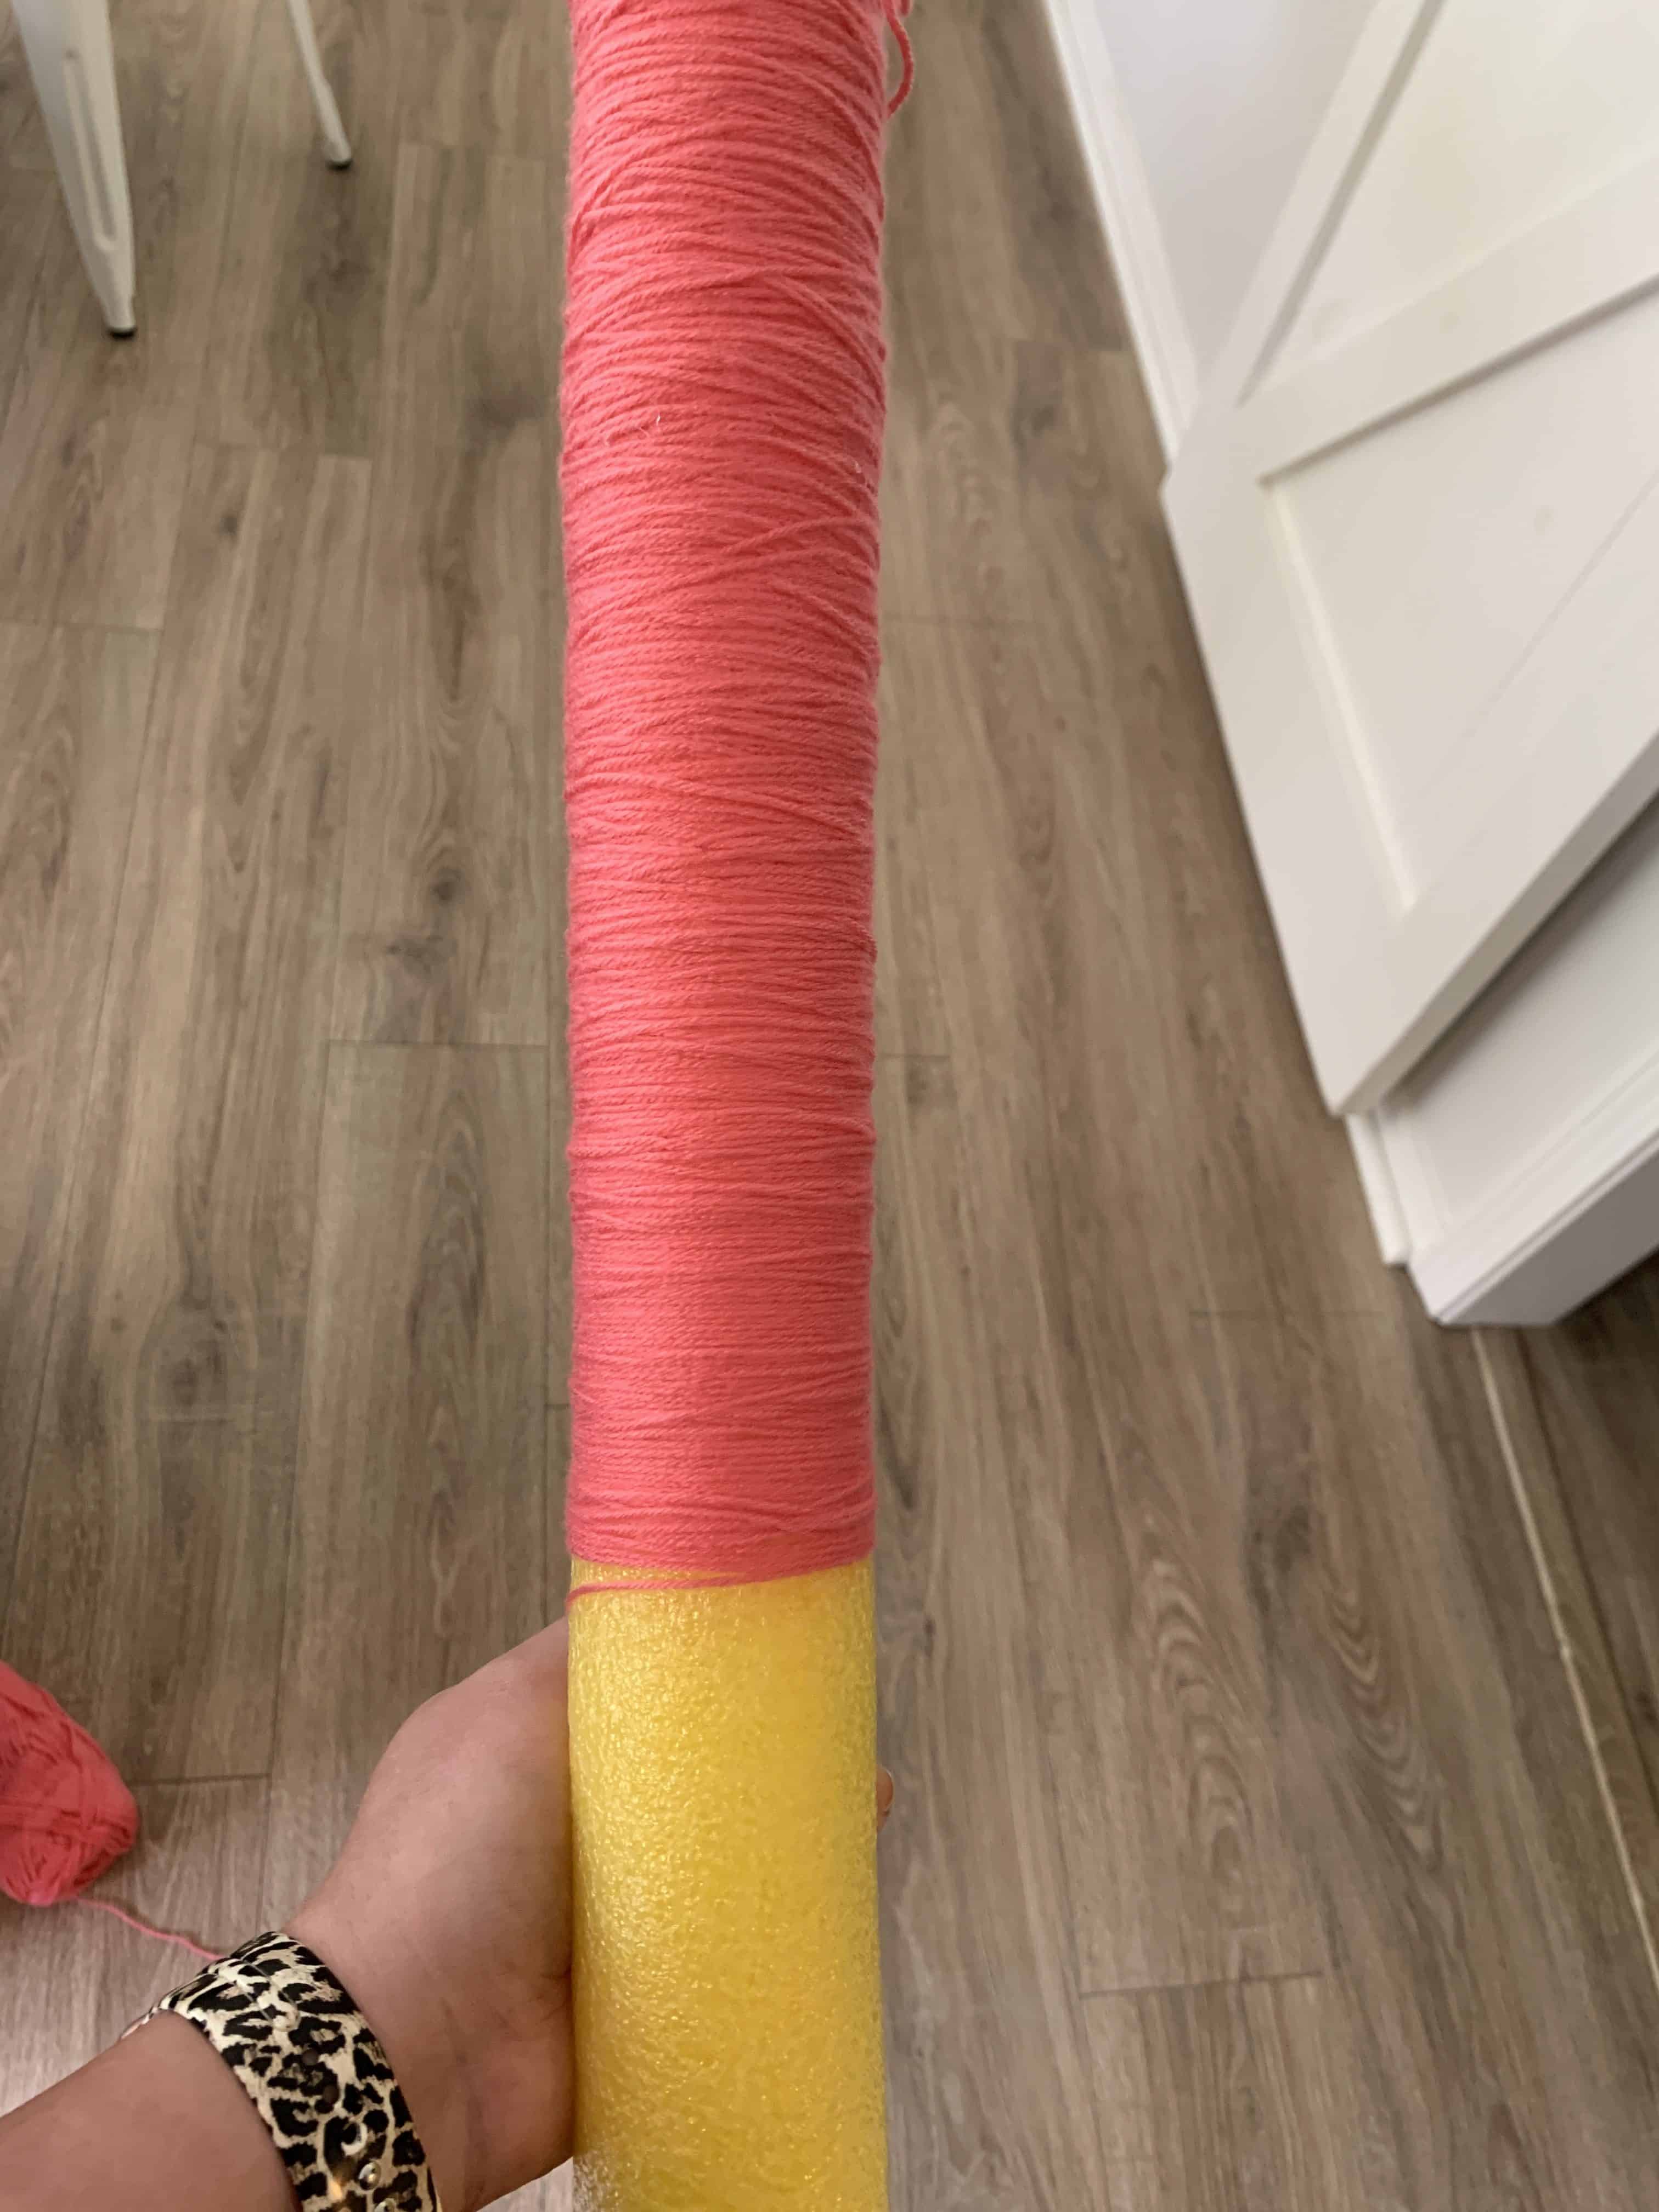
- Once you’re an inch or so down the noodle length you no longer need to hot glue. Just wrap and keep things nice and tight. Make sure if noodle is showing you shimmy it all up a bit before you get much further down.
- Once you’re about 6 inches from the end put a dot of hot glue and stop. DON’T CUT THE YARN OFF.
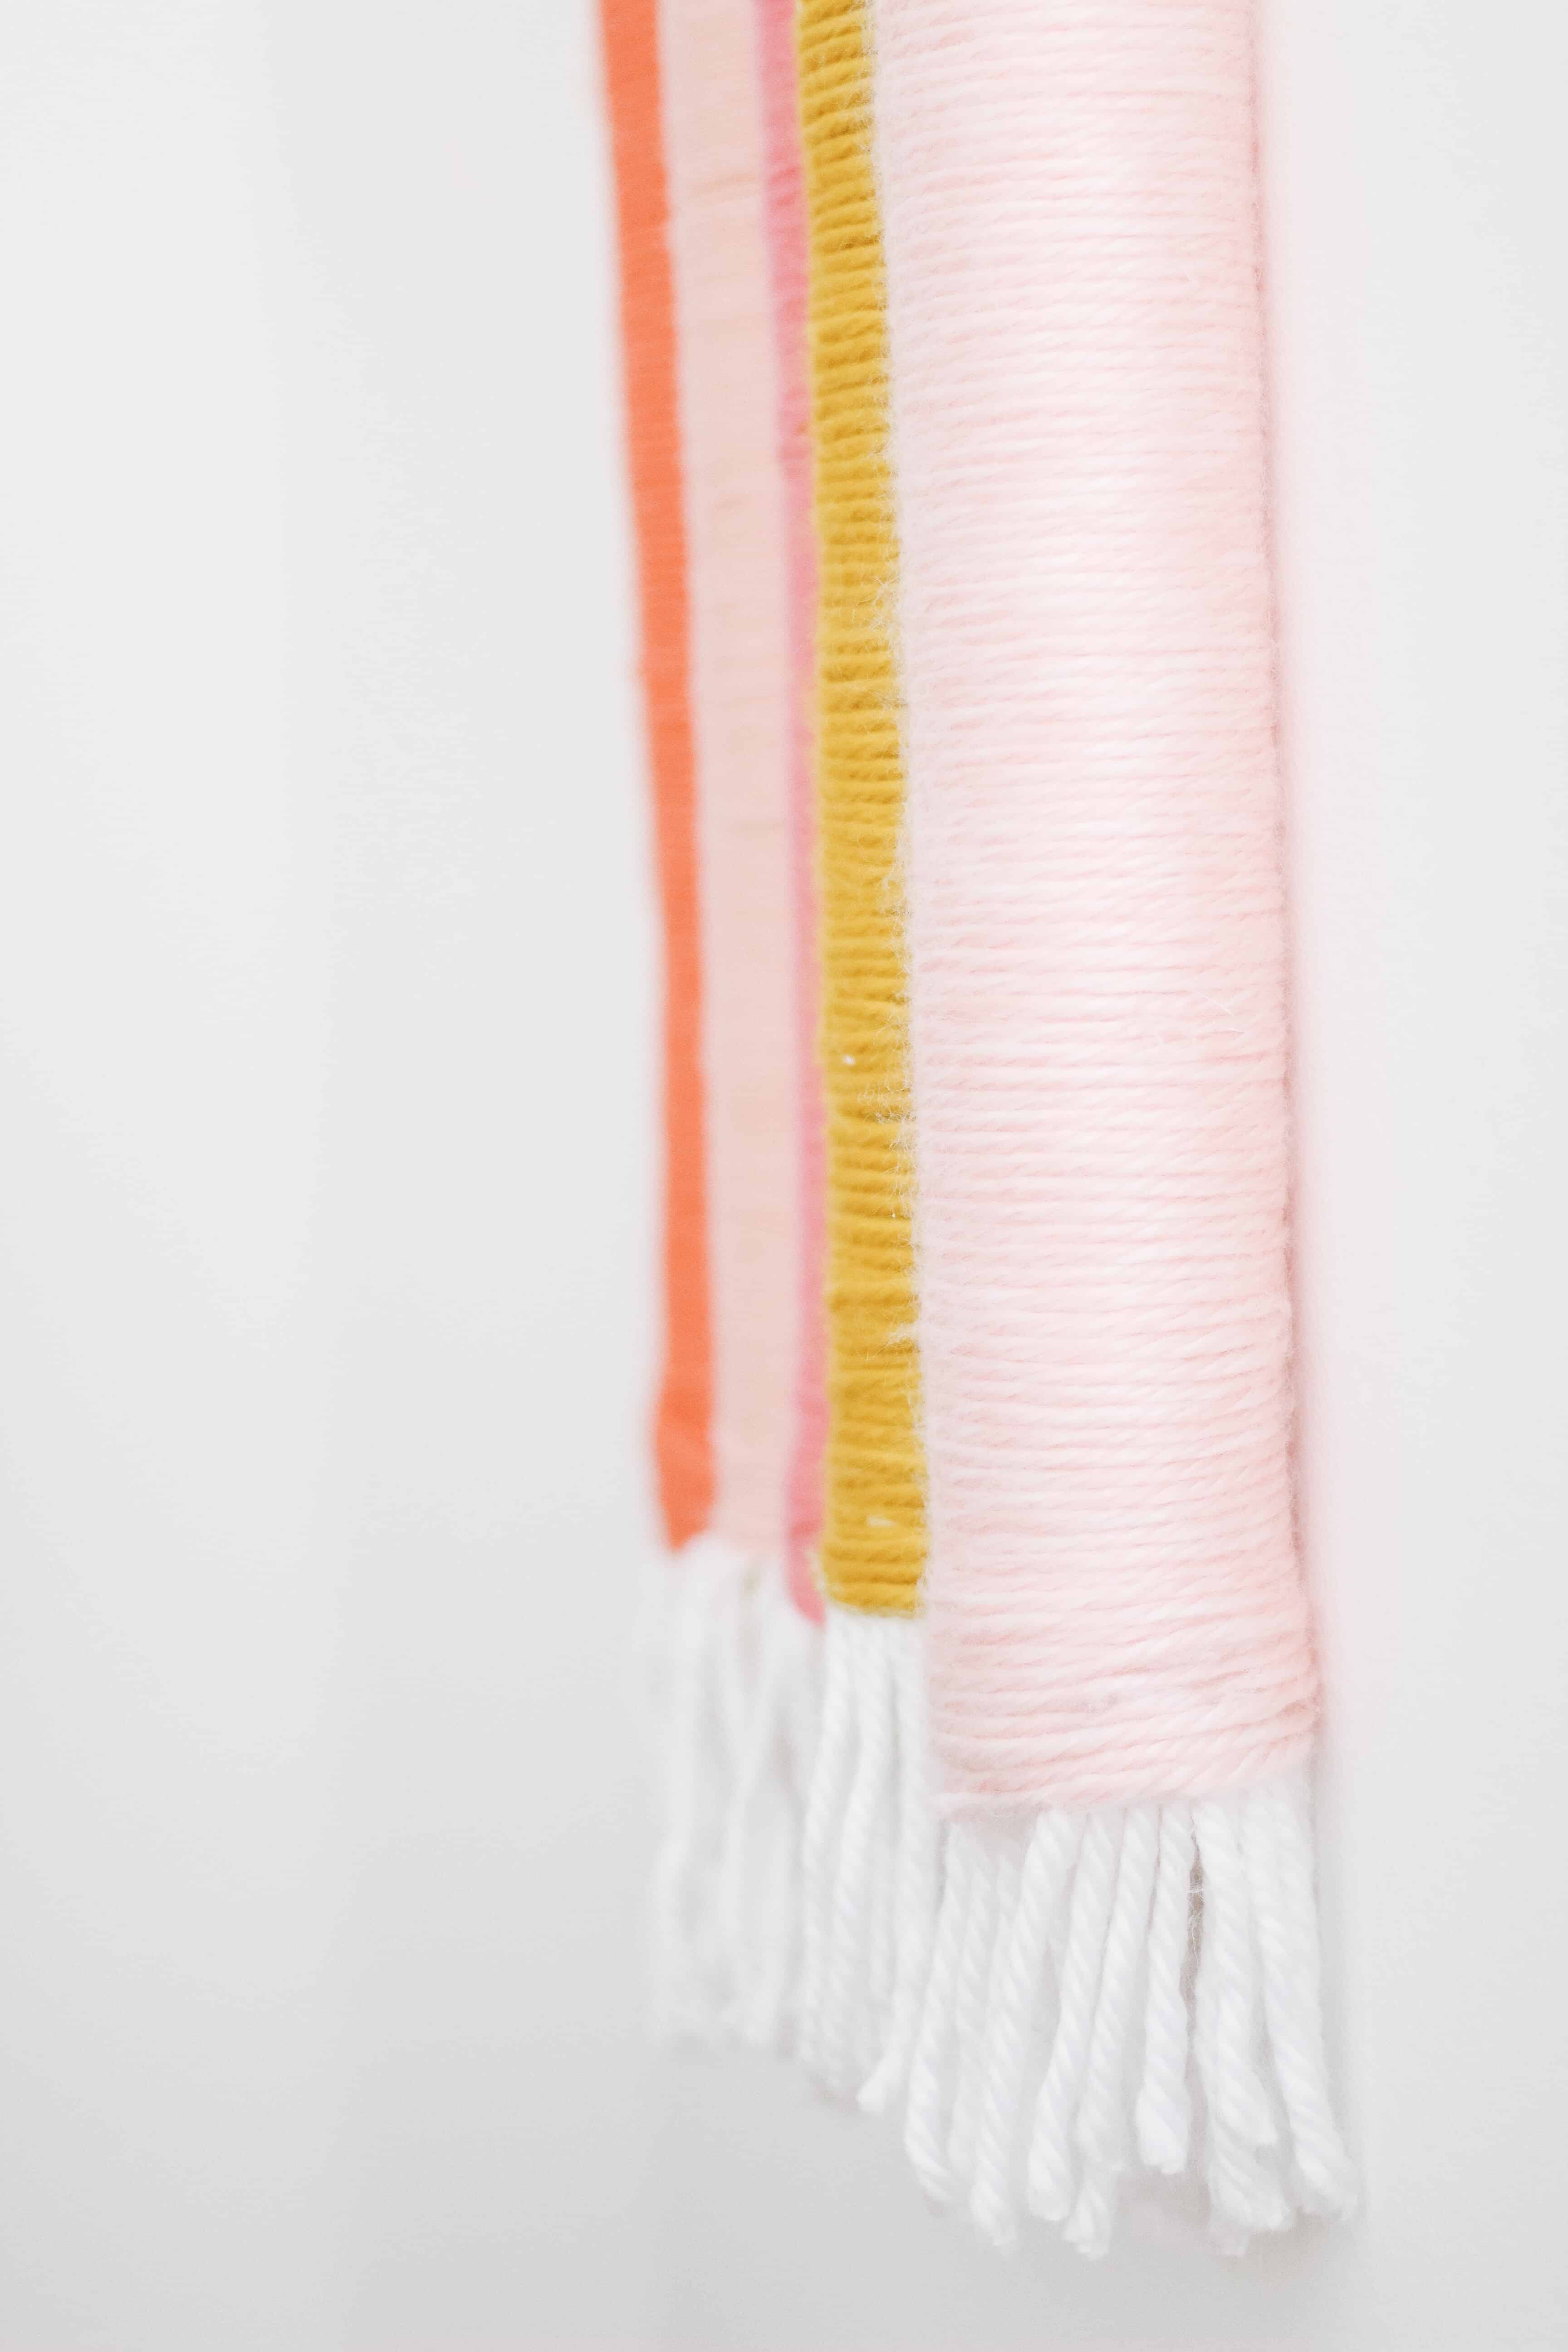
- At this point you are going to make the white end tassels. For this you literally just hot glue white yarn strips to the bottom all the way around. My tip is to glue it a couple inches up and use a lot of glue at the very top. Don’t worry about length because you will trim the once this stripe is done.
- Once the white is on pick back up on your color and continue wrapping.
- When you are on top of the white you may have to hot glue a bit more. Make sure you are keeping the white covered and go to the very end of the noodle.
- Fully glue the last couple of rounds, and cut your yarn.
- Trim white tassels to preferred length.
- NEXT YOU HAVE TO HANG OR MOCK HANG THAT STRIPE
- The reason you will hang or at least mock hang (which is what I did is because each stripe going down will be shorter. So take your first stripe up and hold it at your desired shape if you are doing a half rainbow like I am, and hold the next tier below it. Make a mark where that one needs to end.
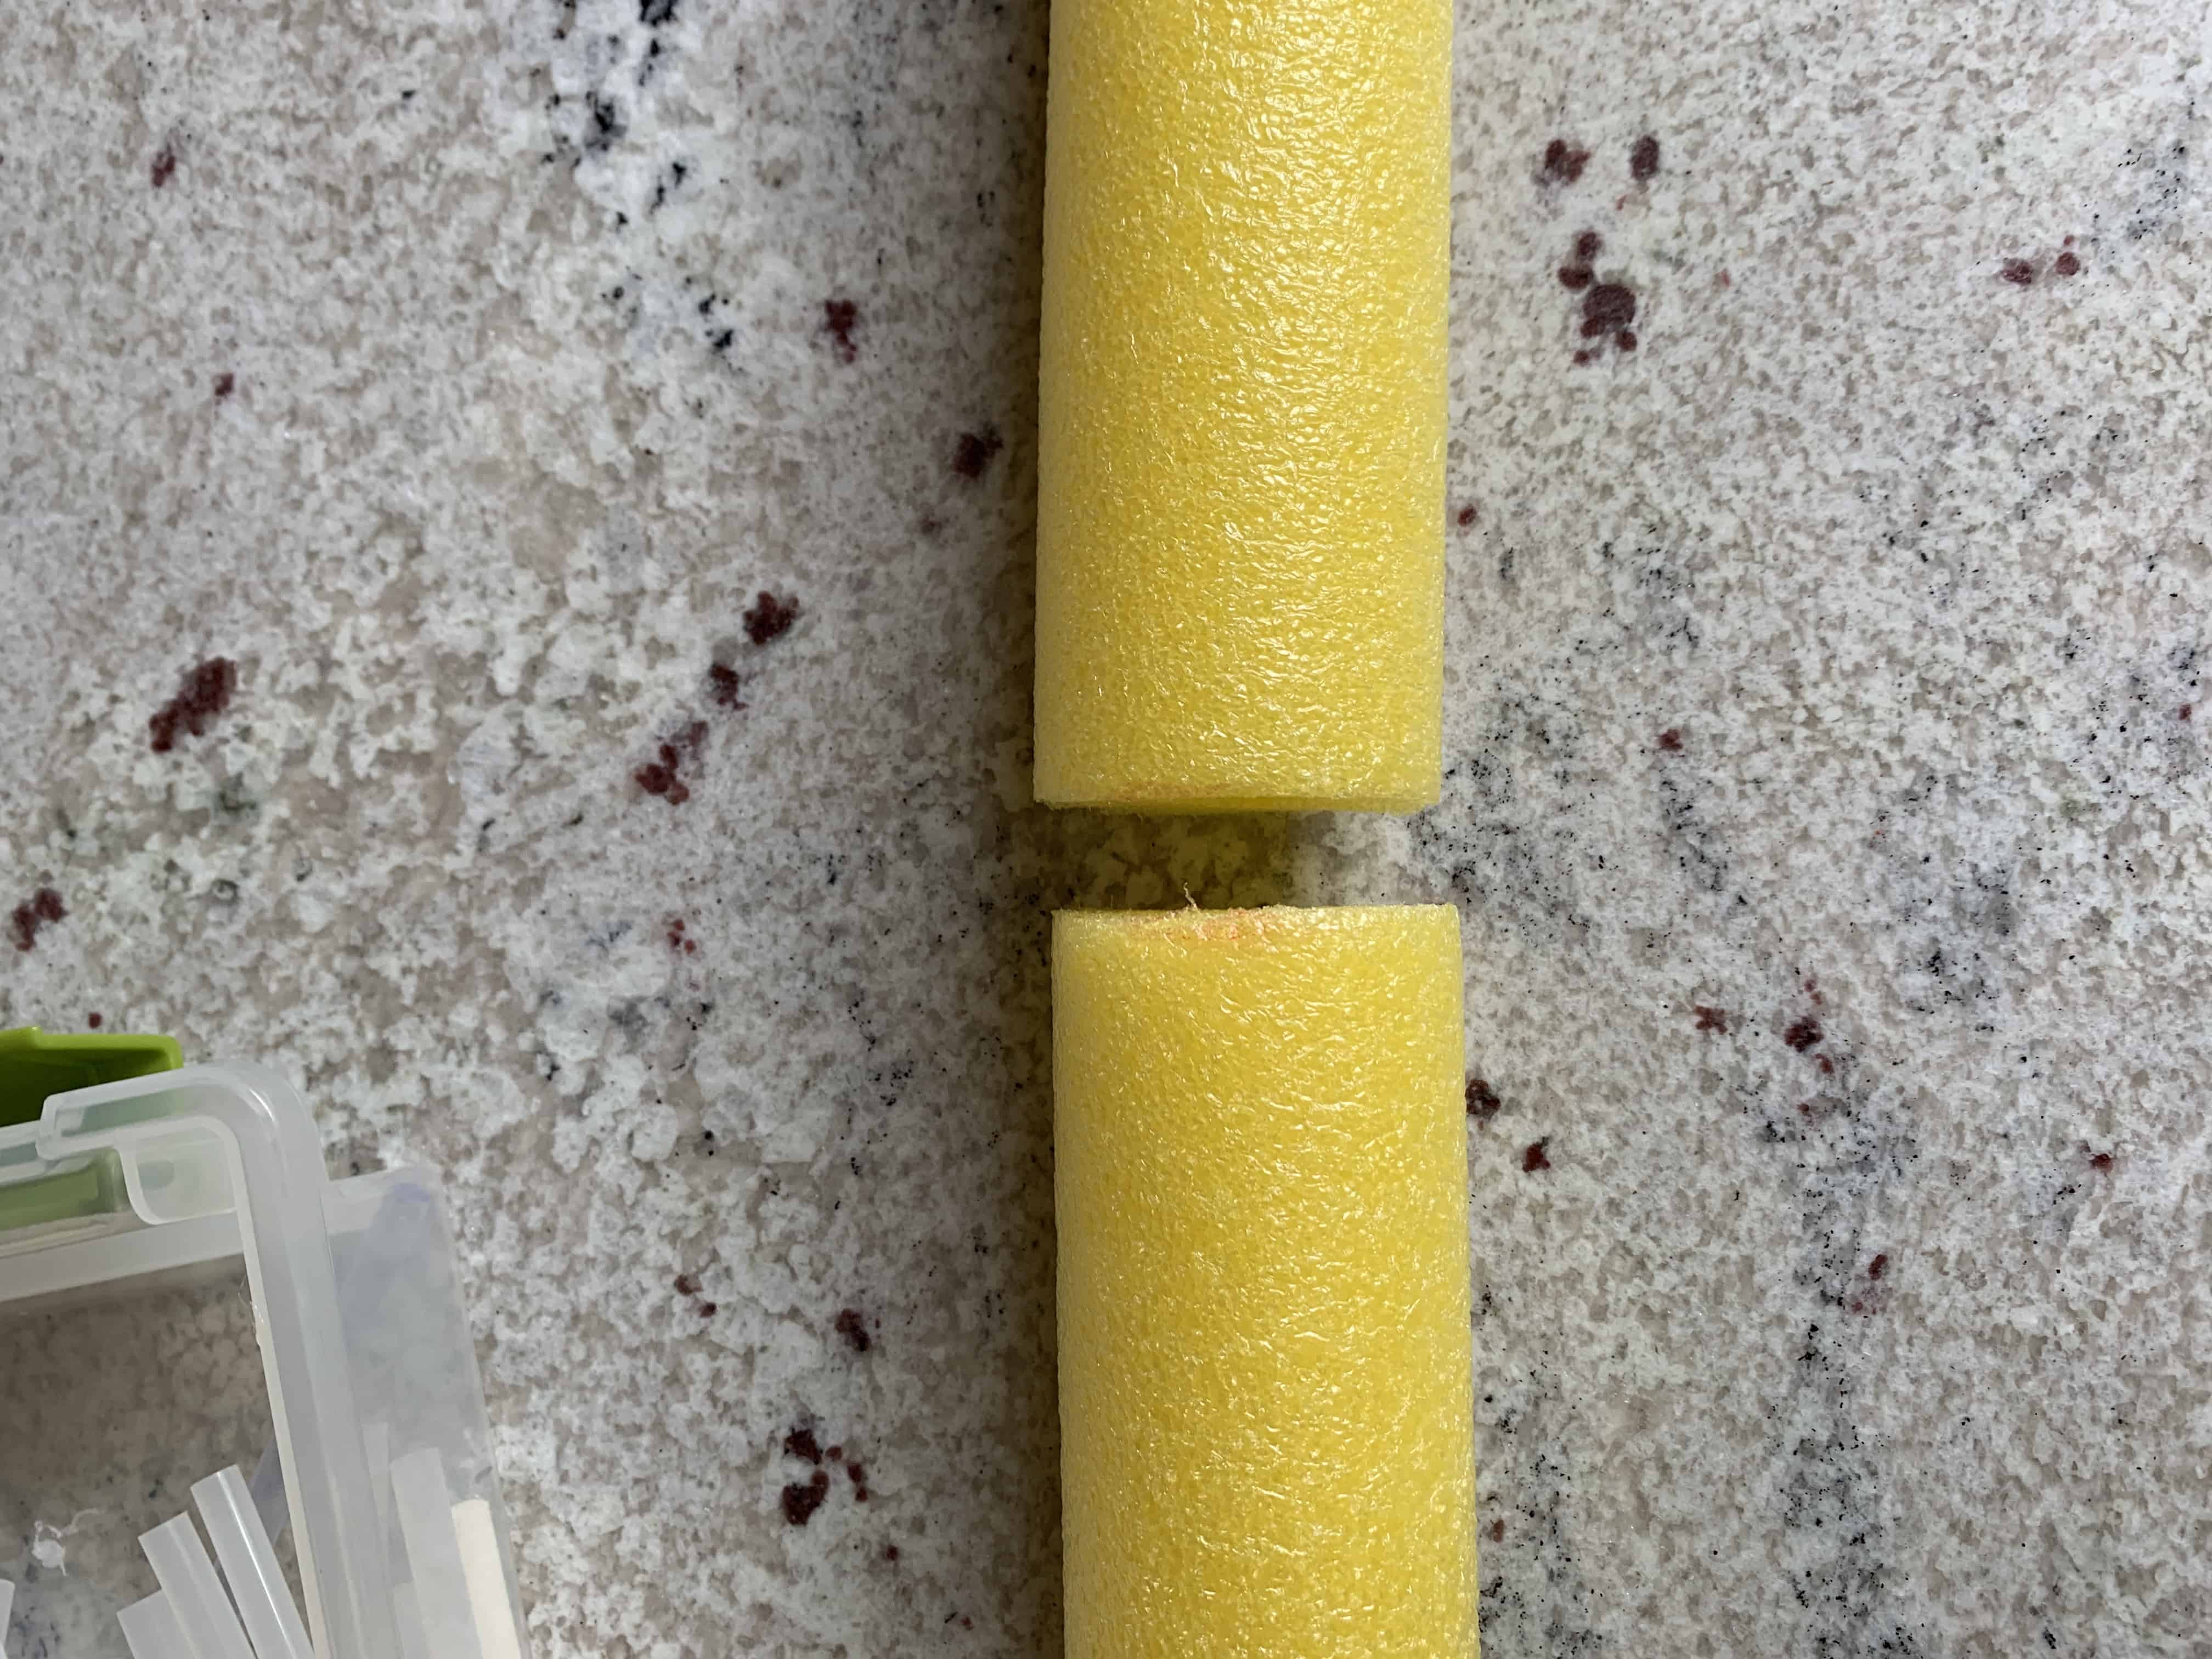
- You will likely cut a couple inches of noodle off with each stripe. Use a serrated knife and cut off the noodle, then start back from the top!
Hanging it:
Once you have all your stripes to your rainbow fully completed its time to hang it! Just like with making the rainbow you will hang it by starting on the outer most stripe. I used THESE command strips. For each rainbow stripe I placed 2 to 3 strips then placed the stripe on the wall. I was careful to push it towards the corner and up to get it in place then pushed hard to make the velcro ish material stick. Again repeat this for each tier.

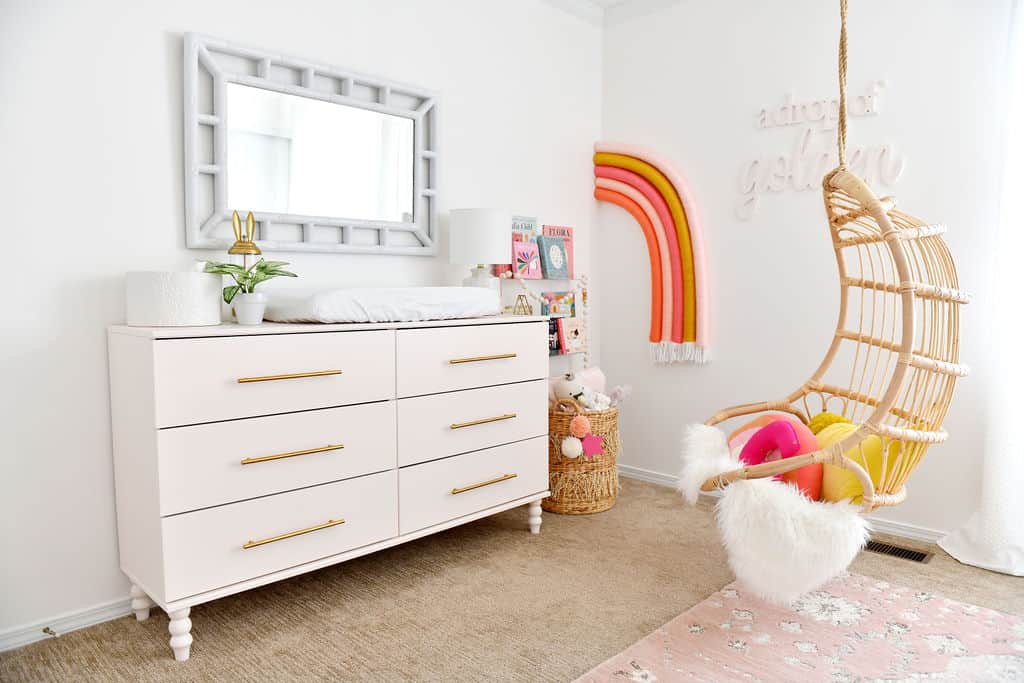
Like I said…this was probably more easy than you expected. If you have questions on the DIY large wall rainbow please feel free to leave me comments below. I will also share some of my other favorite nursery DIY’s below. I have created at least one, if not more DIY for each of my kids rooms, and it is such a special part of their little space for me. Next week I will be sharing how I turned a simple IKEA dresser into her sweet pink dresser, so if you are interested in that post be sure to watch for it on Instagram!
Pin the DIY Large Wall Rainbow to find it later
Love love love
Did you just wrap it once or did you go over it again to get it so neat? Love this idea!
I just wrapped it once – For the larger yarn it was easier to just have it perfectly line up, where on the smaller yarn it overlapped a bit in some spots, but I didn’t mind. Would love to see your finished product if you do it!!
Can you share the yarn colors you used? They all look so pretty together!
Hi Rachel – I don’t know them all, but I do know some of the white ( I used different whites on different flowers) and the yellow and some pink were all Yarn Bee brand from Hobby Lobby – I then added in this color pink https://amzn.to/2VYBnaR and this white https://amzn.to/3edHe2h – There were probably 3 or 4 different pinks total but that should help find a couple of them – sorry I couldn’t be more help. By the time I was doing this I didn’t have some labels and hobby lobby wasn’t open for me to go in and color match.
Hi!!
I’m new to ur page/blog. Would u please share the color names of each yarn? I love this color theme and want to use it in our under the stairs playroom. I love ur style & colors.
Ty!
Hi, – I think you may have been who DMed me via Instagram, correct? I just want to make sure that you saw my response there! So glad you found the post!
Hello again! I apologize I didn’t see that you had responded. I was asking about the rainbow colors, do you remember any of those? Thank you so much!
Hi Rachel, I am having a hard time finding the colors, but I do know that most or all of them are from Hobby Lobby.
Could you explain a little more about how these are stuck onto the wall? I feel like a command strip wouldn’t stick to the yarn? How did they stay up well? I have a three year old asking for a rainbow and don’t want to paint one haha
I used the velcro type command strips and sort of pushed the yarn into them and that has worked well for a full year!
This may be a stupid question.. but how exactly did you hot glue the yarn to the noodle? Did you place dots or strips of glue on the noodle and then wrap?
Hi! so I just did a strip so that it caught it around the noodle. So a straight line down a couple inches then wrapped and wrapped. (and NOT a stupid question!).
Seriously so excited to make this DIY come to life! I am using it for a rainbow on my classroom bulletin board. Thanks for all the amazing step by step DIY’s! Your steps are very detailed and I can picture it in my head as I am reading– which can be really hard to write!
aww you are the best!! Enjoy the DIY!!